Tutorial: Creare un workflow
Un esempio pratico dell'utilizzo delle Portant Developer API per creare un workflow, eseguirlo tramite la sua sorgente webhook e ricevere notifiche sugli eventi quando i documenti vengono creati. Tutte le richieste utilizzano cURL. Sostituire <DEVELOPER_ACCESS_TOKEN> con il token fornito dal team di integrazione di Portant.
Suggerimento: prima di iniziare, creare ed eseguire un workflow nell'app web Portant Workflow per acquisire familiarità con il funzionamento dei workflow. Si consiglia di utilizzare un template Google Docs, il che conferma anche che il proprio account è correttamente autorizzato con le API di Google.
Questo tutorial presuppone che siano stati completati i passaggi descritti nella guida Developers overview.
Passaggio 1. Creare un workflow
Il workflow verrà denominato "Developer Workflow" e creato tramite l'endpoint Workflows POST.
curl --location --request POST 'https://api.portant.co/v0/workflows/' \
--header 'Authorization: <DEVELOPER_ACCESS_TOKEN>' \
--header 'Content-Type: application/json' \
--data-raw '{
    "name": "Developer Workflow"
}'
Una richiesta andata a buon fine restituisce 201 Created con un corpo JSON simile al seguente:
{
    "id": "wkf_<id>",
    "name": "Developer Workflow",
    "icon": "DocumentText",
    "color": "#cccccc",
    "status": "INCOMPLETE",
    "autoCreate": true,
    "owner": {
        "id": "usr_<id>",
        "name": "Your Name",
        "email": "you@email.com"
    },
    "team": null,
    "source": {
        "id": "src_<id>",
        "sourceType": "WEBHOOK",
        "sourceFields": [],
        "webhookUrl": "https://webhooks.portant.co/<webhook_token>"
    },
    "documents": [],
    "outgoingWebhook": null,
    "createdByApi": true,
    "createdAt": "2024-08-13T17:49:28.639426+10:00",
    "updatedAt": "2024-08-13T17:49:28.659242+10:00"
}
Salvare il valore id. Verrà utilizzato nelle richieste successive.
Aprendo https://app.portant.co/w/wkf_<id>/ con quell'ID, il nuovo workflow sarà visibile nell'app web. Due campi sono particolarmente importanti: source.webhookUrl e status.
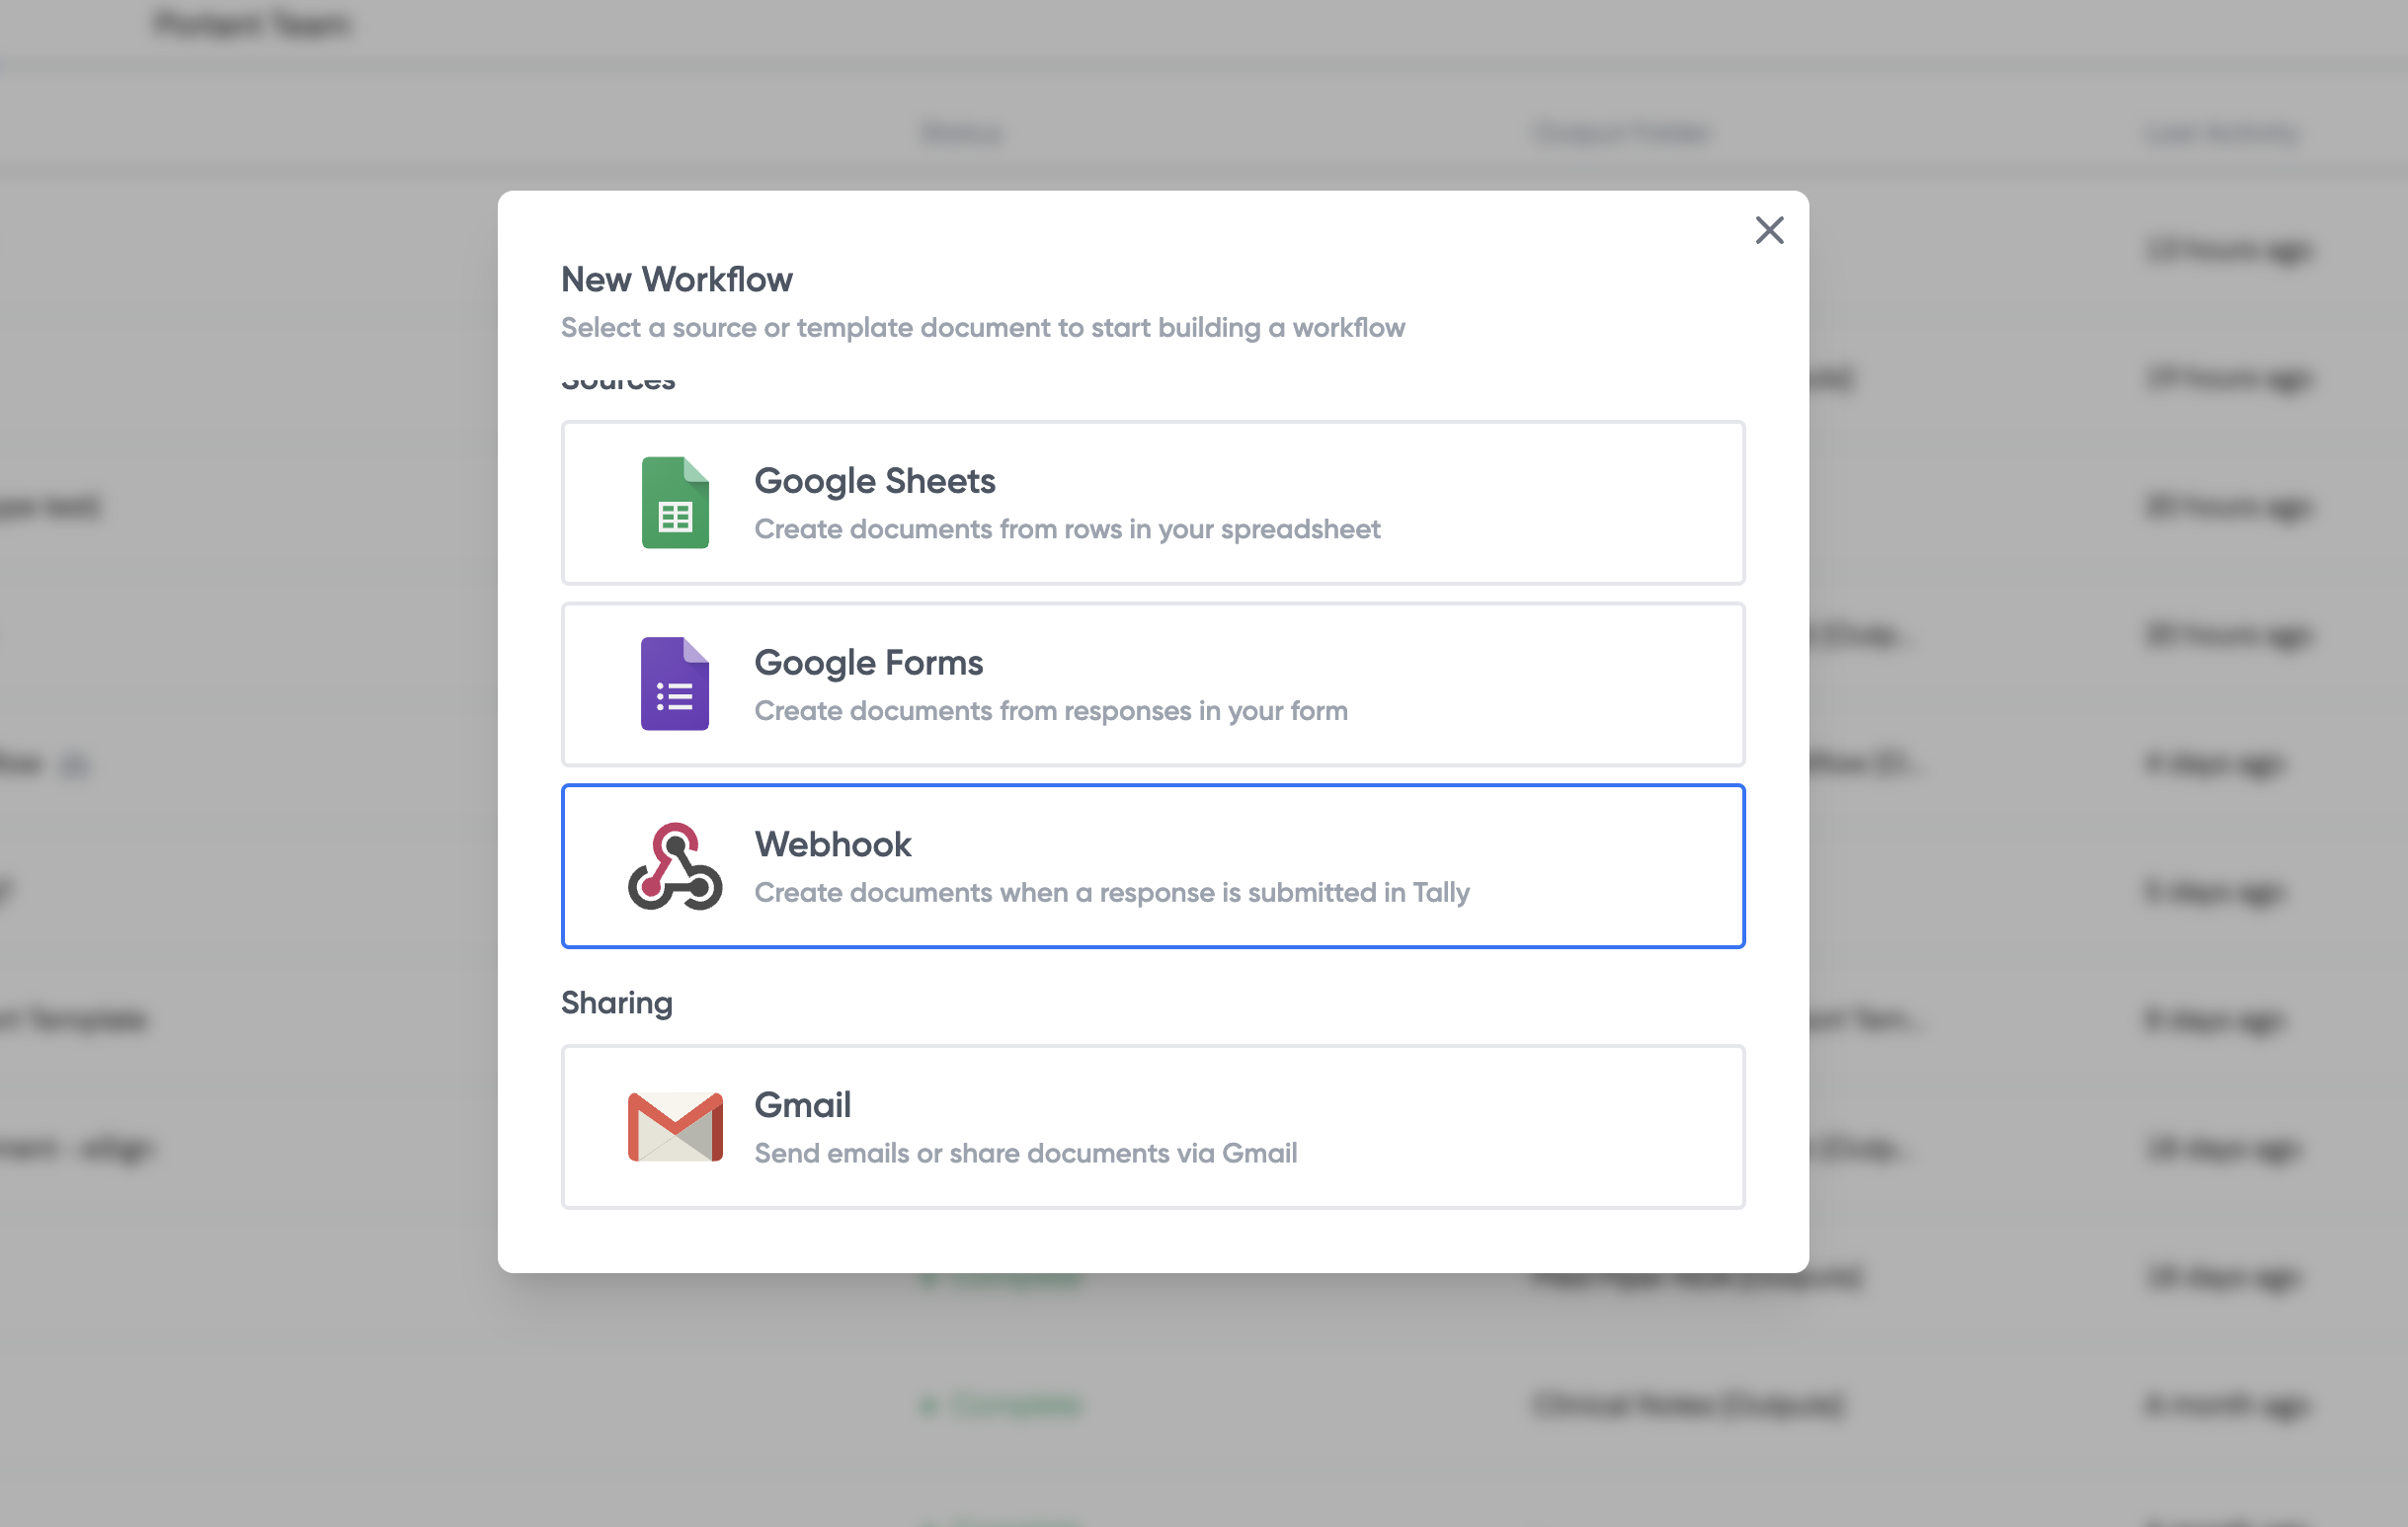
source.webhookUrl è l'indirizzo a cui inviare i dati tramite POST per avviare un'automazione una volta che il workflow è completo. Salvare anche questo valore.
status è "INCOMPLETE" perché il workflow non contiene ancora documenti template. Un workflow richiede sia una sorgente che almeno un template per poter essere eseguito. Il template verrà aggiunto nel passaggio successivo.
Passaggio 2. Creare un documento template
Per aggiungere un template, copiare un file Google Docs esistente nel workflow.
curl --location --request POST 'https://api.portant.co/v0/workflows/wkf_<id>/documents/' \
--header 'Authorization: <DEVELOPER_ACCESS_TOKEN>' \
--header 'Content-Type: application/json' \
--data-raw '{
    "file_id": "1frlTt7Jj8HuXWHkS9o0mshLaym6NQBImsAIhw4Iiew4"
}'
file_id è l'ID di un file in Google Drive a cui si ha accesso. L'ID di un file si trova nel suo URL. L'ID di esempio riportato sopra proviene da questo documento Portant pubblico, pertanto può essere utilizzato a scopo di test.
La risposta è simile alla seguente:
{
    "id": "doc_<id>",
    "documentType": "GOOGLE_DOCS",
    "file": {
        "id": "1MvPvT3cLilEw6ktXxjOYFUGrZH6JO8dm5Gpj8GExMcc",
        "name": "Developer Workflow - [Template]",
        "url": "https://docs.google.com/document/d/1MvPvT3cLilEw6ktXxjOYFUGrZH6JO8dm5Gpj8GExMcc/edit?usp=drivesdk",
        "mimeType": "application/vnd.google-apps.document"
    },
    "outputName": "Developer Workflow - {{Timestamp}}",
    "createPdfCopy": false,
    "removeOutput": false,
    "enablePdfPassword": false,
    "pdfPassword": "",
    "pdfPasswordPreventCopy": false,
    "previewUrl": "https://preview.portant.co/doc_LcQWshvjR9XLzQ"
}
Al workflow è stato aggiunto un nuovo template con una copia del file fornito. La risorsa documento dispone di un insieme di opzioni che modificano il modo in cui vengono creati i documenti di output. È possibile modificarle tramite una richiesta PATCH all'endpoint Document.
Eseguendo nuovamente una richiesta GET sul workflow, lo stato risulta ora "COMPLETE". Prima di eseguire la prima automazione, si consiglia di configurare anche le notifiche degli eventi.
Passaggio 3. Ricevere notifiche sugli eventi di automazione
Per ricevere una notifica quando viene eseguita un'automazione, registrare un webhook in uscita sul workflow. A scopo di test, è possibile configurare un webhook temporaneo su webhook.site.
curl --location --request POST 'https://api.portant.co/v0/workflows/wkf_<id>/outgoing-webhook/' \
--header 'Authorization: <DEVELOPER_ACCESS_TOKEN>' \
--header 'Content-Type: application/json' \
--data-raw '{
    "webhookUrl": "https://webhook.site/<token>"
}'
Si riceverà una risposta 201 Created con l'URL registrato. Il workflow è pronto per essere eseguito.
Passaggio 4. Inviare dati tramite POST alla sorgente webhook
Per avviare un'automazione, inviare un corpo JSON tramite POST all'URL sorgente webhook del workflow (quello restituito nel Passaggio 1).
curl --location --request POST 'https://webhooks.portant.co/<webhook_address>' \
--header 'Content-Type: application/json' \
--data-raw '{
    "Name": "Jeremy the Koala"
}'
L'endpoint restituisce 200 OK con un corpo JSON vuoto. Entro un minuto, la casella di posta webhook.site dovrebbe mostrare un evento con un collegamento al nuovo documento in Google Drive.
Nell'app web Portant Workflow, il nuovo output appare anche nella pagina degli output del workflow. Tutto qui: è stato creato ed eseguito il primo workflow tramite le Developer API.
Per i dettagli su ogni endpoint e risorsa, consultare il resto della riferimento API. Per domande o richieste di funzionalità, contattare il team di customer success o il team di integrations.
(E sì, Jeremy è la mascotte di Portant. 🐨)