Quarterly business reviews
Generate a personalised QBR for every customer straight from your CRM, so account managers spend their time talking to clients instead of building decks.
This guide uses HubSpot as the source, but the same pattern works with Google Sheets or any other source that holds your customer data.
What you'll learn
- Connect HubSpot to Portant
- Create a new workflow
- Customise your QBR template
- Generate your first report
- Automate QBR creation from HubSpot
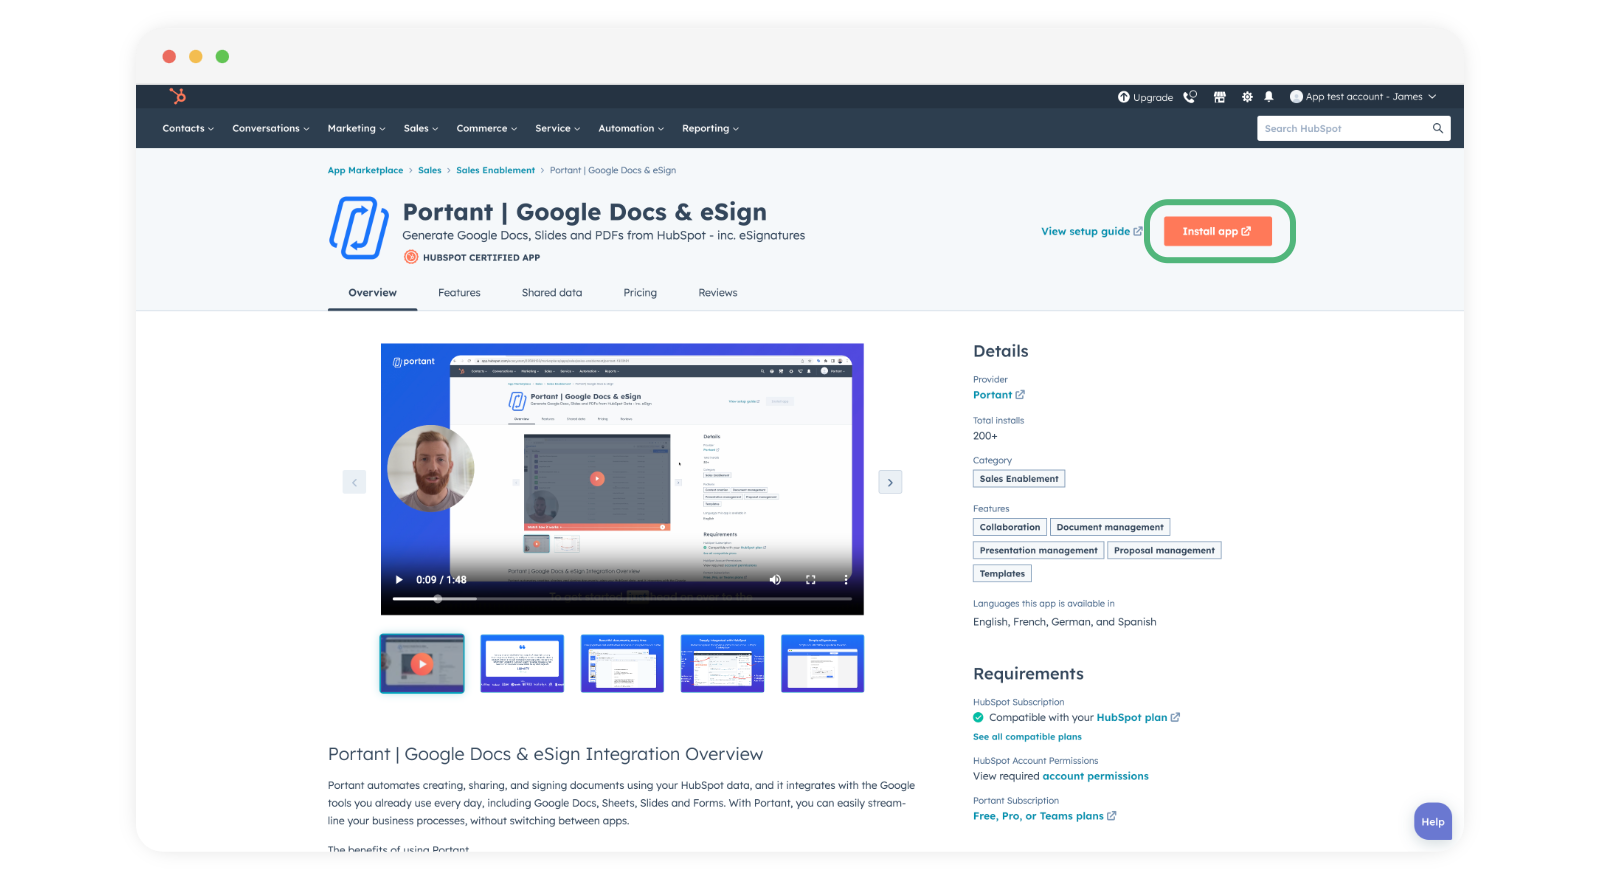
Step 1: Connect HubSpot to Portant
If this is your first HubSpot workflow, install the Portant app for HubSpot first. See HubSpot source for setup.
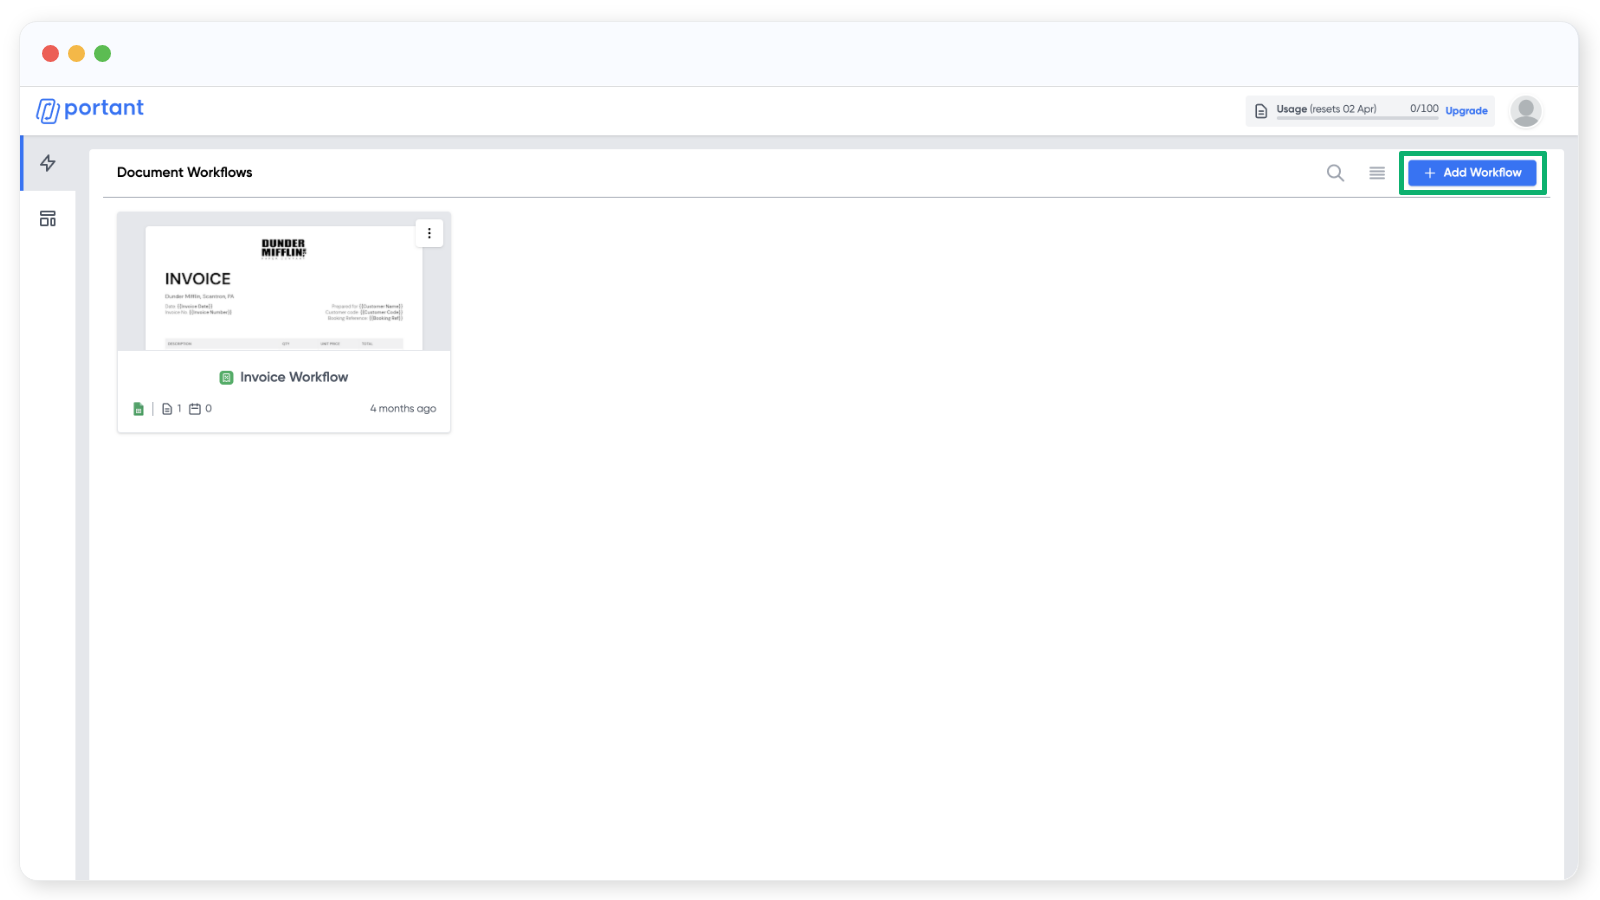
Step 2: Create a new workflow
- Sign in to Portant.
- Click "New Workflow" in the top right.
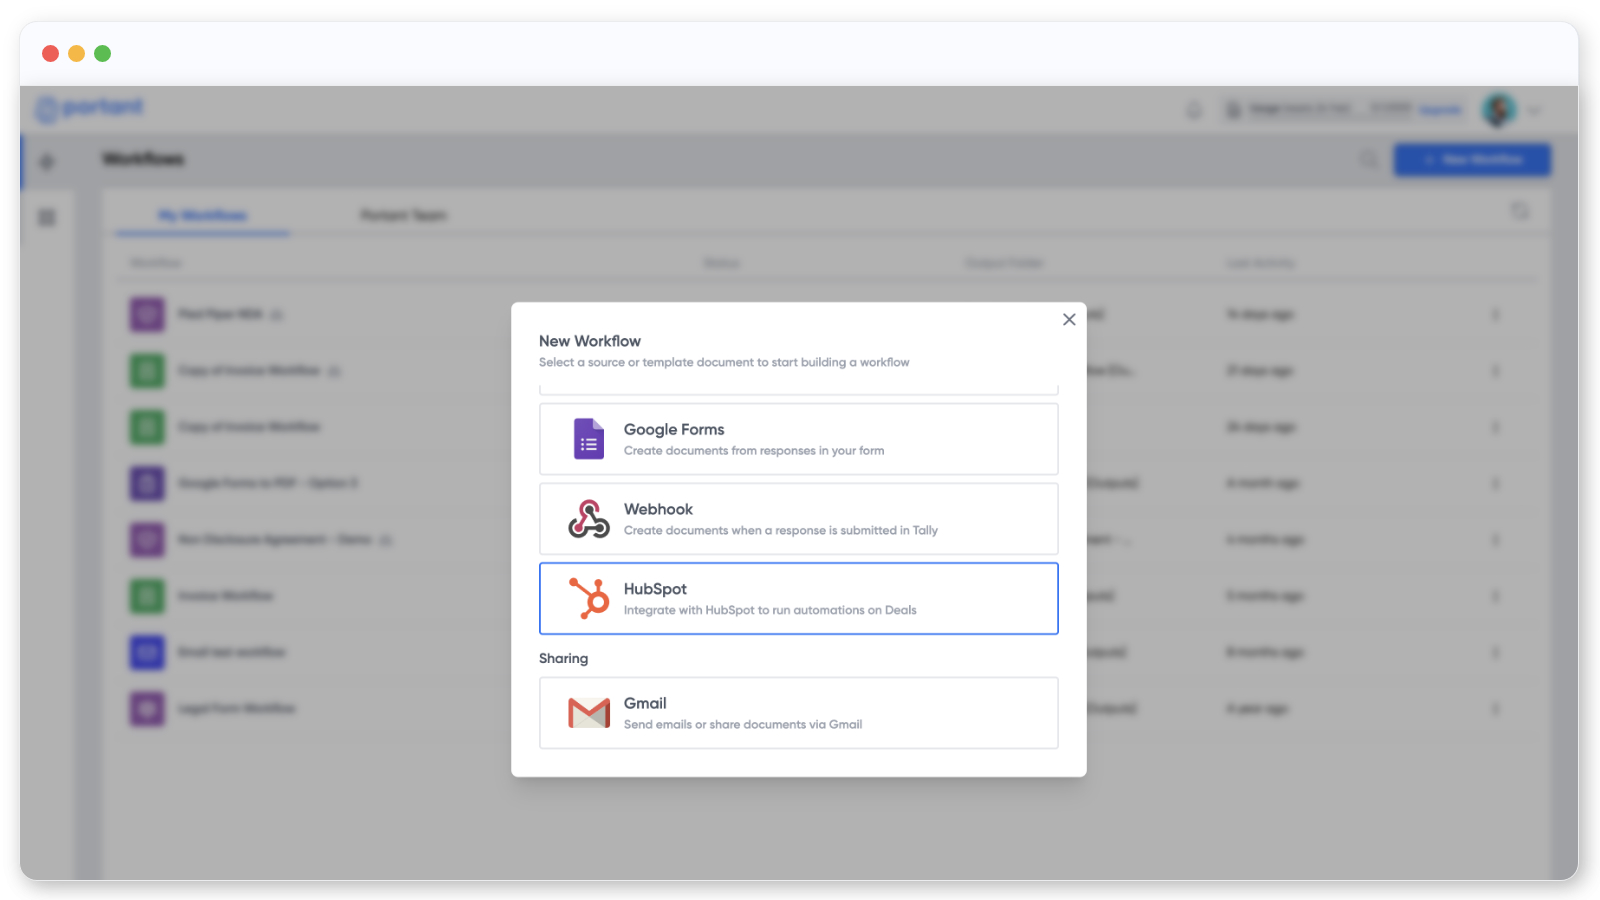
- Choose HubSpot as the source.
- Pick the primary object the QBR should be built from:
- Contact for reviews focused on individual relationships and engagement
- Company for account-level performance across a customer
- Deal for pipeline performance, revenue, and stage progress
See HubSpot source for more on selecting the right object.
Step 3: Customise your QBR template
With HubSpot connected, add a template block and pick the document the QBR will use.
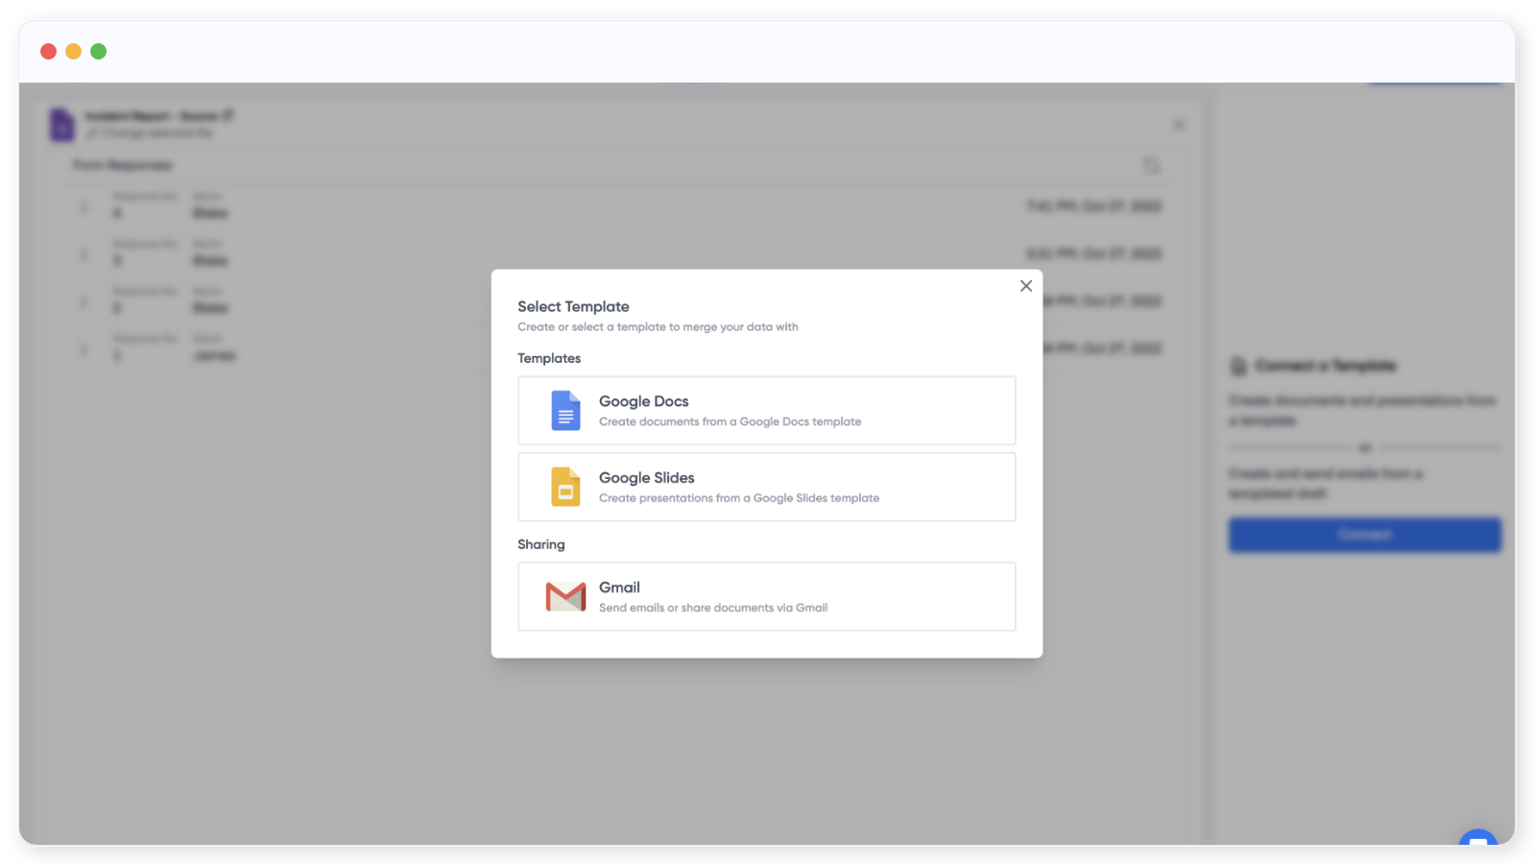
Choose a Google Doc, Slide, or email template that matches your QBR layout.
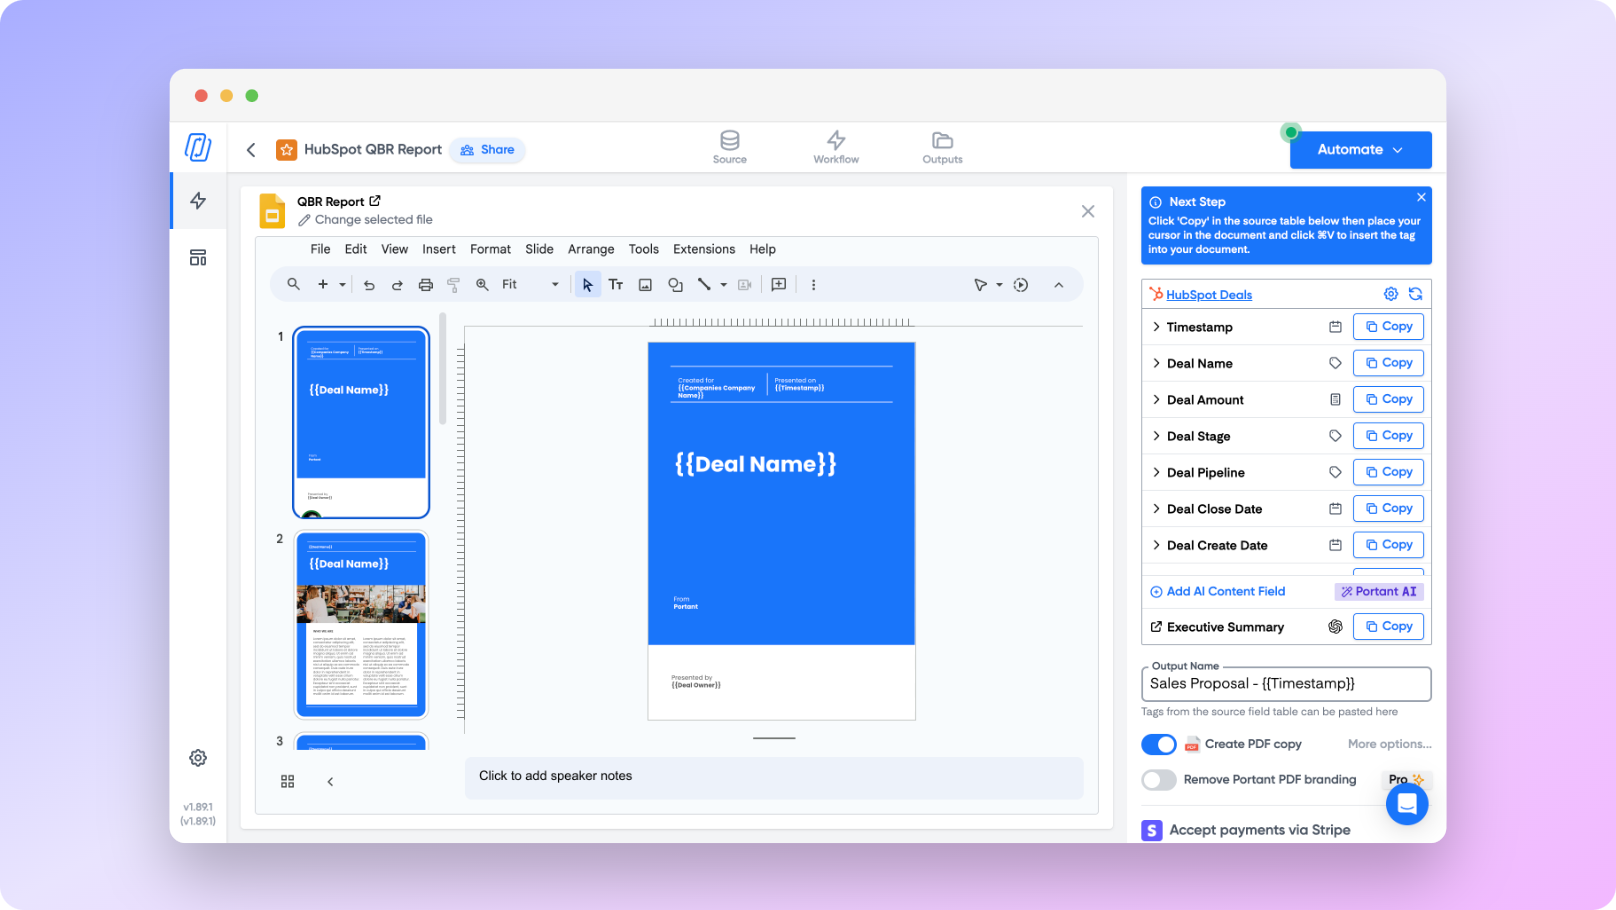
Drop in HubSpot property tags where personalised content needs to appear, for example {{Customer Name}} or {{Health Score}}. To choose which HubSpot fields are available as tags, click "Manage HubSpot Fields".
You can also customise the output file name and format using tags.
Step 4: Generate your first report
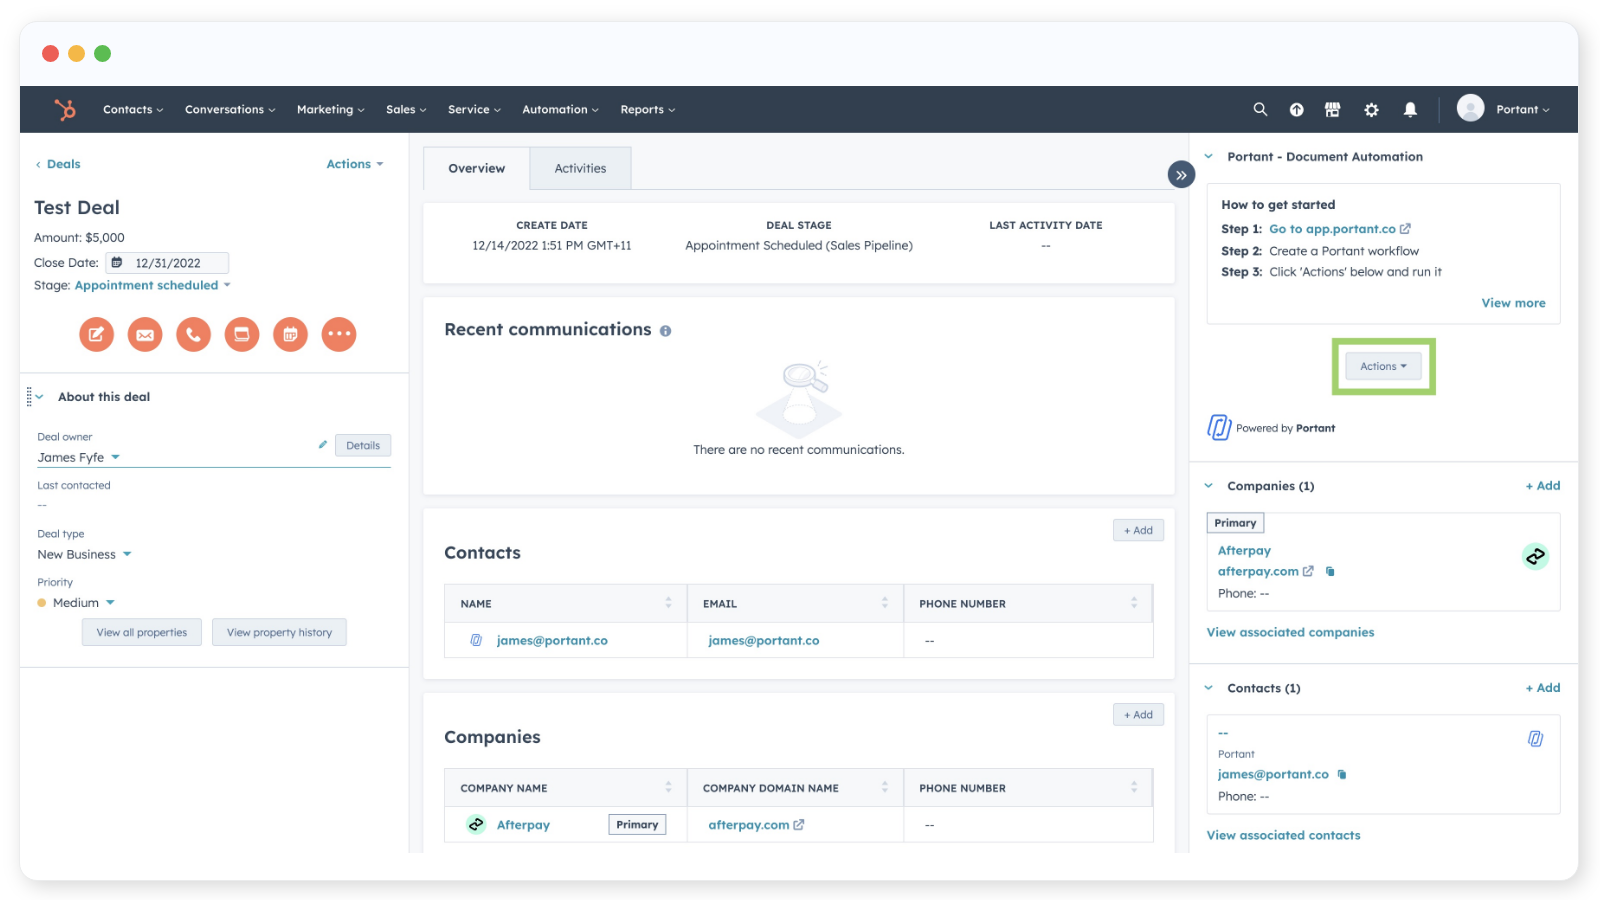
To generate a QBR manually:
- Open the matching record in HubSpot (a deal, contact, or company).
- In the right panel, click "Actions" and choose your Portant workflow.
- Portant generates the report and adds a link to the side panel.
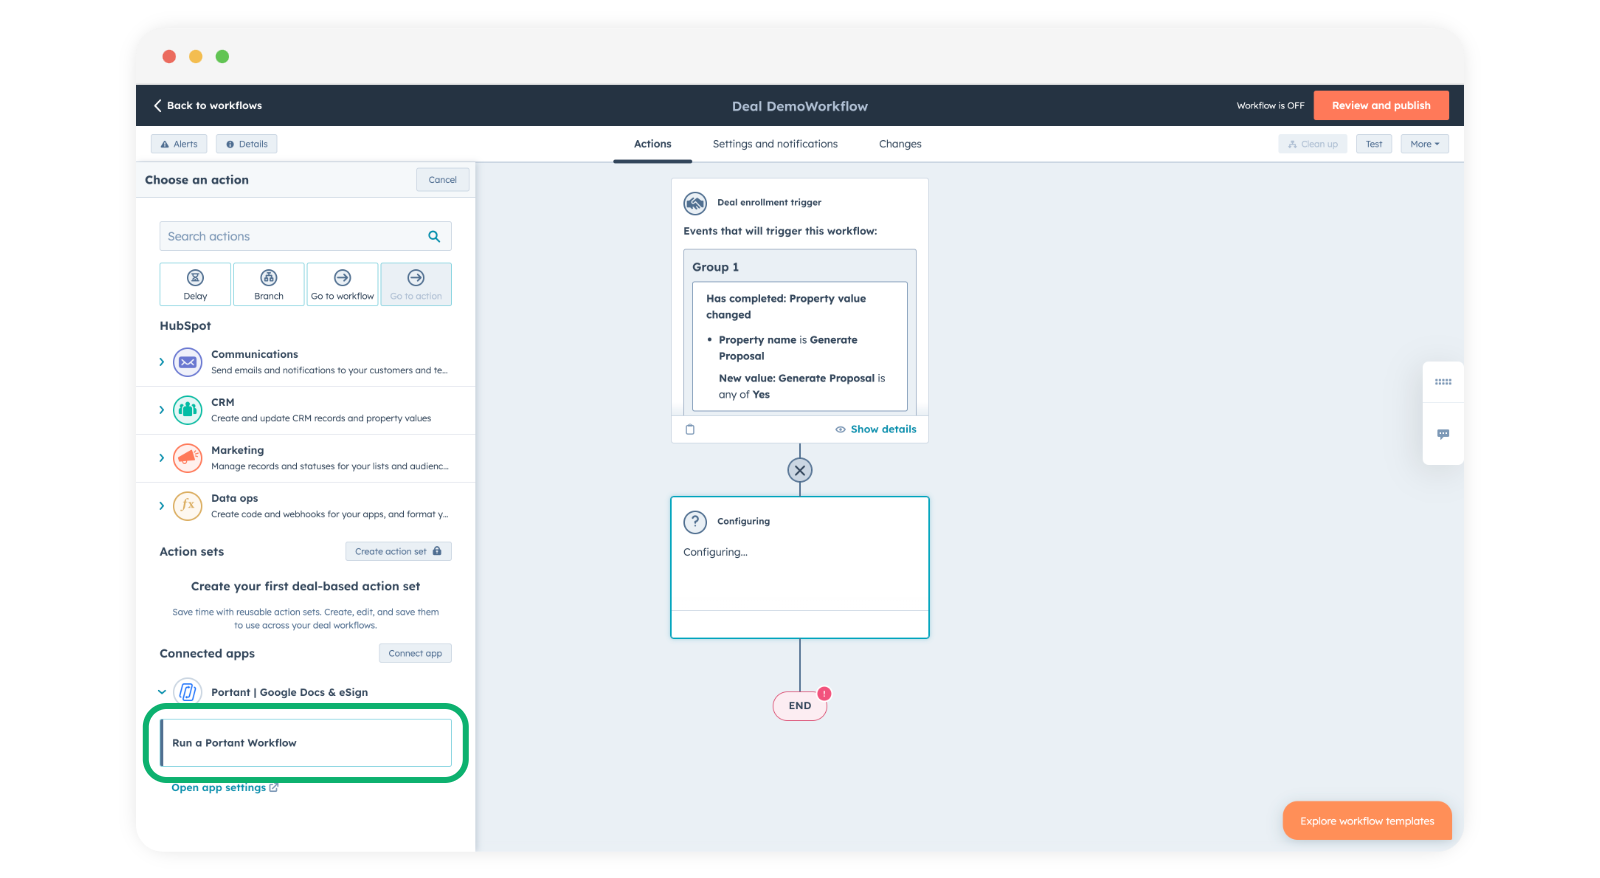
Step 5: Automate QBR creation from HubSpot
Once the workflow runs cleanly on a single record, hand it off to a HubSpot workflow so reports get generated on a schedule or based on a trigger.
- In HubSpot, build a workflow with the trigger you want (for example, "Last QBR was 90+ days ago" or "Deal stage = Renewal").
- Add the Portant action and select the workflow you just built.
- Submit a test record so you can confirm the report generates as expected.
See HubSpot source for more on triggering Portant from a HubSpot workflow.
Related
- HubSpot source
- Tags
- Line items overview (for QBR sections built from a list of records, like deals or invoices)