Portant eSignatures + HubSpot
Send a document for signature to a HubSpot contact straight from a Portant workflow, with the right contact picked from the deal, ticket or company. This page covers the HubSpot-specific bits. For the full eSignatures docs (placeholders, fields, sending, signing flow), see eSignatures.
In this guide:
- Pick a HubSpot contact as the signature recipient
- How that selection works at run time
Pick a HubSpot contact as the recipient
In the Template block, below the Output Name field, click Request a Signature.
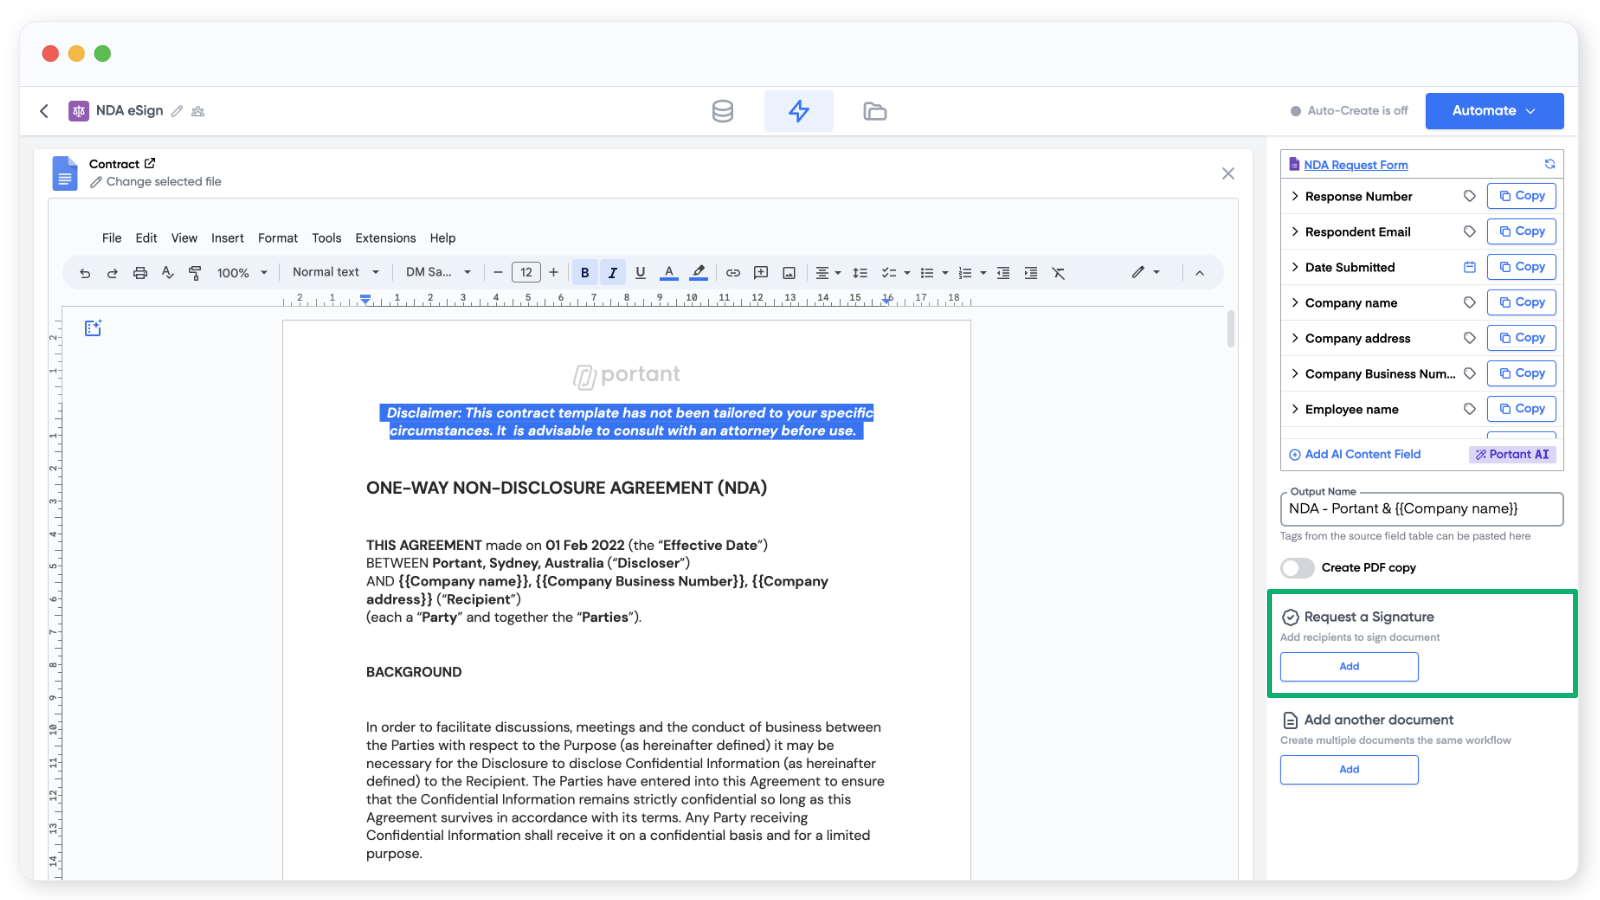
The signature settings appear. There are five things to set up for each recipient:
- Recipient email - this can be a
{{tag}}from your source, a typed email likejames@portant.co, or a HubSpot contact. - Signature placeholder - drops a placeholder image into the document where the signature will go.
- Date placeholder - drops a placeholder image where the signing date will go.
- Text field - collects extra info at signing (for example, a delivery address).
- Checkbox field - collects a yes/no at signing (for example, accepting terms).
For more on placeholders and fields, see the full eSignatures guide.
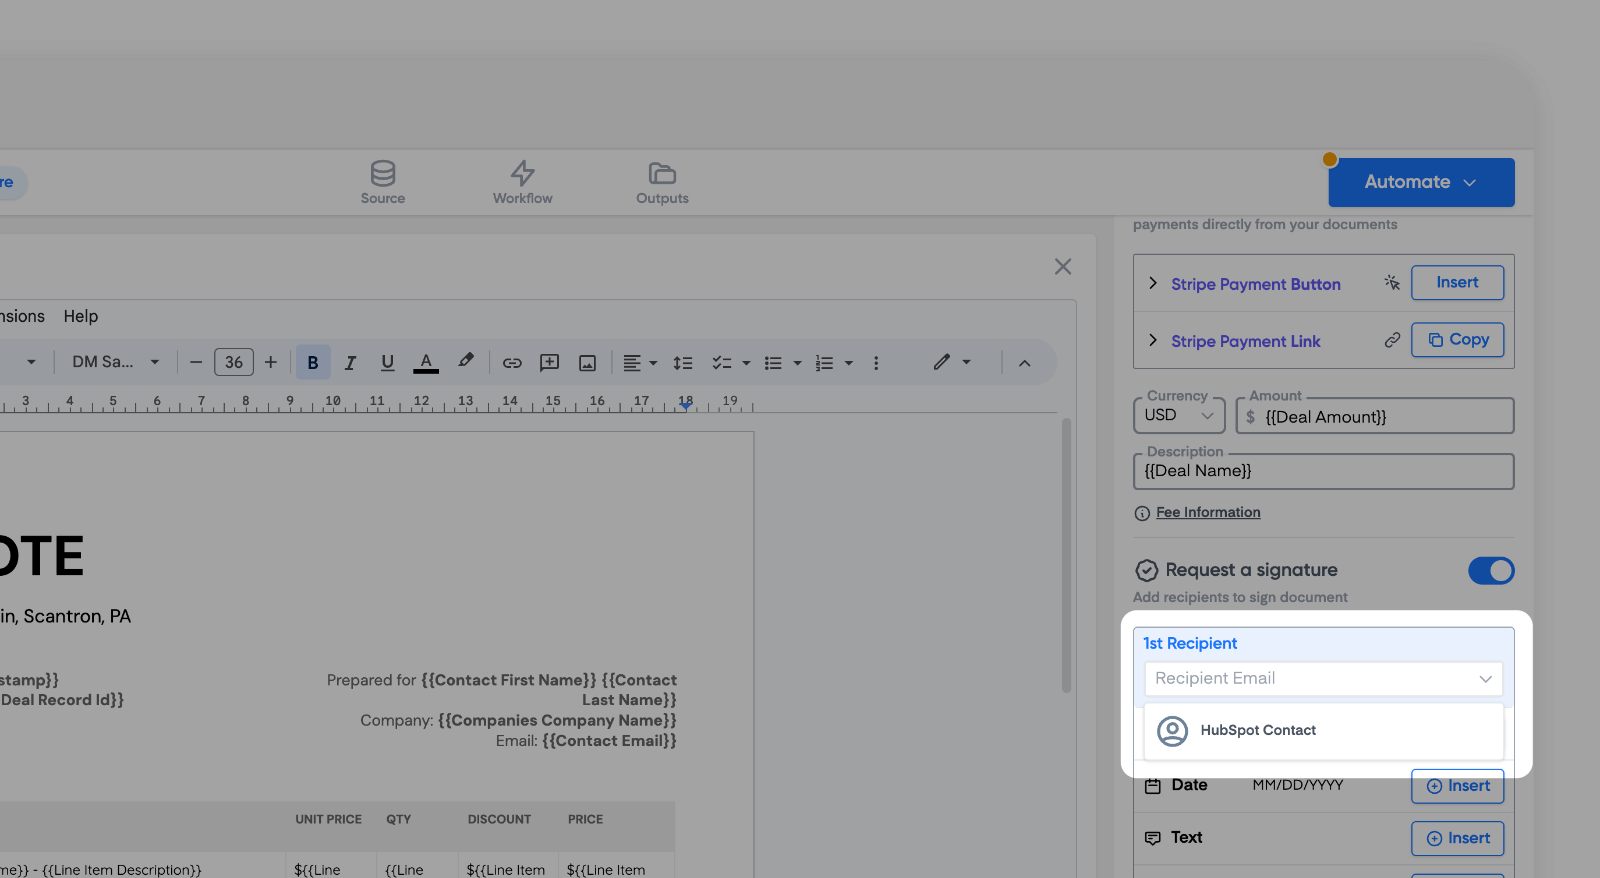
Selecting a HubSpot contact as the eSignature recipient
When you set the recipient to a HubSpot contact, Portant asks which contact (associated with the deal, ticket or company) should sign.
Using HubSpot contact association labels
If you've set up association labels in HubSpot (for example, "First Signer" and "Co-Signer"), Portant shows them too. They make it easy to pick the right contact for the right role on the document.
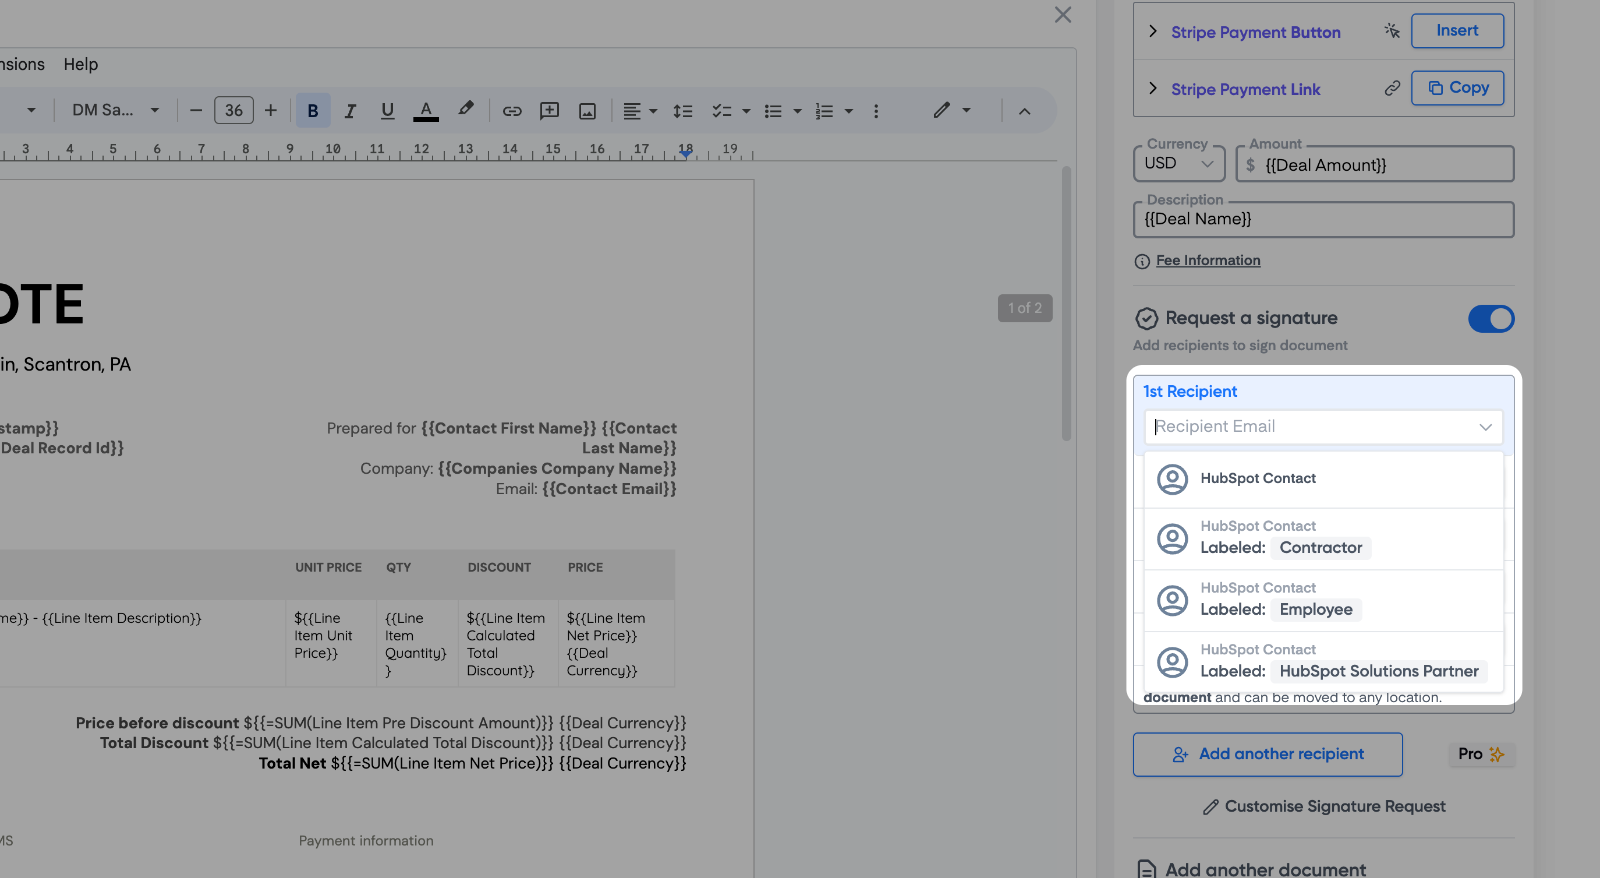
You can still use the generic HubSpot Contact property without a label.
How the contact selection works at run time
Test your workflow from a HubSpot deal: open the deal, go to the Portant CRM Card → Actions and pick your workflow.
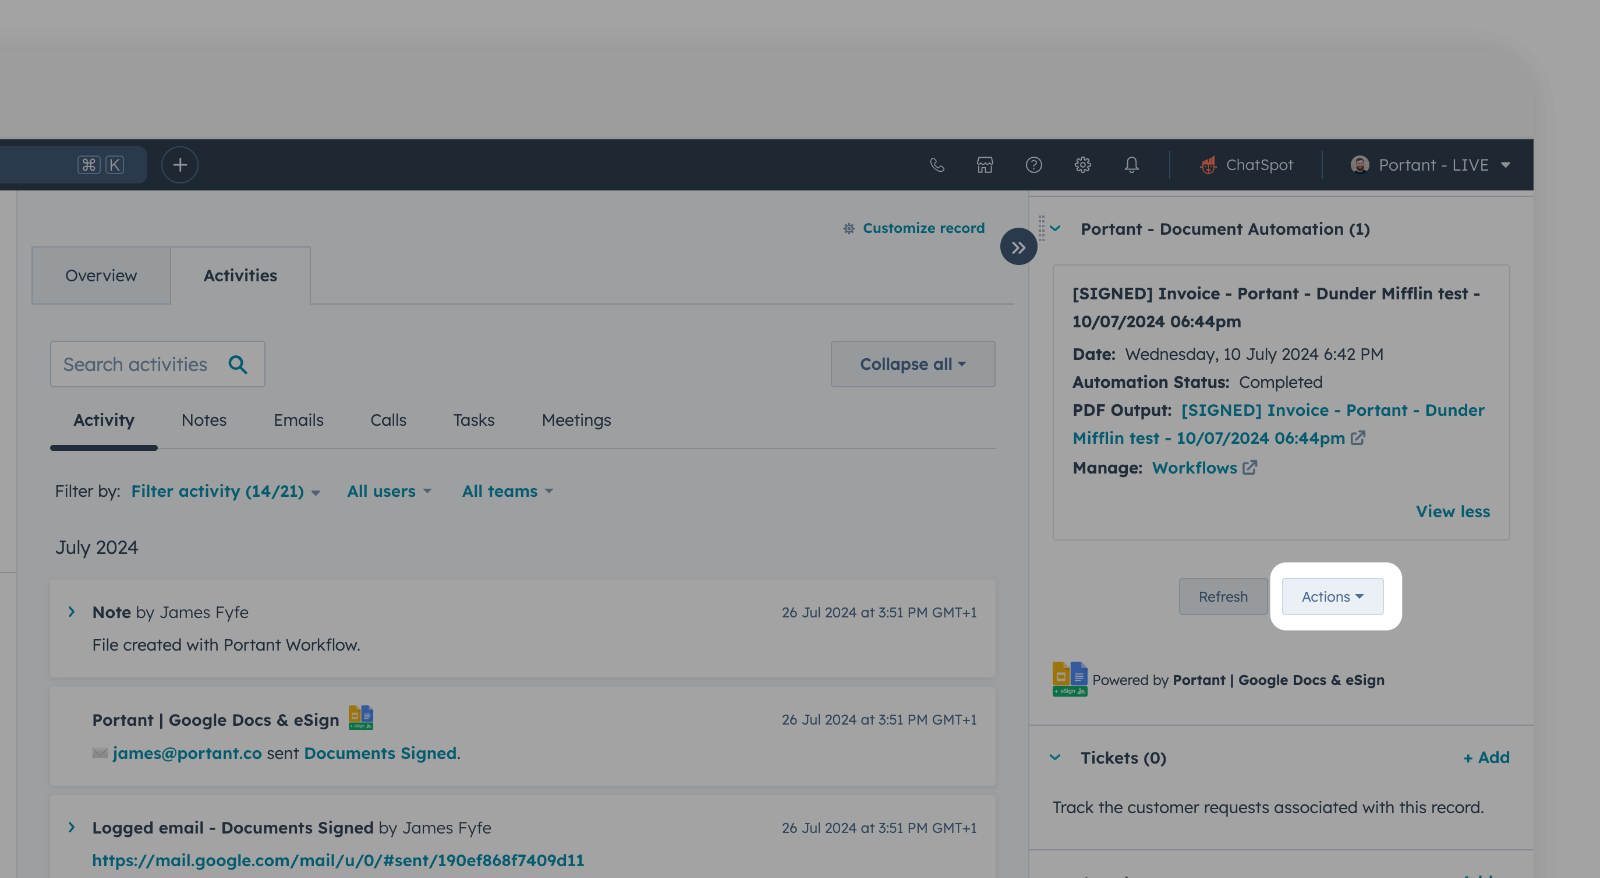
You can pick which associated contact gets each signature. The preview on the left shows where each signature will go, and labelled contacts show their label so it's clear who's who.
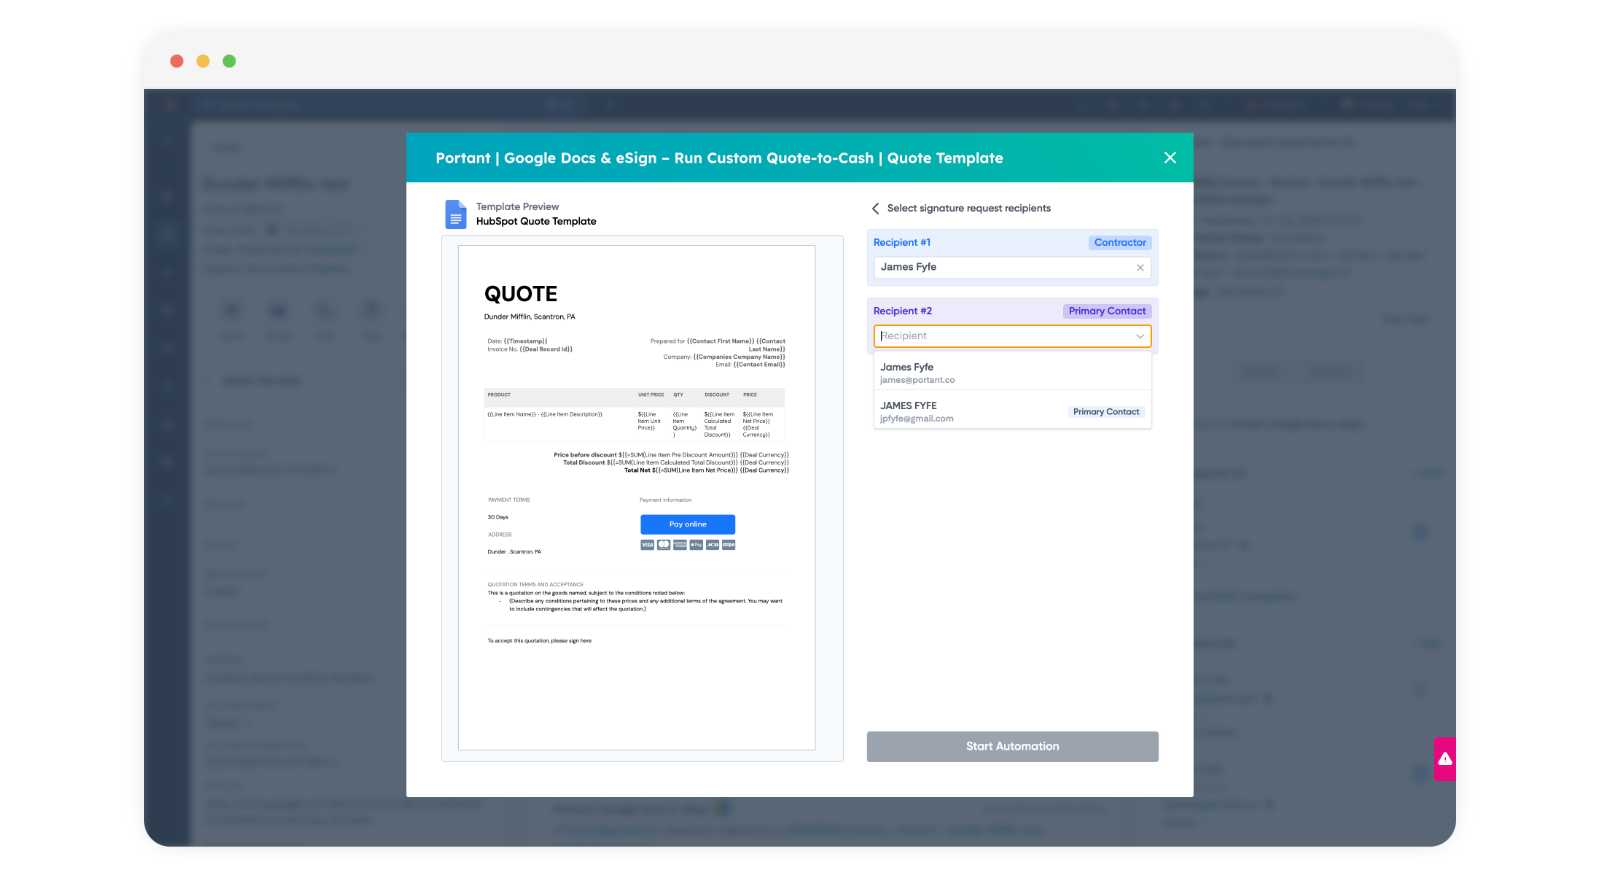
By default, the first contact for each label is pre-selected. You can override that before sending.
If a Portant workflow runs automatically (for example, from a HubSpot workflow trigger), Portant uses the first contact for each label.