Copper
The Copper integration lets you generate proposals, quotes, contracts and invoices straight from a Copper opportunity, with the document links written back to the opportunity record. This page covers installing the integration, building your first workflow, and running it from inside Copper.
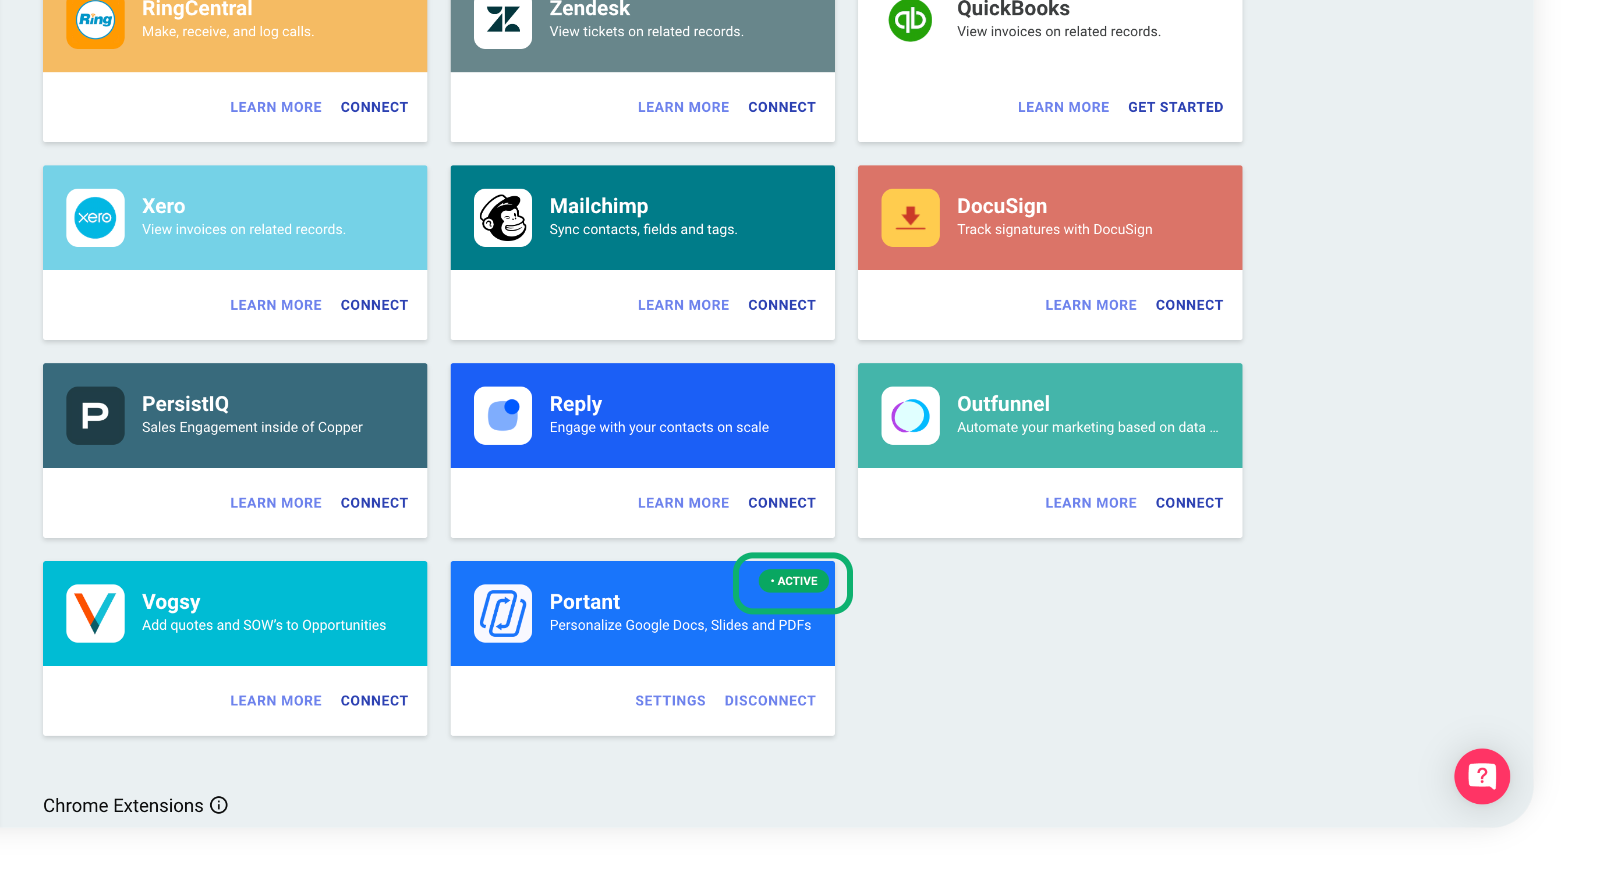
Step 1: install the integration
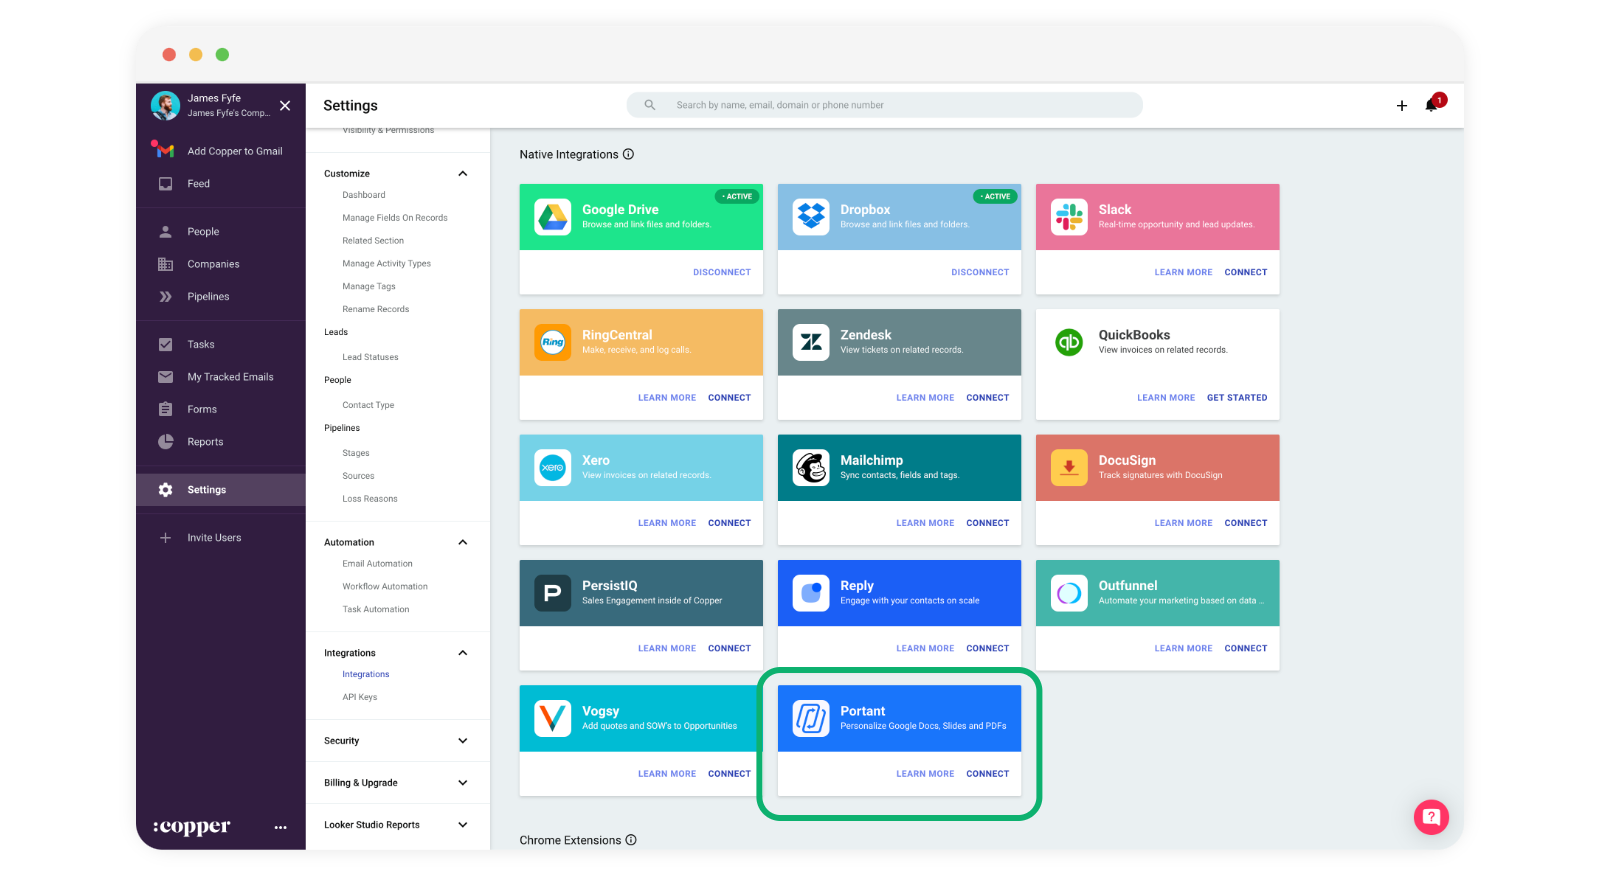
In Copper, go to Settings > Integrations > Integrations and search for Portant under Native integrations:
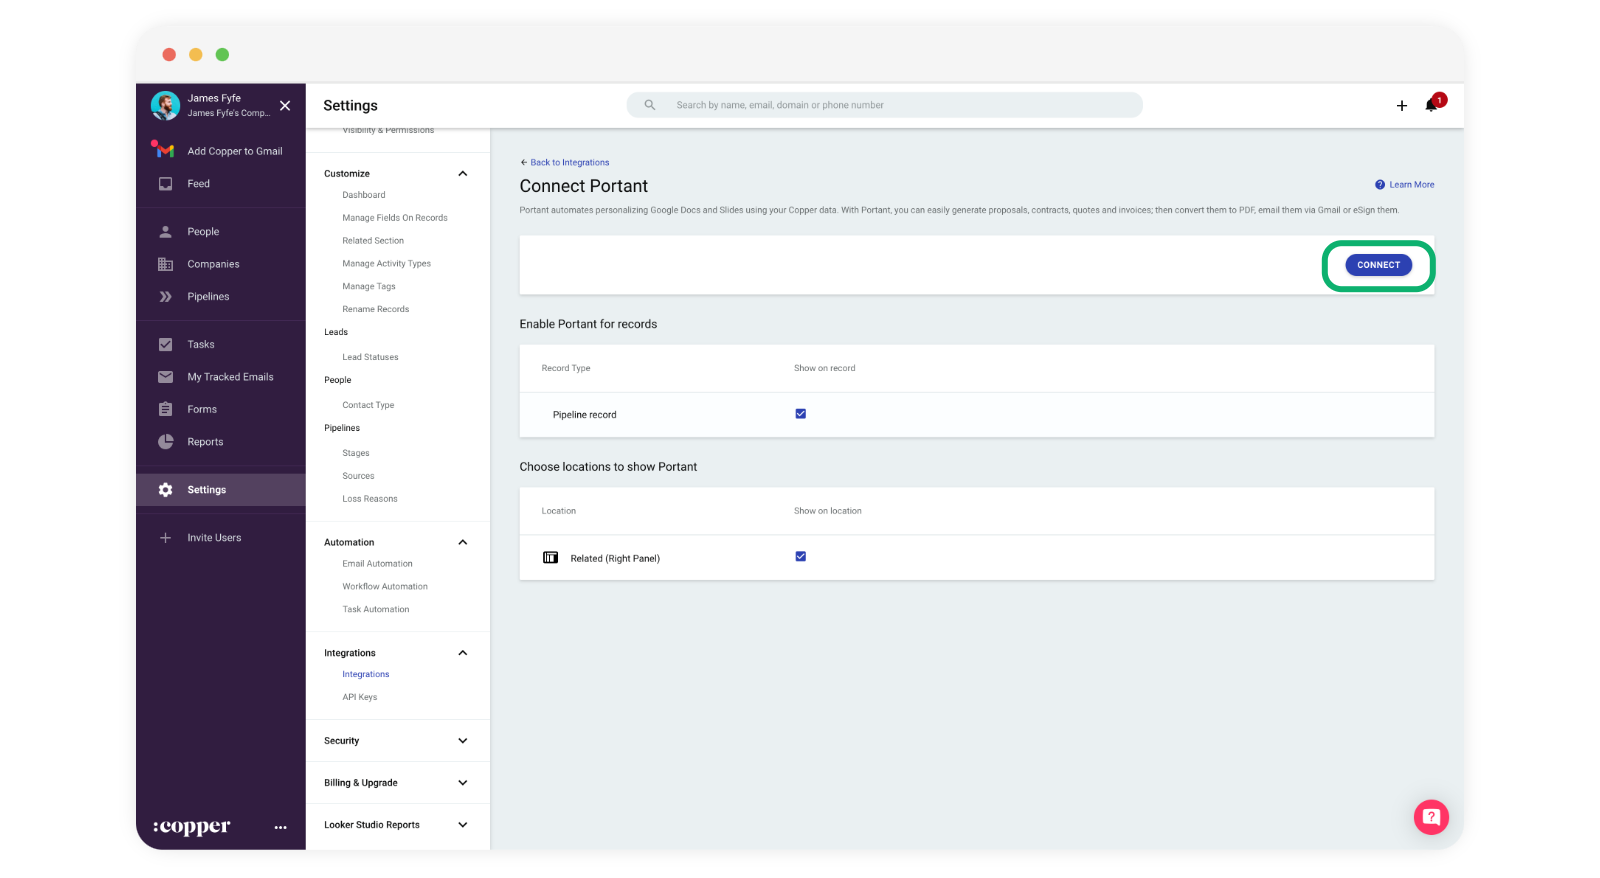
Click CONNECT:

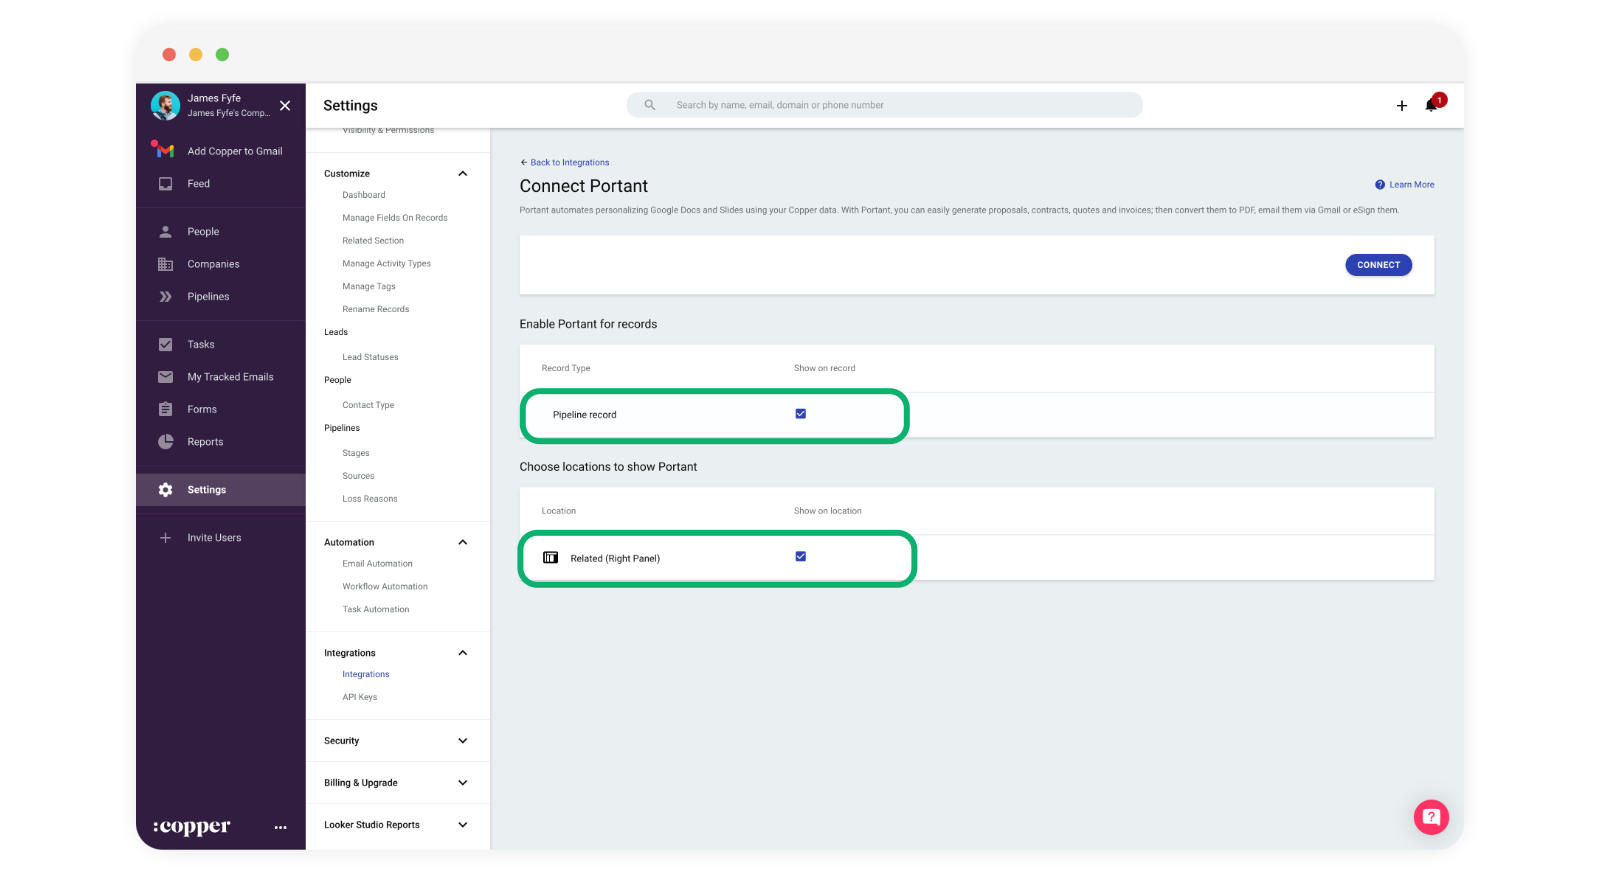
Tick these two checkboxes:
- Enable Portant for records > Pipeline record
- Choose locations to show Portant > Related (Right Panel)
Click CONNECT:
Once it's installed, the Portant card on the integrations page will show an Active tag in the top right:
Step 2: launch Portant from Copper
Open any opportunity in Copper. The Portant integration shows up in the right-hand panel:
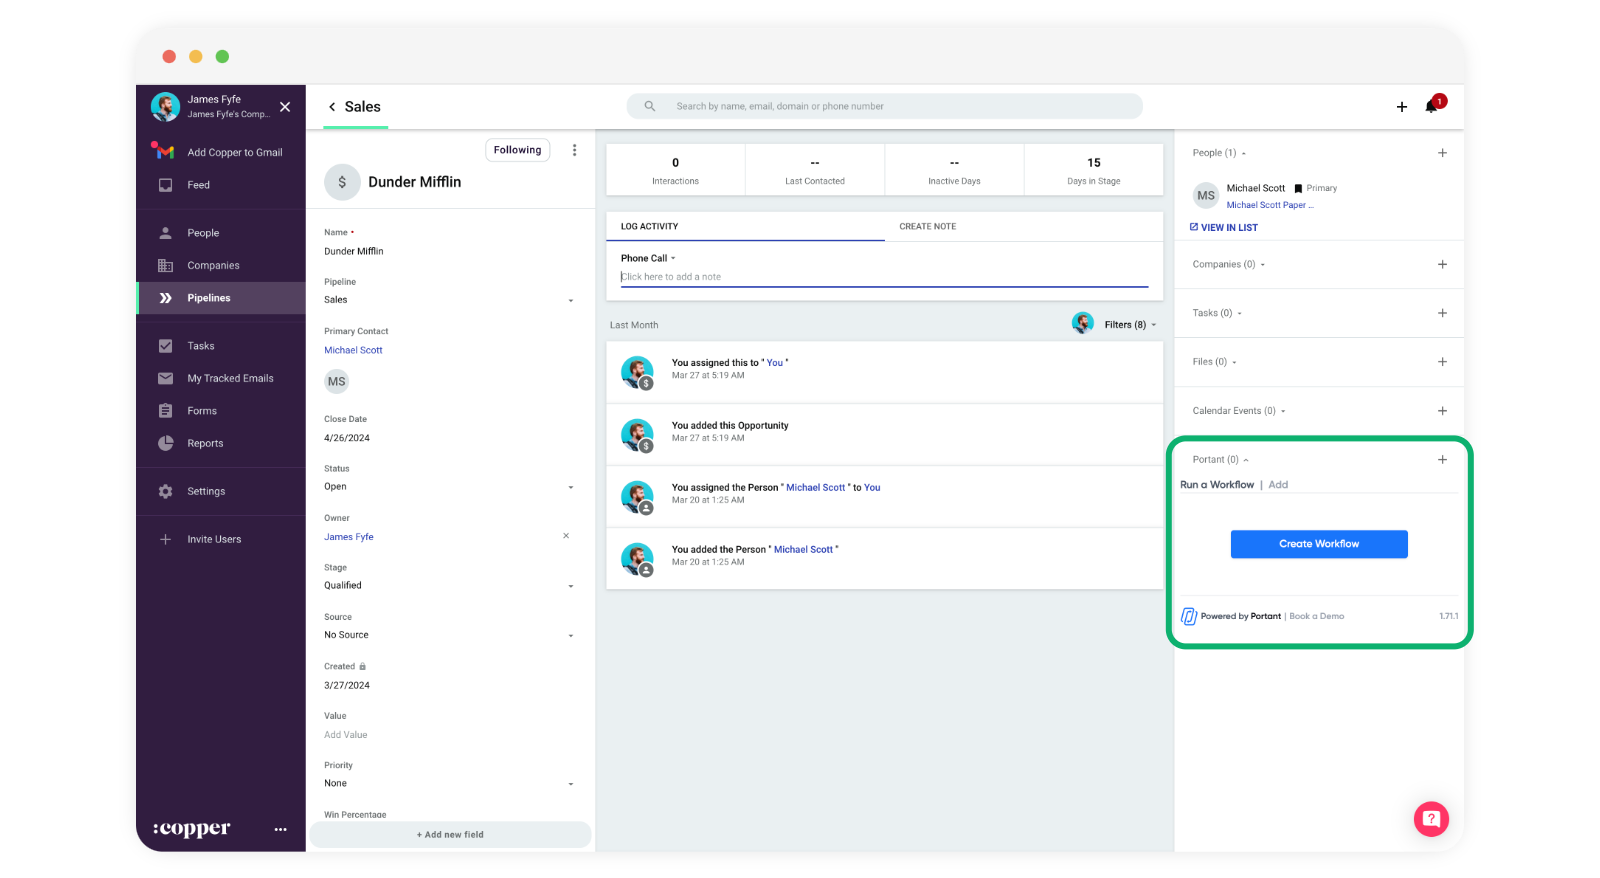
Click Create Workflow. A new tab opens in Portant with the start of a workflow.
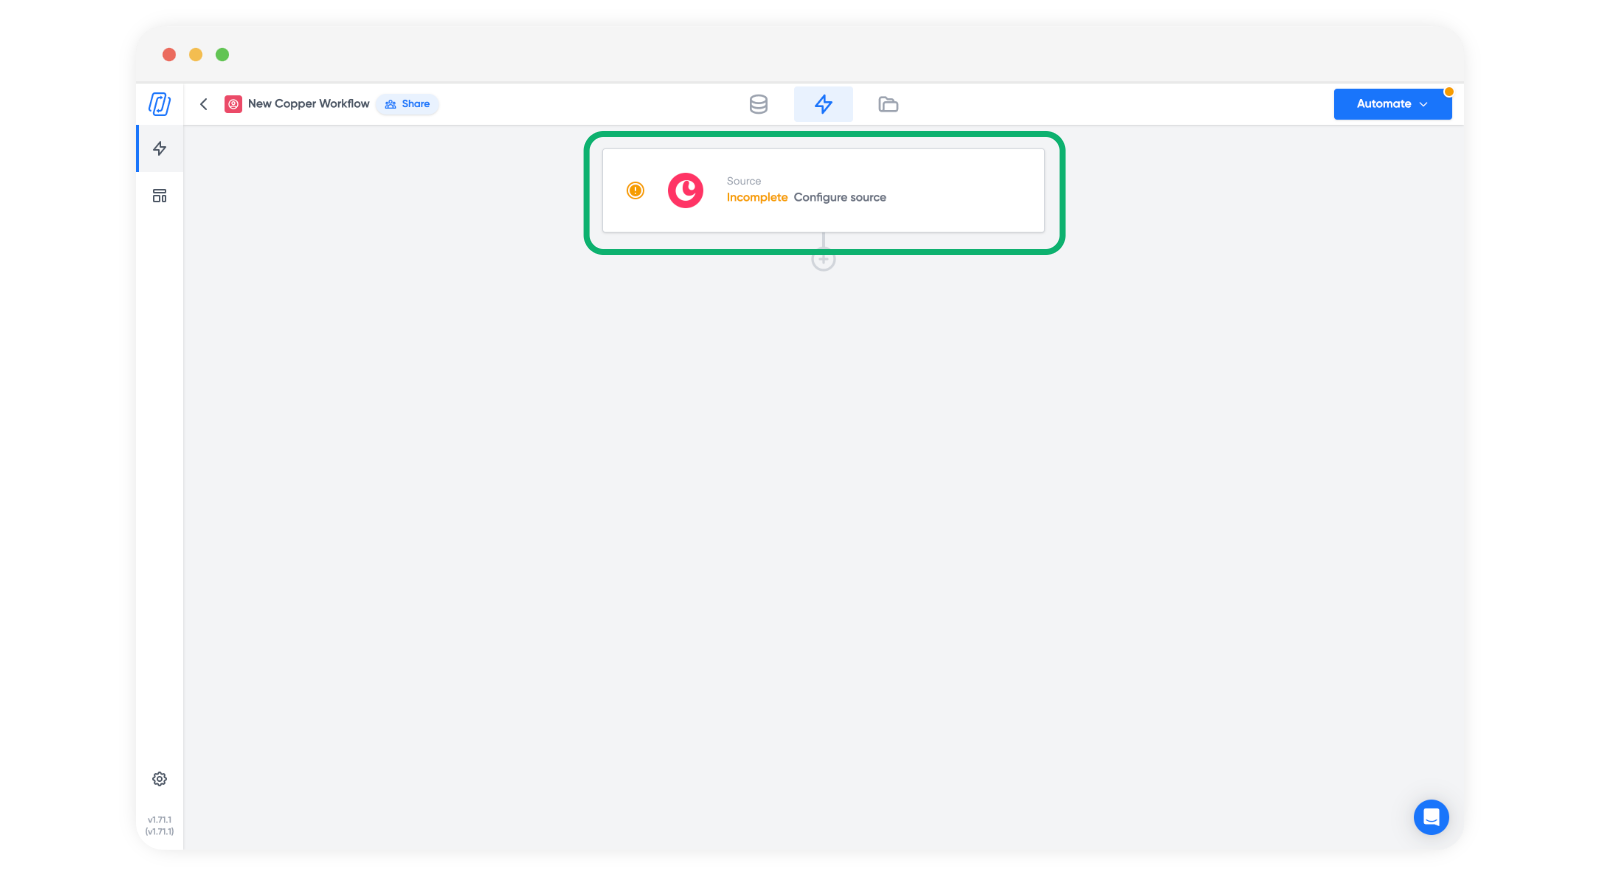
The first time, you'll need to authorise Portant to read your Copper data. Click the Copper block:
Click Connect Copper to Portant:
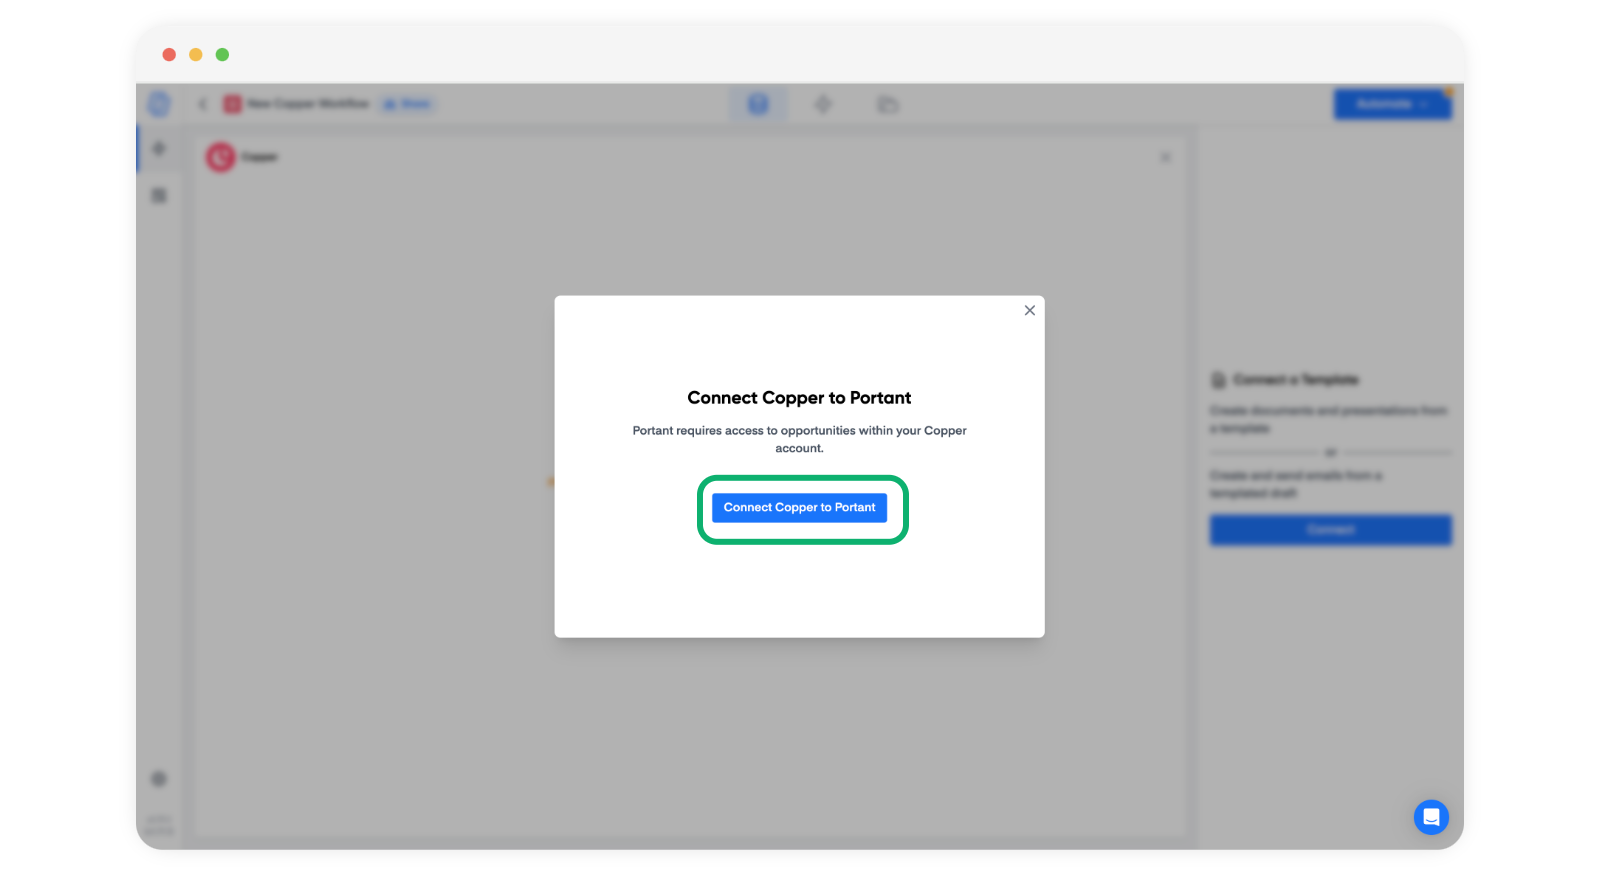
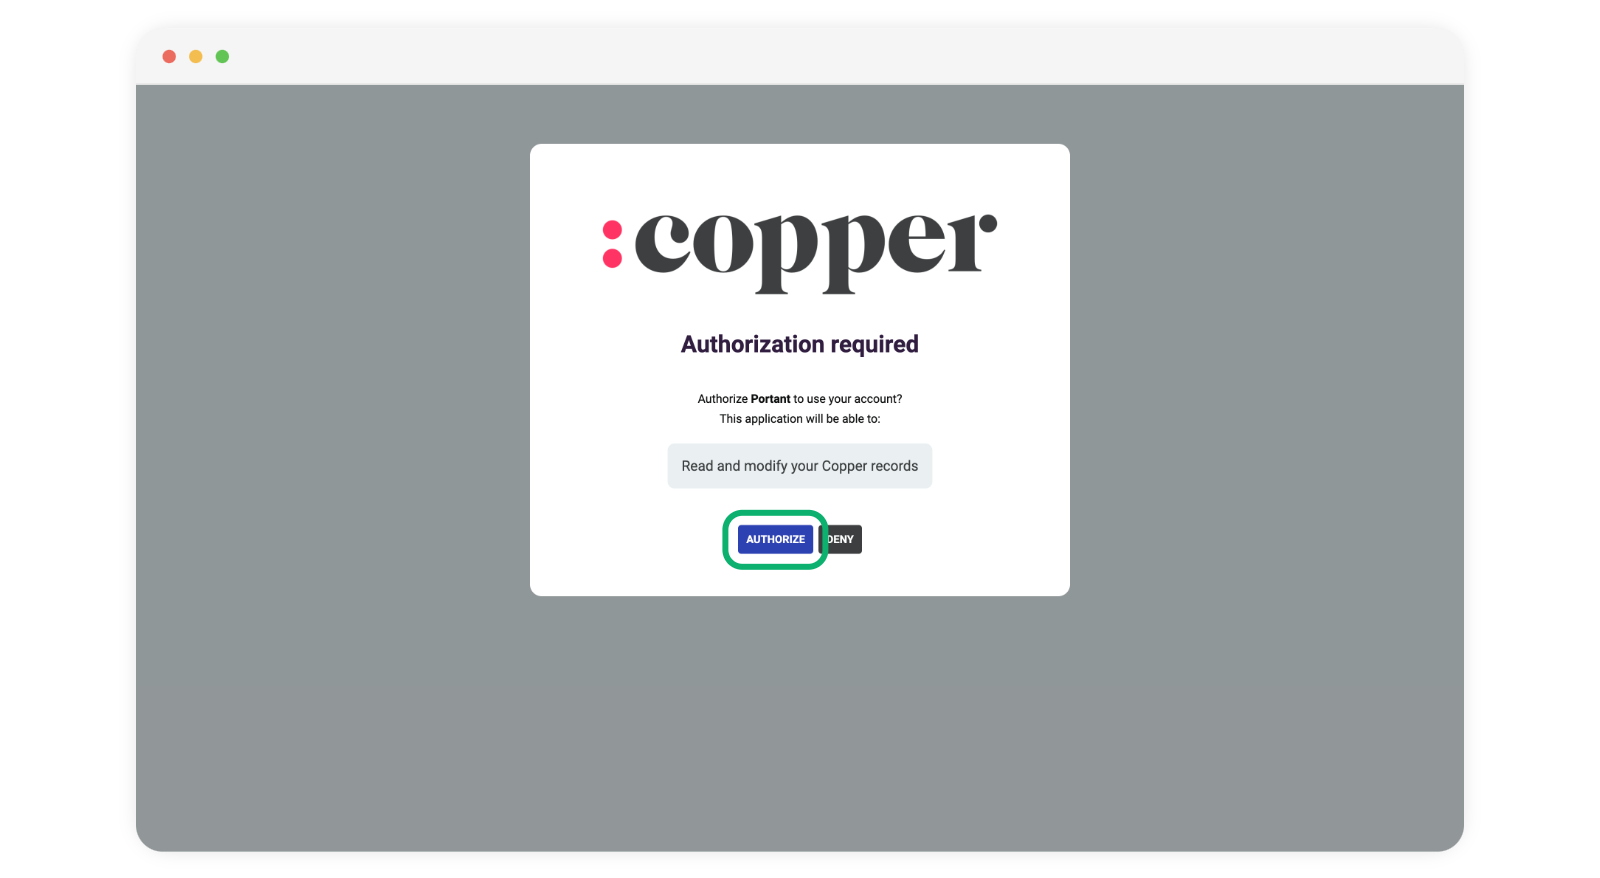
Approve the access request:
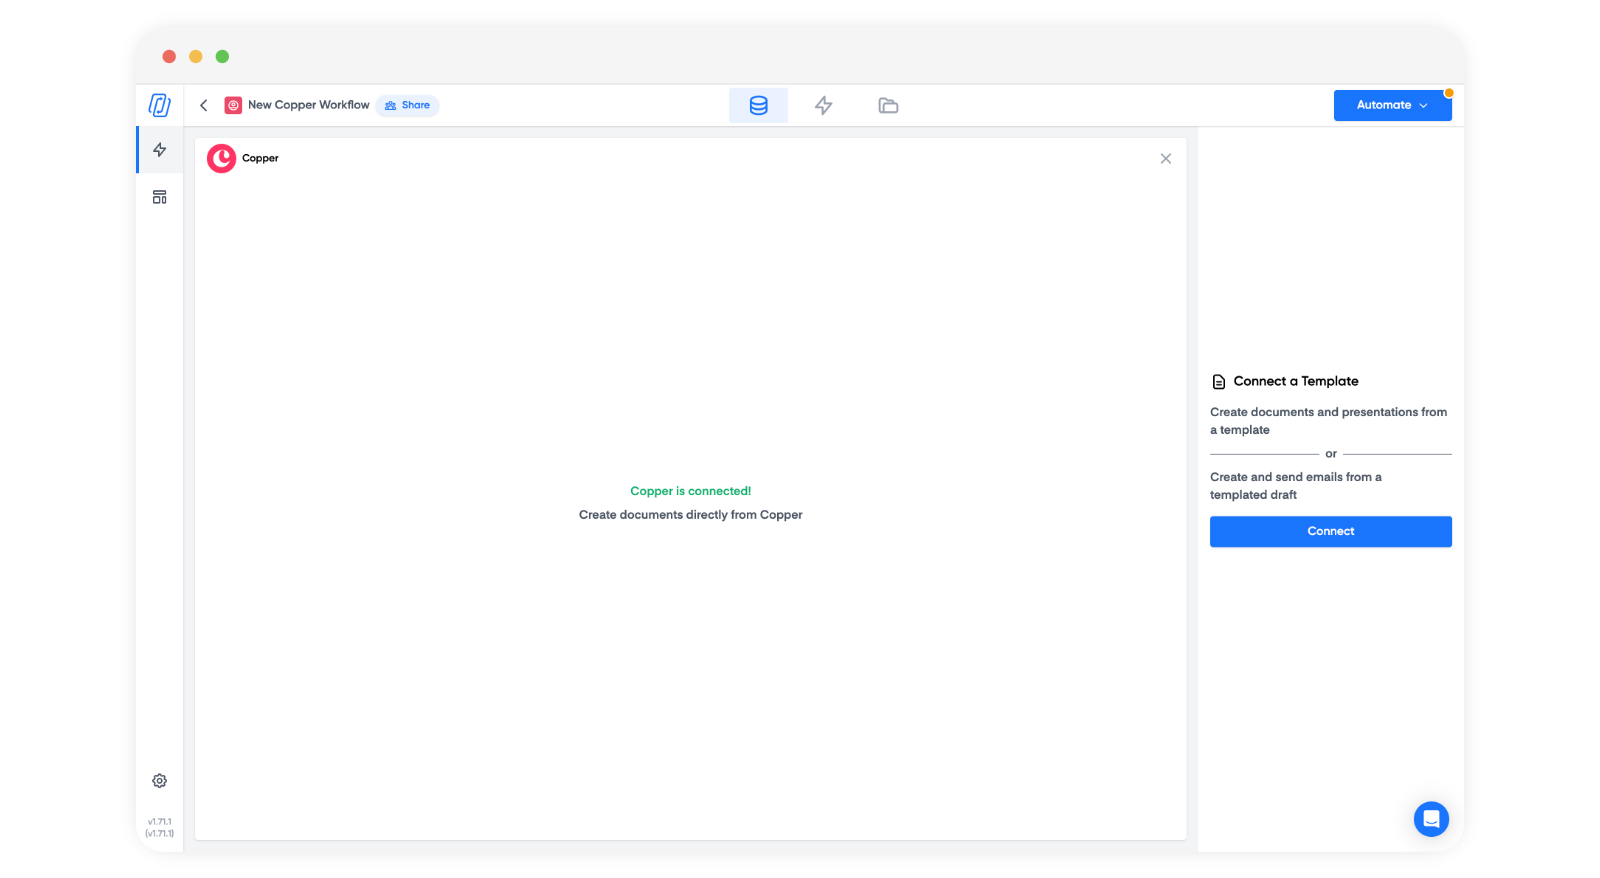
The Copper block will now say "Copper is connected":
Step 3: add a document to the workflow
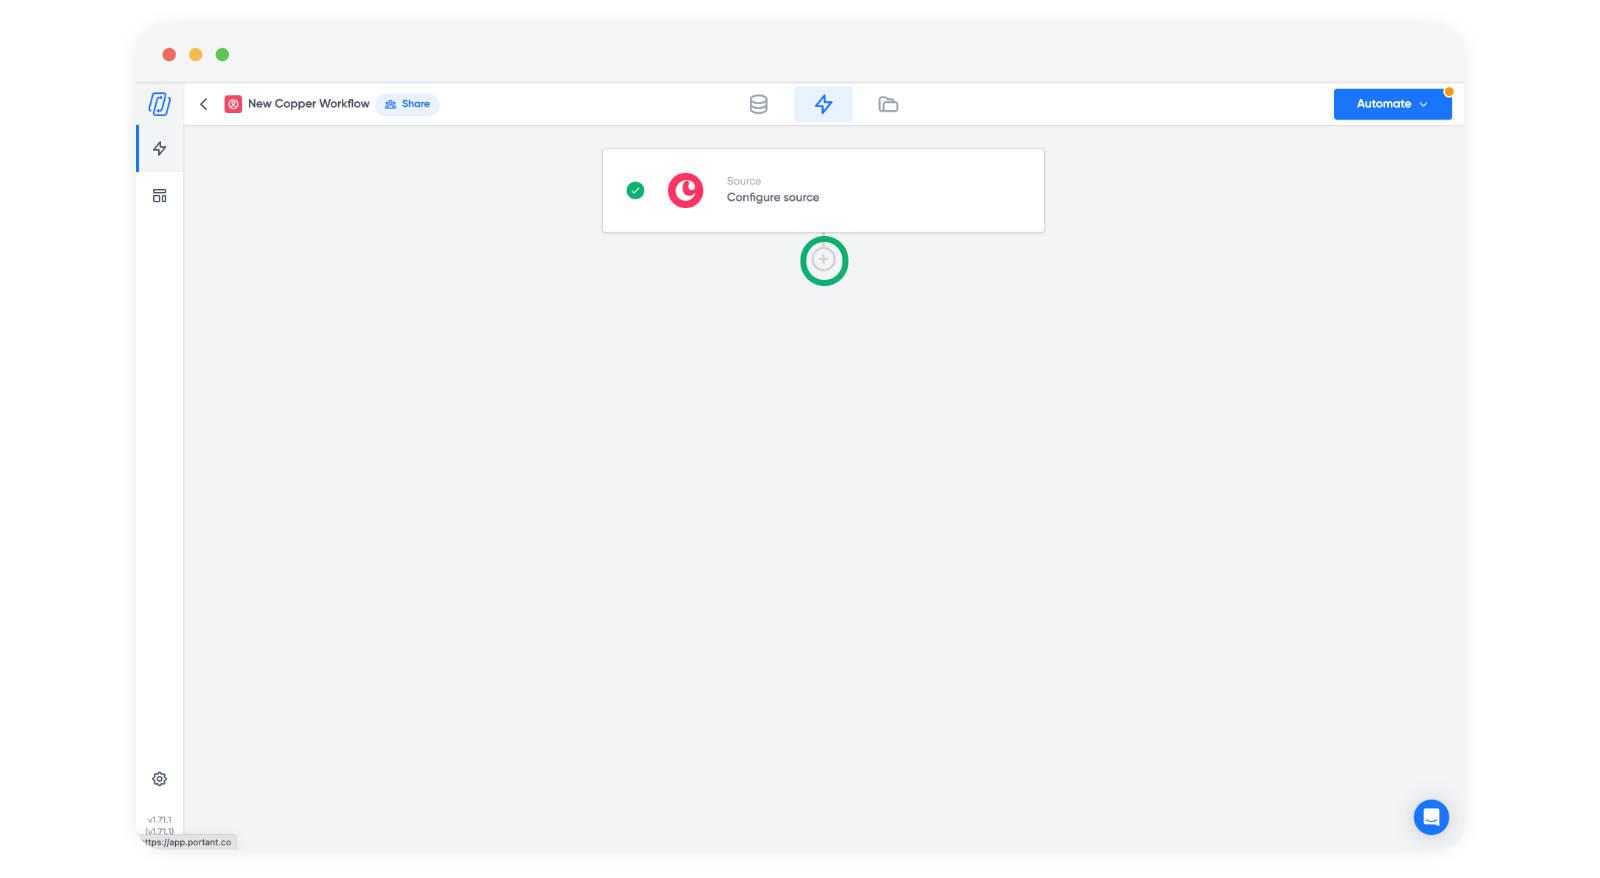
Click the plus button to add the next block:
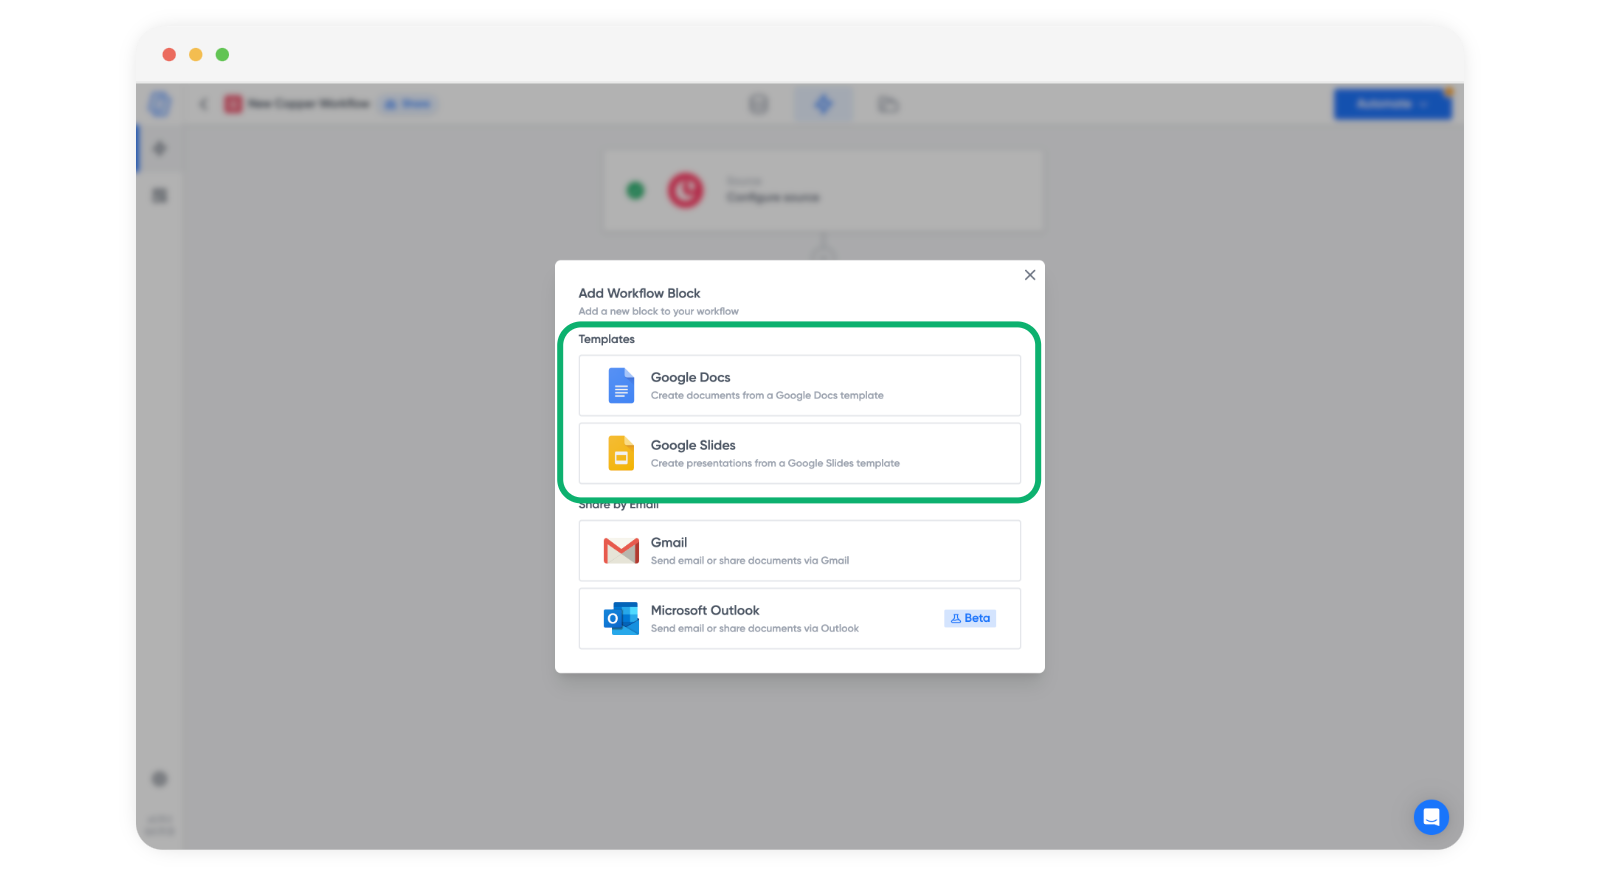
Pick a document or email:
Insert Copper fields into the template using tags. For more on building tags, see the tags overview and hyperlinks.
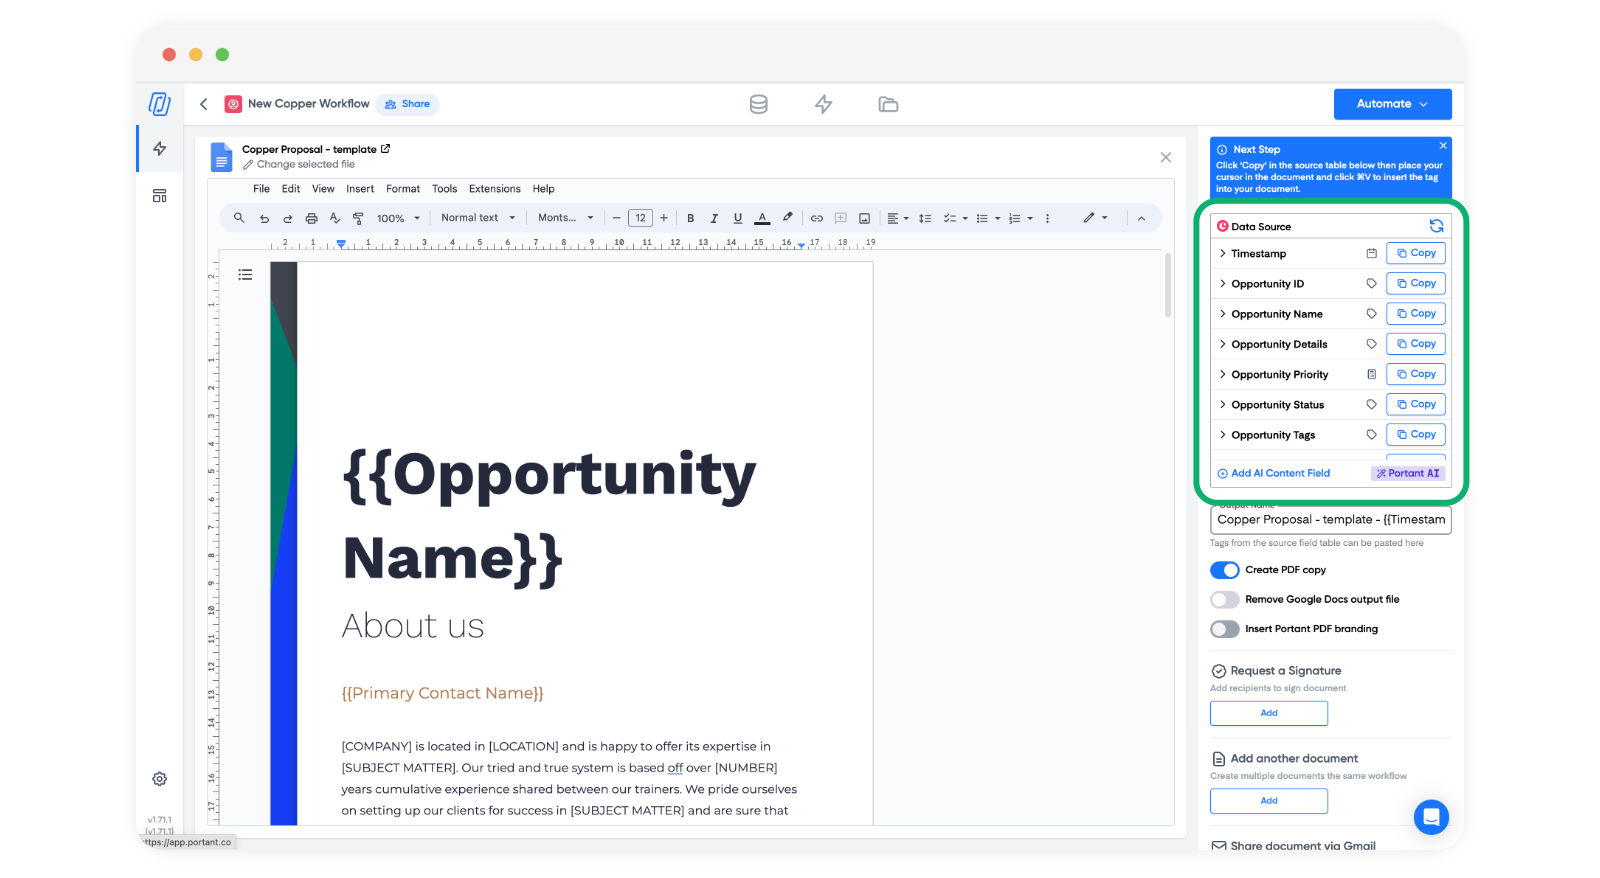
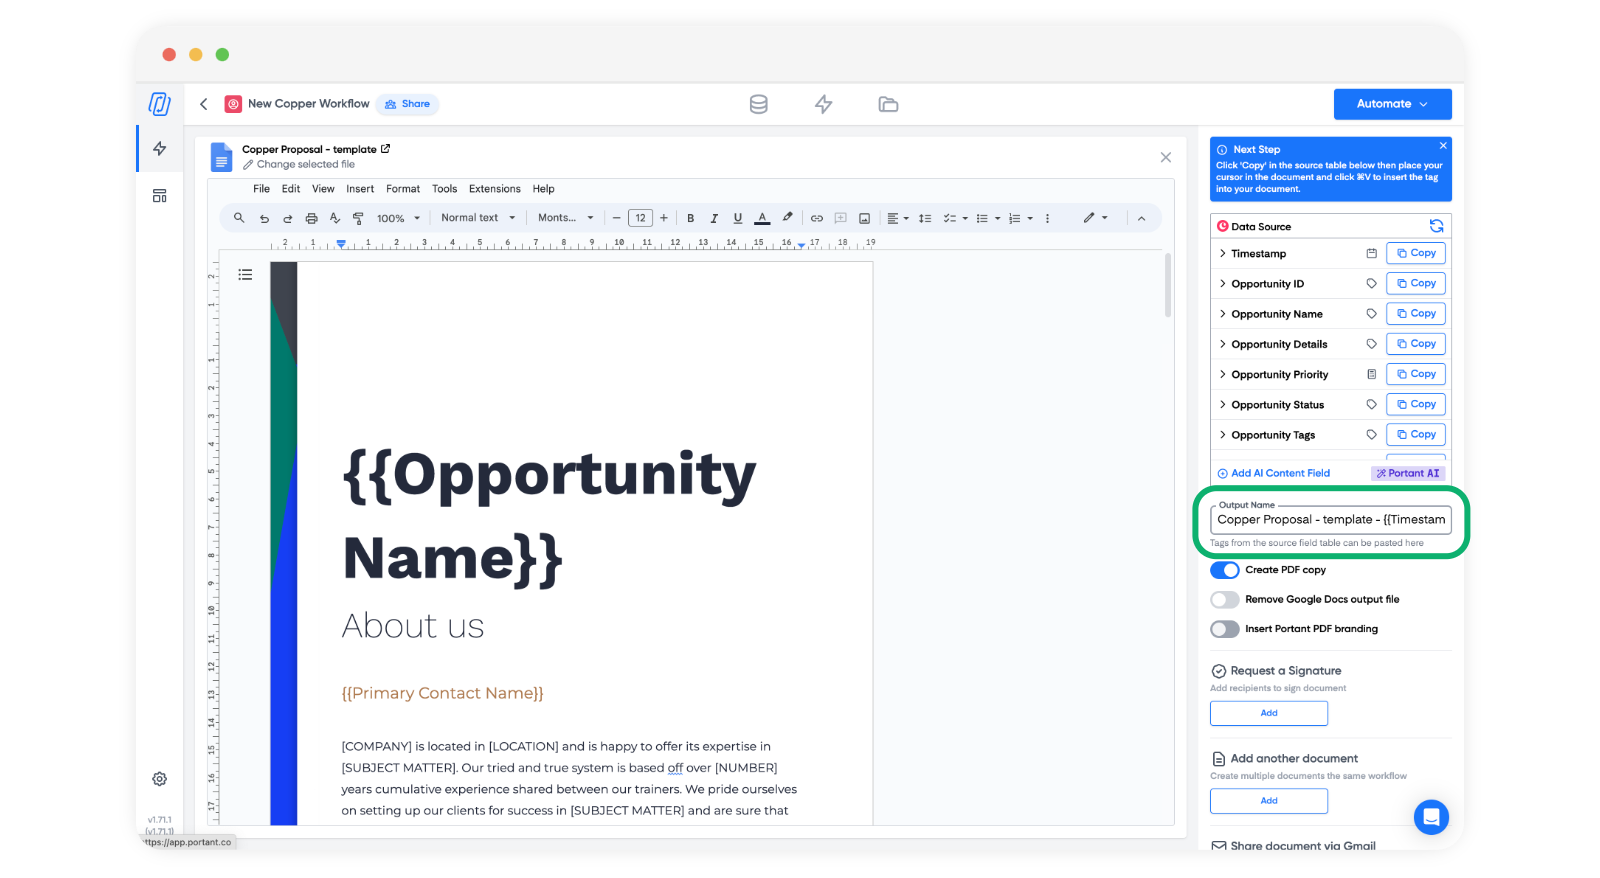
You can also add tags to the output file name, so each document is named after the opportunity:
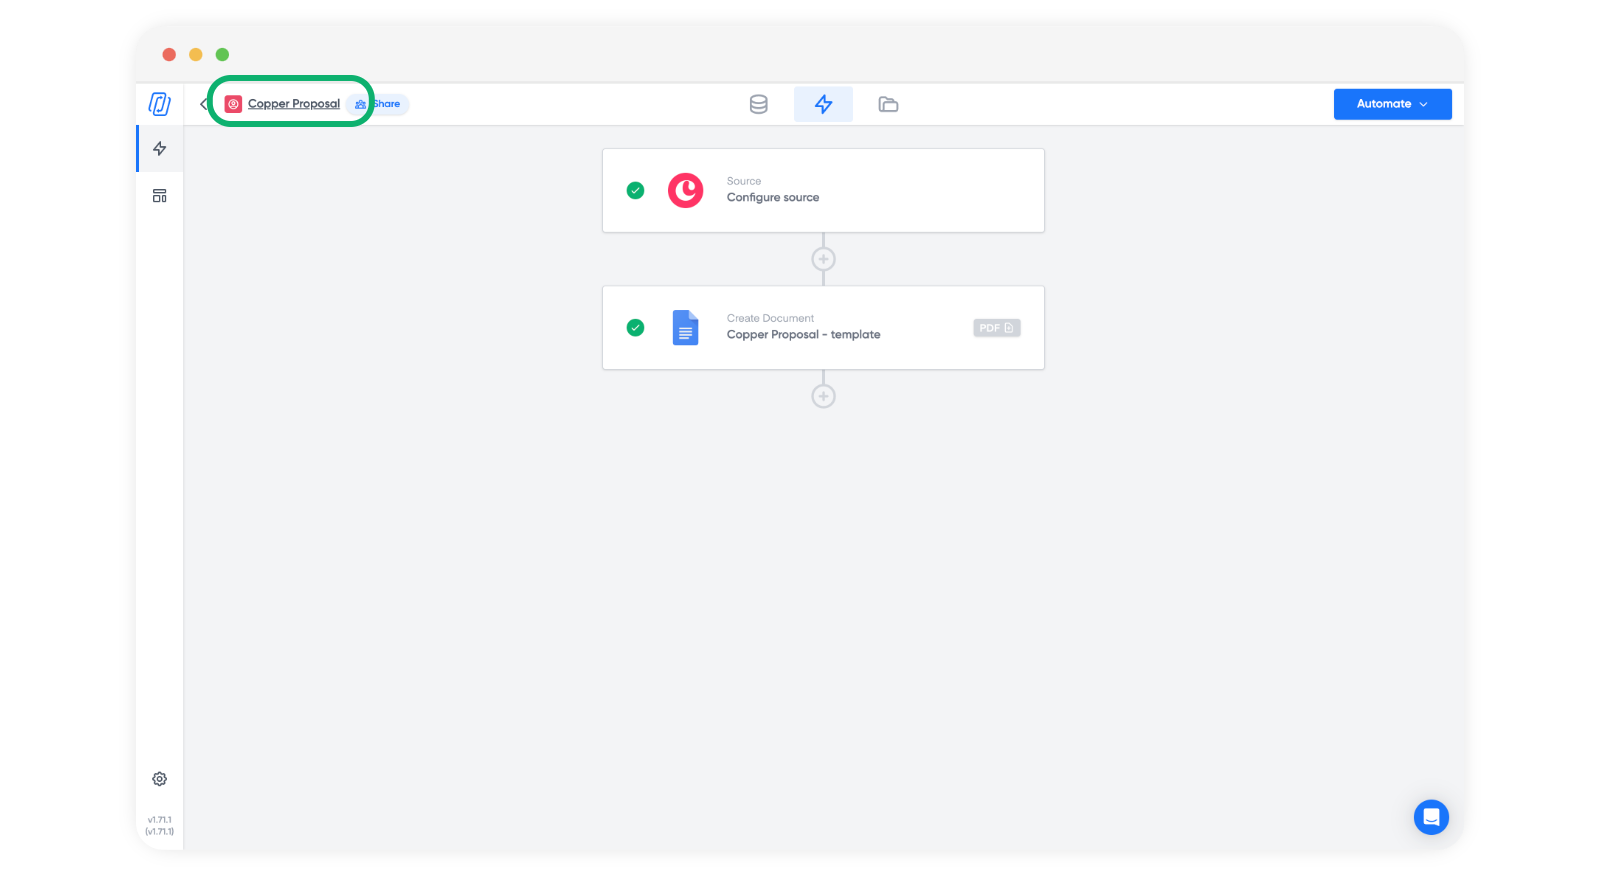
Finally, give the workflow a clear name. This is what you'll see in Copper when picking which workflow to run.
Step 4: run the workflow from Copper
Back in Copper, the workflow appears in the Portant panel with a Start button:
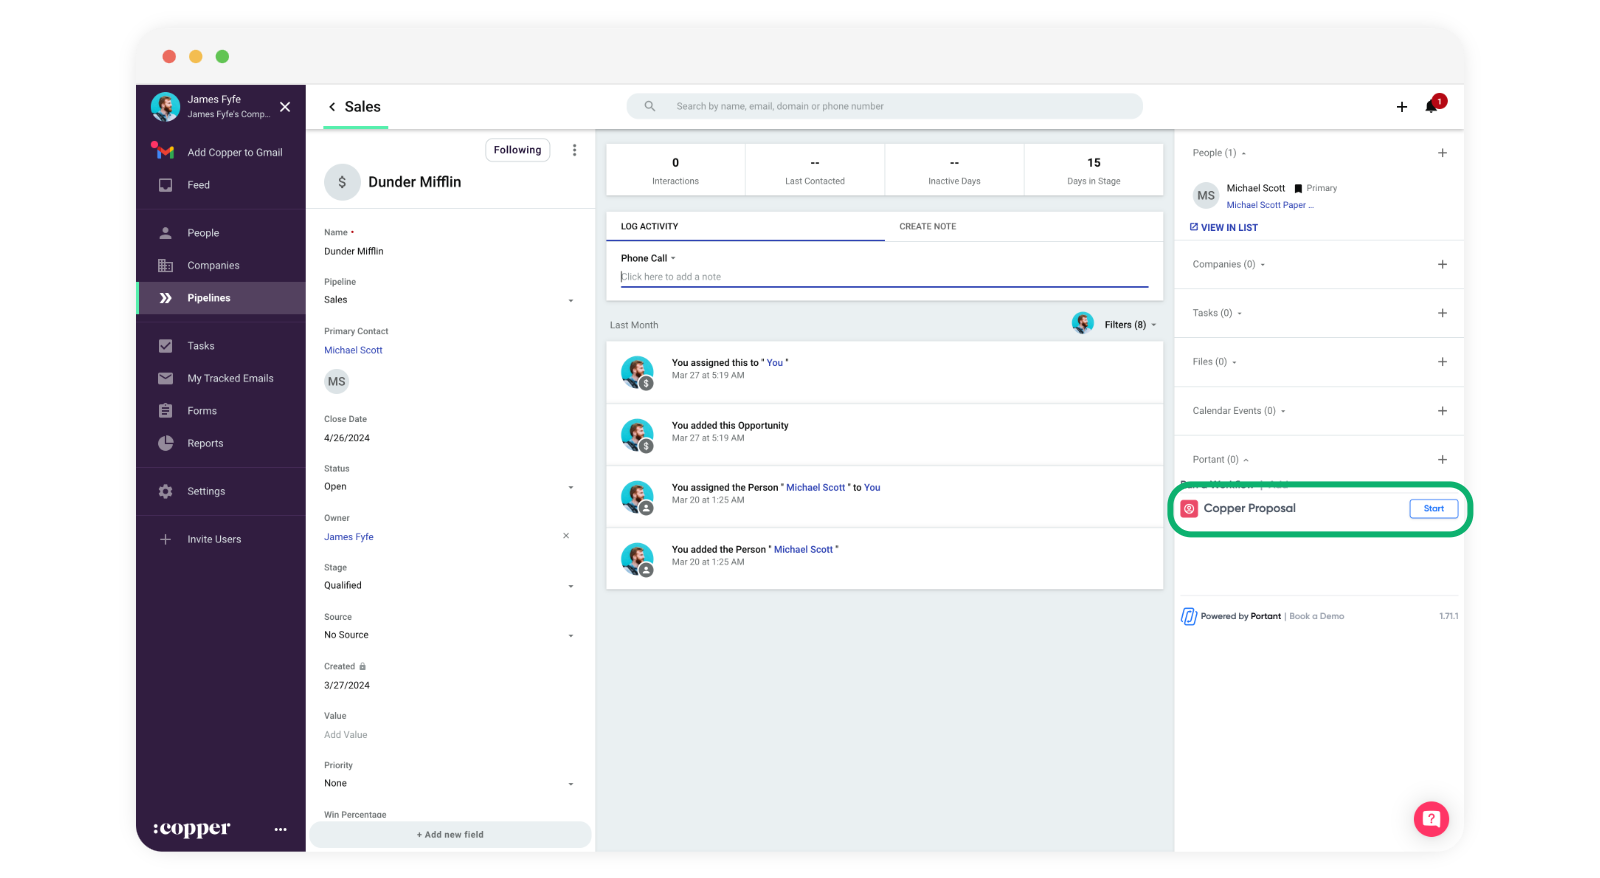
Click Start. Portant pulls data from the opportunity (and connected objects), creates the document, and writes the links into the activity feed and the Files section.
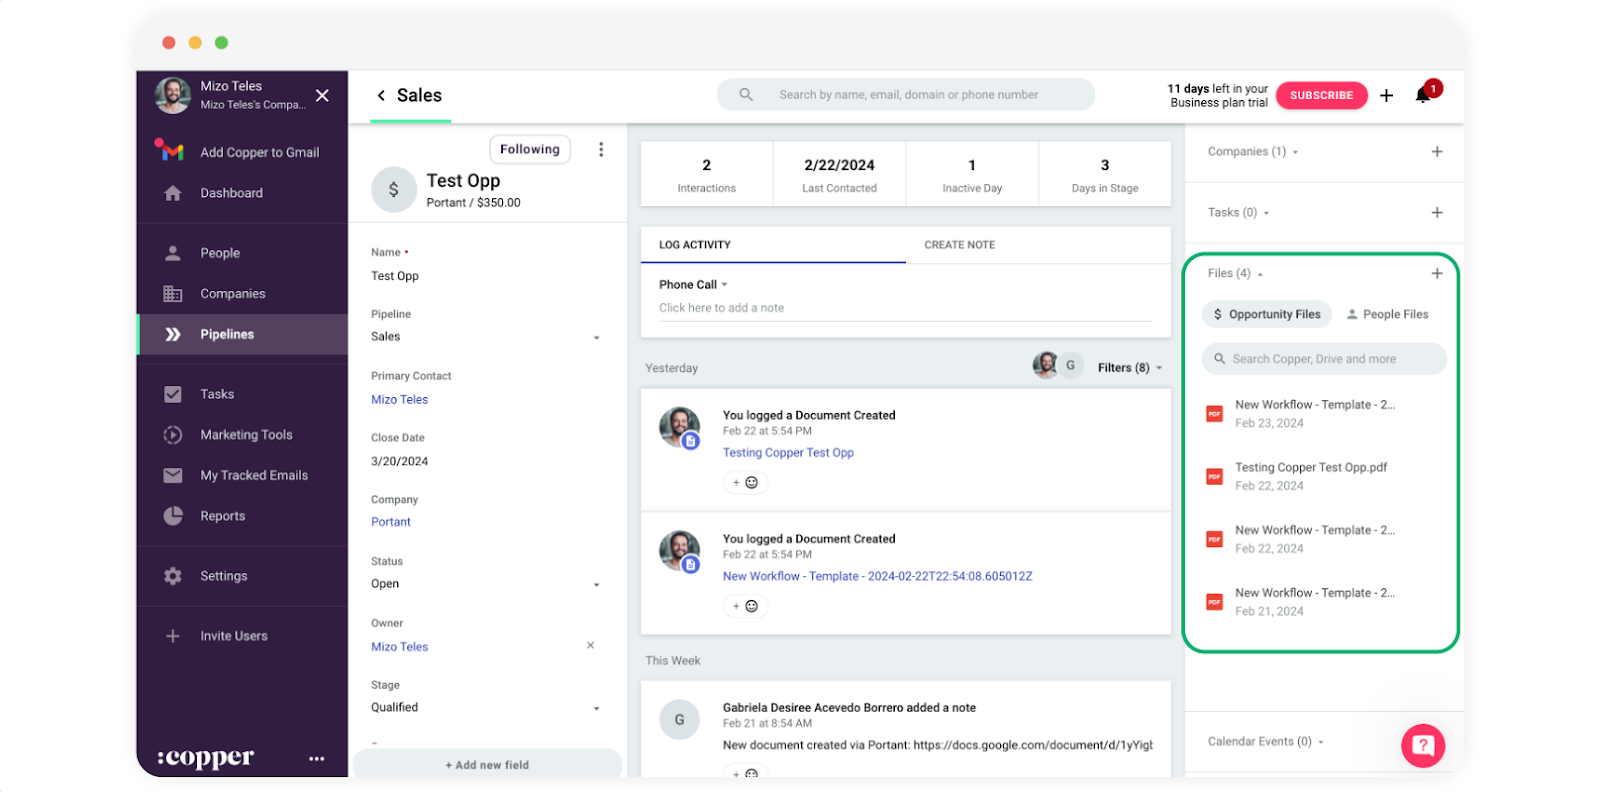
Step 5: view the output
Open the Files section in the right-hand panel and click the dropdown to see the generated document: