# Zapier
Zapier and webhooks are powerful tools that help automate and streamline business processes. By connecting different apps and services, Zapier collects valuable data that can be used to create custom documents. When you combine this with Portant, our online document generation tool, it takes this process to the next level by allowing users to create highly customized documents with ease.
In this article, we will explore how Zapier data and webhooks can be used in conjunction with Portant to create documents quickly and efficiently. We will discuss how Zapier can be used to collect data from different apps and services and how webhooks can be utilized to trigger document creation in Portant.
By the end of this article, you will have a clear understanding of how to use Zapier data and webhooks with Portant to create customised and professional documents.
**In this article, you’ll learn how to:**
1. Set up a Zapier workflow (Part 1)
2. Generate your Portant webhook address
3. Set up your Zapier webhook action event (Part 2)
4. Test your Zapier webhook action event
5. Format your document
6. Finish your workflow
7. Send generated documents back to Zapier
> Before you start this guide, please note that you require a Paid Zapier account to use Zapier's Webhook feature
#### Set up a Zapier workflow (Part 1)
In this article, we are going to assume you already have an account with Zapier, but if you don't, here is a guide on how to get started:
Once you have created a new Zap, you can select any trigger action that will start the Zap. This can be any app that Zapier connects to. In this example, we will use an Airtable base that we've set up to track expenses. So Select Airtable, then select the action to be triggered every time there is a new record in the database
> Remember you can choose any app in Zapier and any type of trigger.
The next step is to add your action. The action we are going to select is Webhook, which is a premium App in Zapier. This means you need to be on a paid plan to use it.
After you have selected 'Webhooks by Zapier' the next step is to select the Webhook to be a POST Event.
The next step is to enter the Webhook address. For this, we need to head back to Portant
#### Generate your Portant webhook address
When you select a Webhook as the source for a Portant Workflow, it generates a unique webhook address specific for that workflow. If you'd like to learn more about how to create workflows with Webhook sources, please read this guide: [www.portant.co/guide-article/how-to-get-started-with-webhooks](http://www.portant.co/guide-article/how-to-get-started-with-webhooks)
When you create a webhook source and open the source page, it will look like this:
Copy the address displayed here to your clipboard and move to the next step.
#### Set up your Zapier webhook action event (Part 2)
Copy the webhook address displayed in Portant and add it into your Zap, in the **POST Webhooks by Zapier > Set up action > URL (required)** field
The next step is to select the payload type. We need to select JSON as the payload type:
Then you can add your value pairs in the 'Data table' here:
In the left-hand column, you can write a name for the field, and in the right-hand column, you can insert a data tag from the app 'upstream' of the webhook event.
#### Test your Zapier webhook action event
After you have all the data in your table, you can leave all the other fields and click 'Continue'
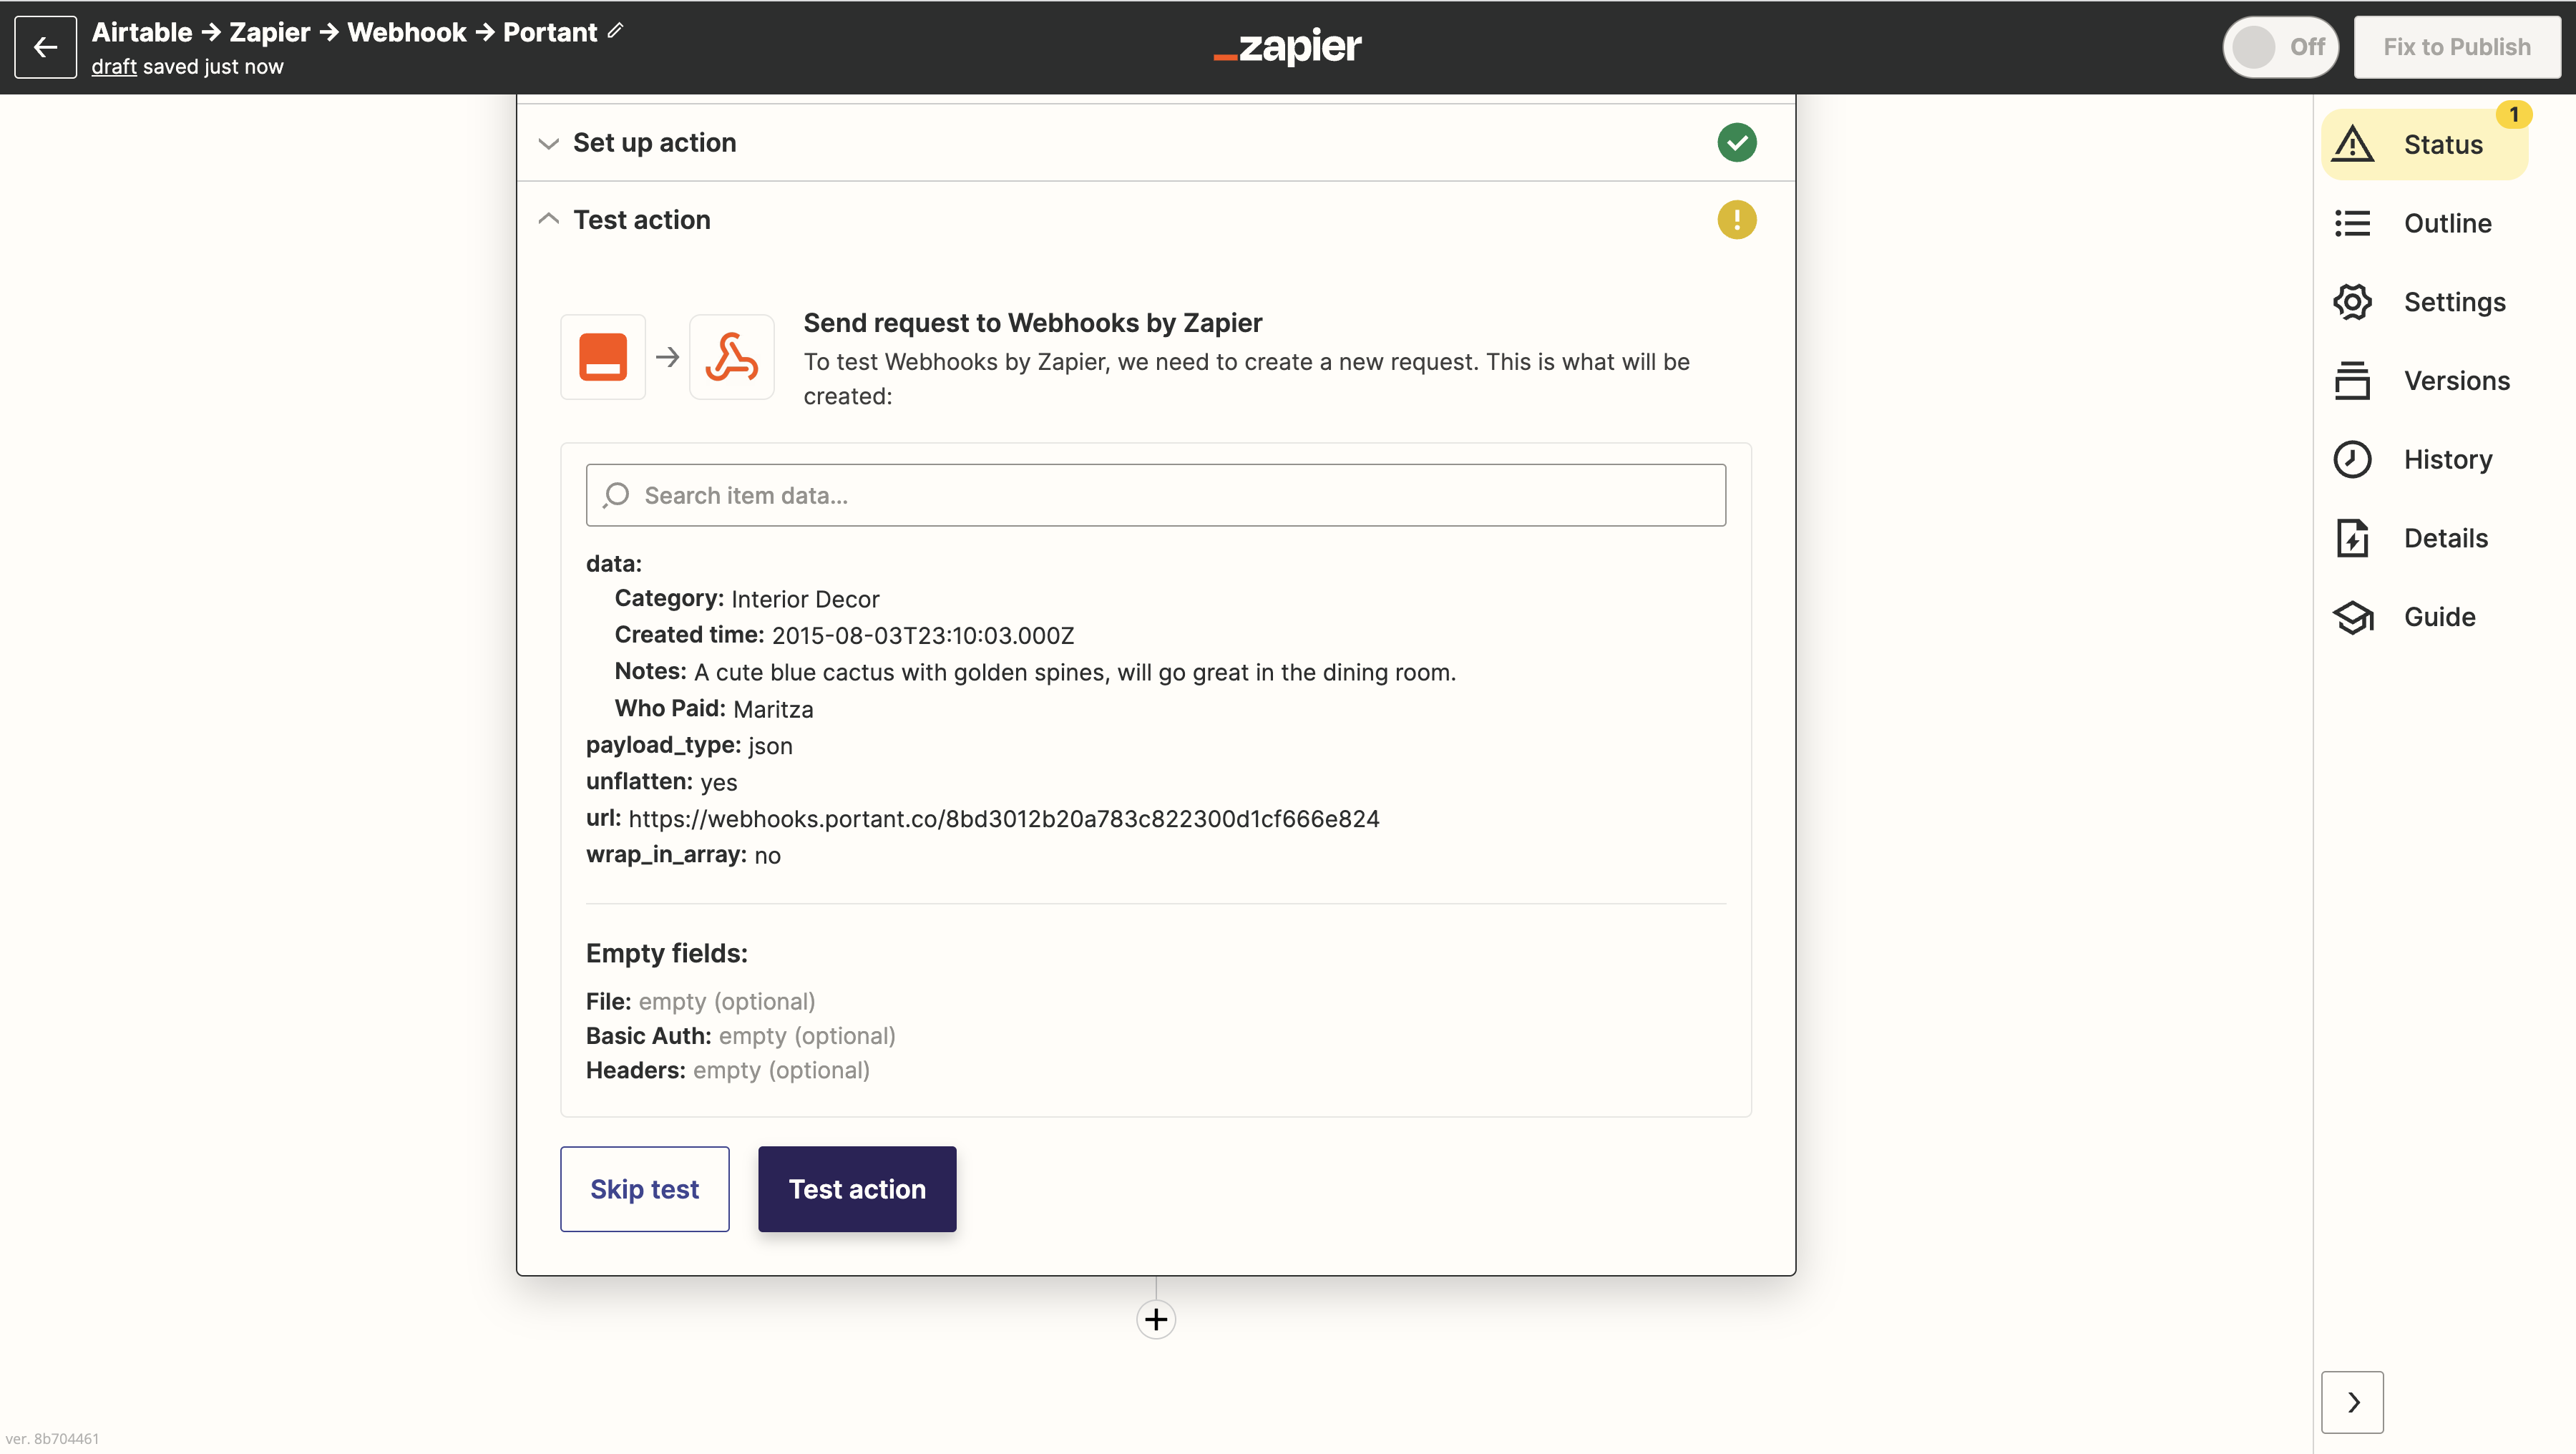
Now you will be able to test your Webhook. In the 'Test Action' section, click the button '**Test Action**'
This will send sample data via the webhook to Portant. You can then open Portant and press the refresh button just above and to the right of the webhook address. When you click the refresh icon, you will be able to see the sample data in the Source table here:
#### Format your document (or email)
You can now Format your document with the values/fields sent by Zapier. First, click the blue '**Connect**' button on the right side and select a Google Doc/Slide or Email. Then you can select to make a new document or an existing template from your Google Drive. After it's open, you can customise your document by copying tags from the source table in the right panel and pasting them into your template.
#### Finish your workflow (turn it on)
After you have formatted your document, select the file name structure, etc. The next step is to turn on your workflow. First of all, turn on auto-create in Portant (the toggle is located in the top right of the page)
Then go back to Zapier and '**Publish & Turn on**' your Zap
🎉 That's it. Your workflow will now create a document any time your Zap runs. As a final step, you should test the whole flow with some sample data.
#### How to send documents back to Zapier (and onto other apps)
Now that you've generated documents from Zapier data, you probably want to send these documents to another application. To send documents generated by Portant back to Zapier, you can use Email by Zapier and IMAP by Zapier, to trigger Zaps when you receive new emails.
To connect Portant back to Zapier, add a new email block and insert the custom email address Zapier generates for you into the to field. In the body of the email, you can add any data or tags you need to include in the workflow. Then attach the documents you want to send back to Zapier. For more details on how to get started, here is a guide made by Zapier:
#### Feedback and feature suggestions
We created Portant in 2021, and the feedback we have received since then has been very helpful and greatly appreciated. If you have any feedback, please feel free to send us an email at
---
# Agent Instructions: Querying This Documentation
If you need additional information that is not directly available in this page, you can query the documentation dynamically by asking a question.
Perform an HTTP GET request on the current page URL with the `ask` query parameter:
```
GET https://docs.portant.co/portant-docs/sources/zapier.md?ask=
```
The question should be specific, self-contained, and written in natural language.
The response will contain a direct answer to the question and relevant excerpts and sources from the documentation.
Use this mechanism when the answer is not explicitly present in the current page, you need clarification or additional context, or you want to retrieve related documentation sections.