Xero
Xero is an accounting platform for small and medium businesses. With Portant, you can pull data from Xero (typically invoices) and turn it into custom-branded documents. This page covers connecting Xero, picking a template, and generating your first document.
Step 1: create a Portant workflow
If you don't have a Portant account yet, sign up for free.
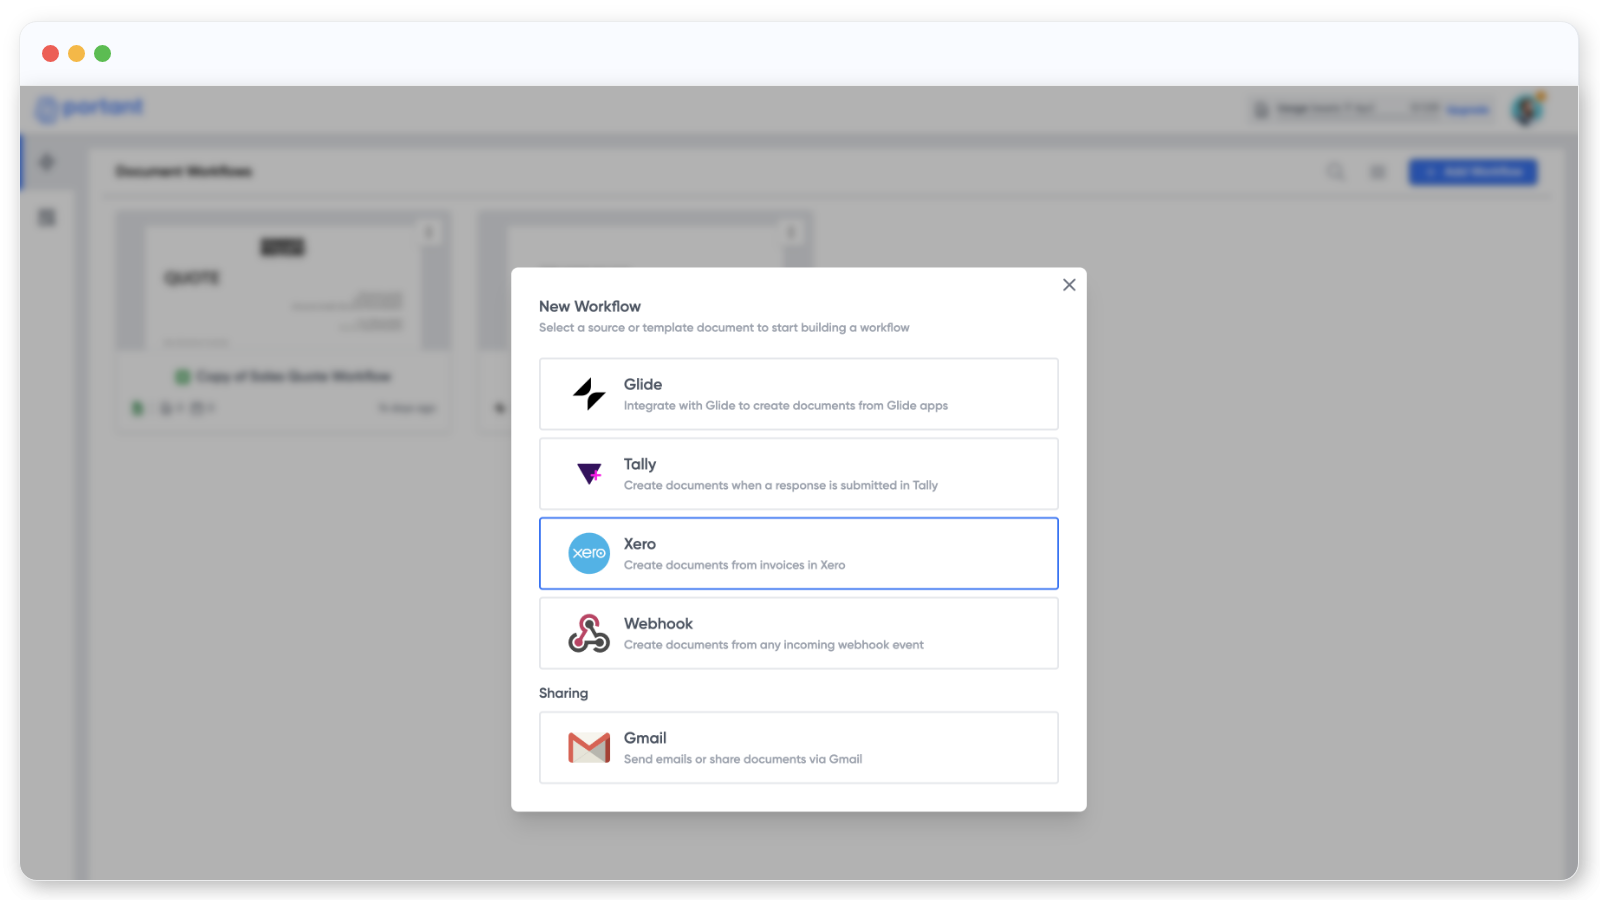
Click New Workflow in the top right.
Step 2: pick Xero as the source
Select Xero as the source for your workflow:
The first time you do this, you'll need to authorise Portant to read your Xero data. You only have to do it once, and you can manage the connection from your permissions page at any time.
Most people use Xero to build invoice documents, so Portant pre-loads an invoice template:
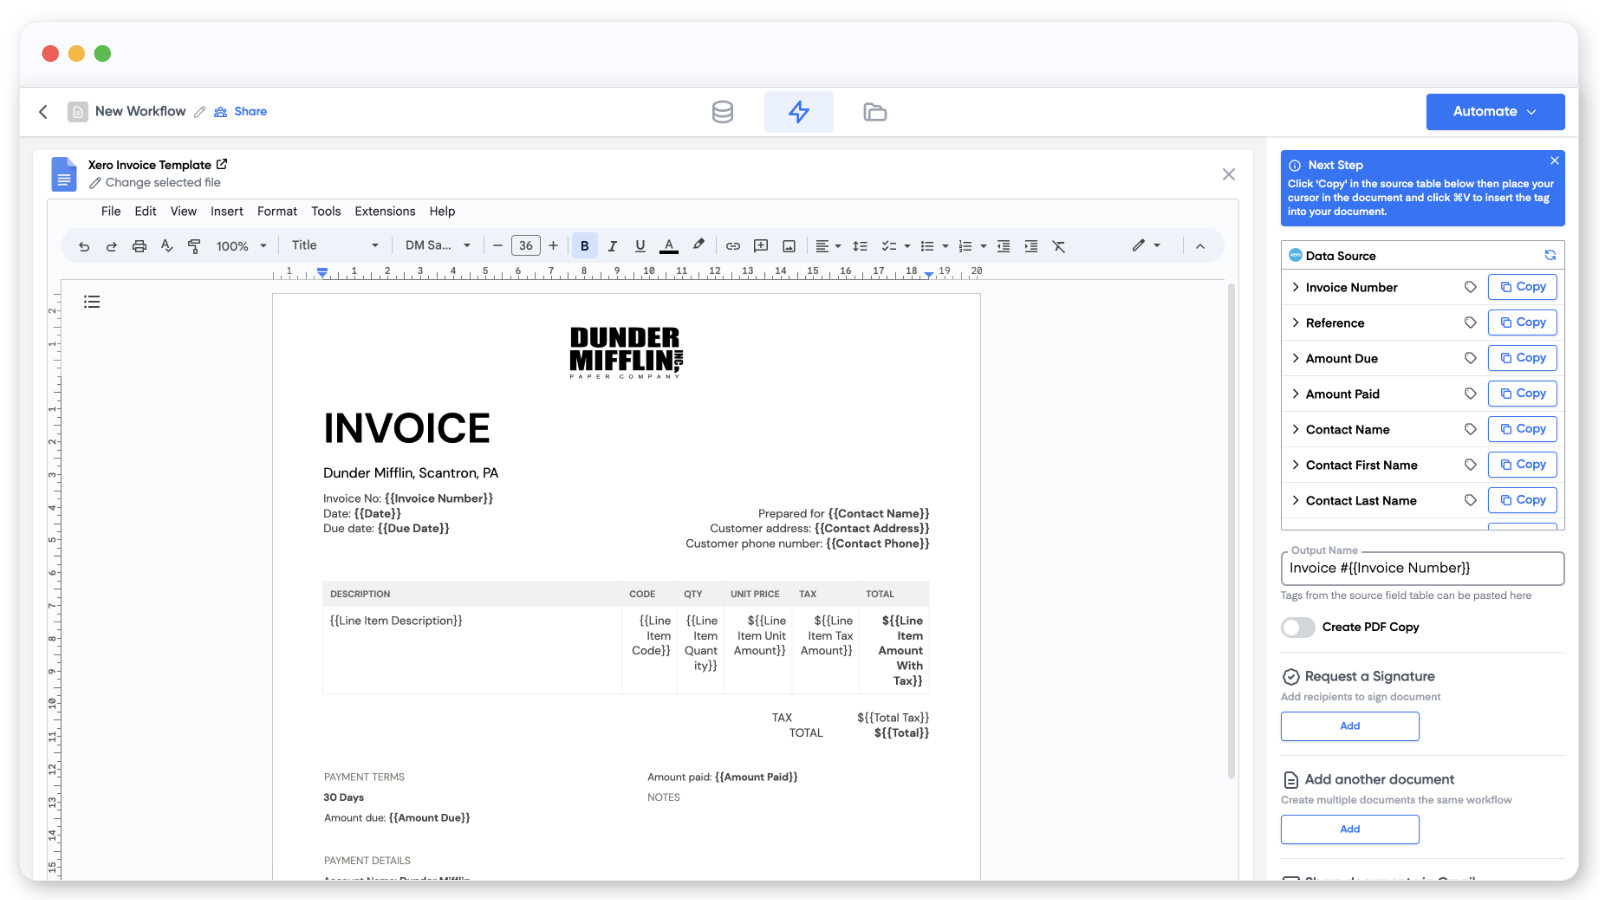
If you have your own template, click Change selected file under the document name and pick it from your Google Drive.
Step 3: customise the template
Drop tags from the Xero source table into the document. To insert a tag, click Copy, place your cursor where you want it, and paste with Ctrl+V or Cmd+V.
You can also customise the file name in the right panel and turn on PDF output.
PDFs on the Free plan include a Portant watermark in the footer. To remove it, upgrade to a paid plan.
Step 4: generate your first document
Click the Automate button in the top right. Portant will jump back to the Xero source page so you can pick which invoices to run. Tick the ones you want and click Start:
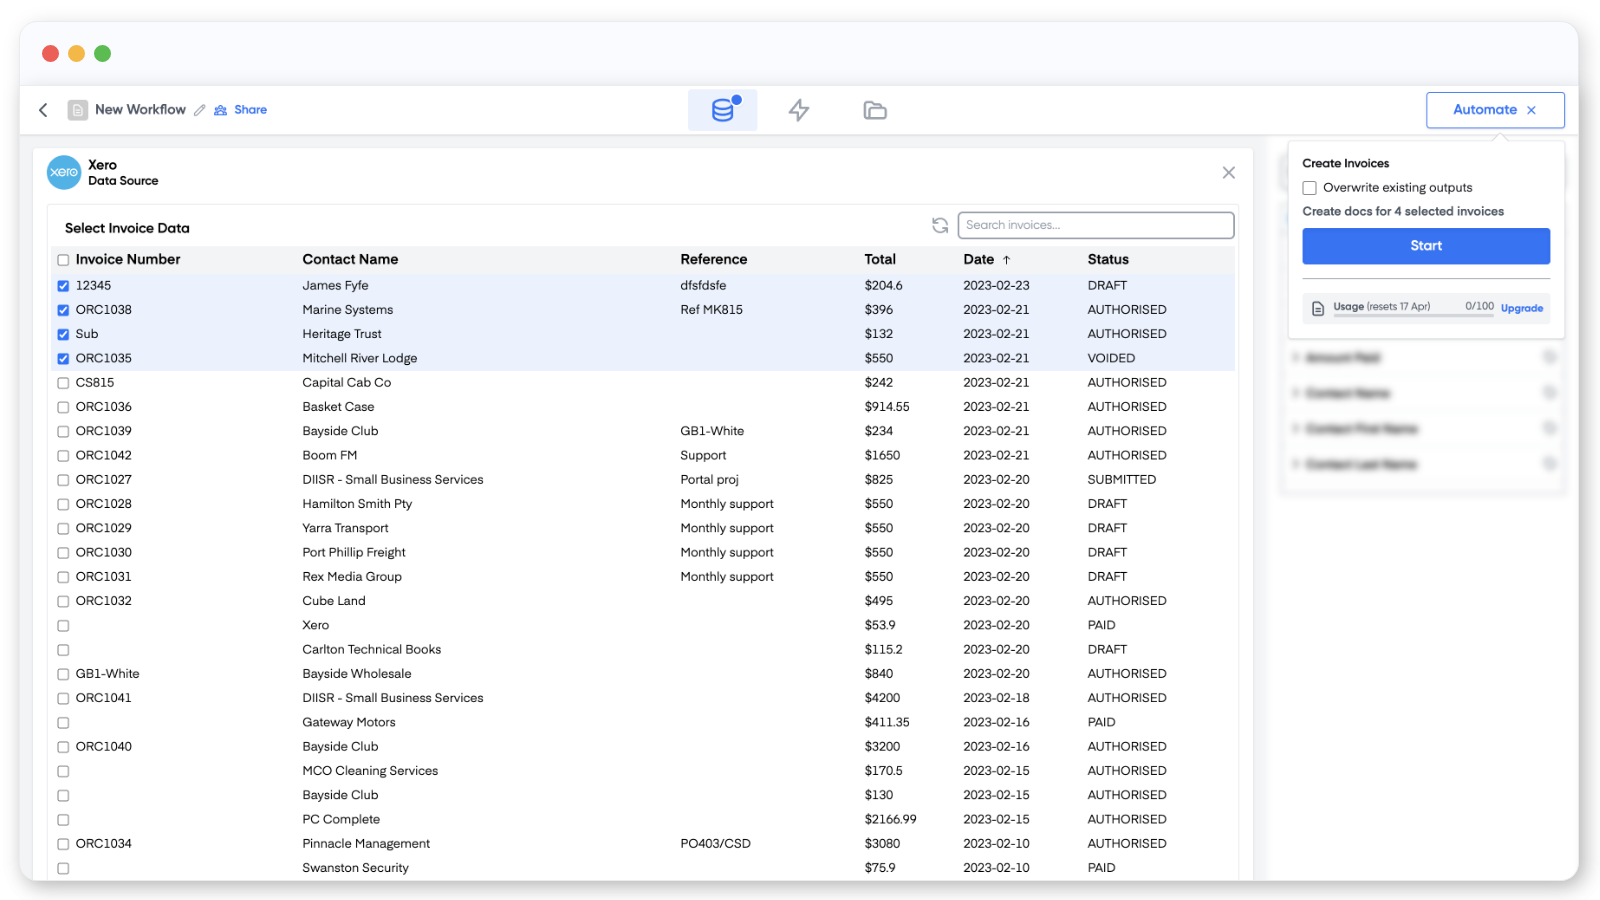
That's it. Your invoice documents are generated from Xero data.
If you want to take it further, add an email block to send each invoice to its contact, so payments come in faster.