# Invoices
Utilizing automated invoicing can significantly enhance efficiency by saving valuable time and minimizing the risk of mistakes. Moreover, you can conveniently manage all your data in your existing Google Sheet and track invoices seamlessly.
**In this article, you'll learn how to:**
1. How to create a new workflow[ ](https://www.youtube.com/watch?v=ovSJh7Wt7jo\&t=103s)
2. How to customize your invoice[ ](https://www.youtube.com/watch?v=ovSJh7Wt7jo\&t=130s)
3. How to add calculations
4. How to share your invoices via email
5. How to customize the file settings[ ](https://www.youtube.com/watch?v=ovSJh7Wt7jo\&t=189s)
6. How to set up a "Record Outputs" block
7. How to run the automation[ ](https://www.youtube.com/watch?v=ovSJh7Wt7jo\&t=219s)
8. How to automatically run a workflow directly from the template gallery
#### **How to create a new workflow**
The first step is to click on "+ Add Workflow":
Next, choose a source document. All the data in your invoice document will be retrieved from a Google Sheet document:
Now that you've chosen your source document, click on the plus icon to select your template document:
Select a Google Doc template:
#### **How to customize your invoice**[ ](https://www.youtube.com/watch?v=ovSJh7Wt7jo\&t=130s)
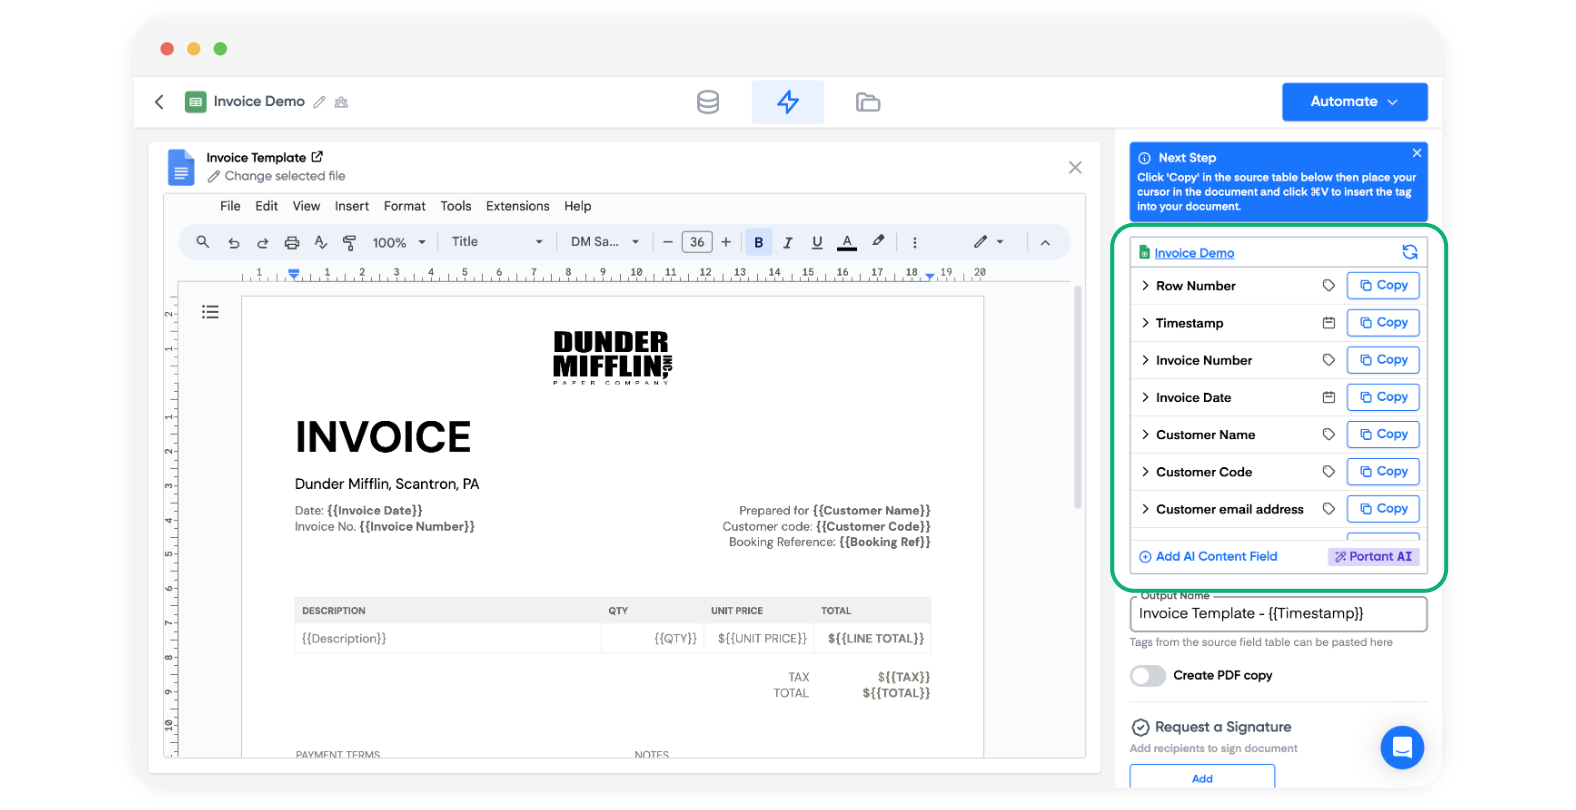
After selecting your invoice template, take note that on the right side of your screen, you'll find a source table. This table can be used to easily copy all the tags you require for placement into your invoice document template:
> **Note:** A {{tag}} is how Portant identifies where the source data is inserted in your template.
Next, designate an Output Name for the documents you're about to generate. Keep in mind that you can also incorporate tags here. In this particular instance, we are utilizing the tags "{{Invoice Number}}" and "{{Customer Name}}". And don’t forget to click enter to same the new file name structure
Activate the "Create PDF copy" option. By doing so, you ensure that a PDF copy of the invoice will be saved in your output page and Google Drive folder:
#### **How to add calculations to your invoices**
Sometimes you might need a way to add a total to your invoice (or other types of calculation). Within Portant, you can add calculations for a few simple formulas.
> **Note:** These formulas only work with Data Grouped fields
**Sum**\
To add all field values within a Data Group together
{{=SUM(\*Field name\*)}}
**Average**\
To average all field values within a Data Group
{{=AVG(\*Field name\*)}}
**Maximum**\
To find the Maximum value from a group of field values within a Data Group
{{=MAX(\*Field name\*)}}
**Minimum**\
To find the Minimum value from a group of field values within a Data Group
{{=MIN(\*Field name\*)}}
#### **How to share your invoices via email**
Click on "Share document via Gmail".
> **Note:** You may also share the created documents by Outlook.
Tailor your email to your preferences by incorporating the tags you deem most suitable:
> **Note:** Alternatively, you can add the email block by clicking the plus icon here:
#### **How to customize the file settings**[ ](https://www.youtube.com/watch?v=ovSJh7Wt7jo\&t=189s)
Click on "Add attachments"
Select the desired attachment format for sending the invoice. In this example, we are choosing to send it as a PDF file:
Then, save:
#### **How to set up a "Record Outputs" block**
You also have the option to include a "Record Outputs" block. This block adds a link to the generated output in a new column in your source document.
Here are the columns that will be generated in your source document, each containing links to the corresponding generated outputs:
Since we have enabled the "Create PDF copy" option, we will also see the generated output files on our output page for viewing:
#### **How to run the automation**[ ](https://www.youtube.com/watch?v=ovSJh7Wt7jo\&t=219s)
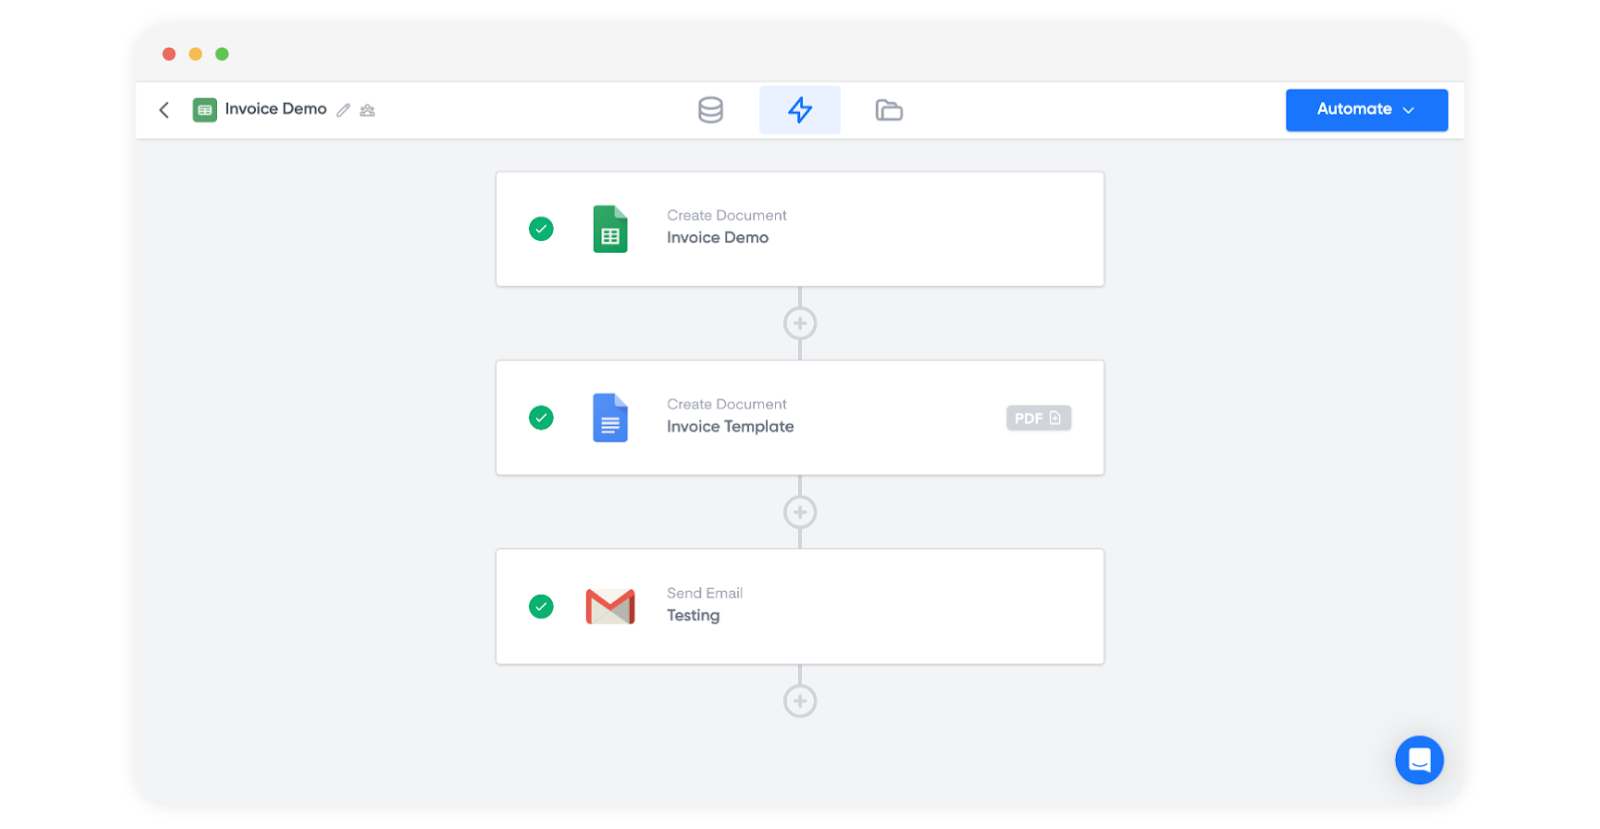
If you click on the lightning icon, you will see all your workflow blocks. The green ticks show that all stages are correctly set up:
Click "Automate" and then click "Start". Your invoice documents will now be created:If
Keep in mind that you can execute this workflow for a specific customer range rather than processing all the data from your source document. To do this, select the "customer range" option as shown below:
Finally, if you want Portant to automatically run this workflow every time new data is detected in your source document, activate the "Auto-Create" mode. For more information on this feature, please,[ **click here**](https://www.portant.co/guide-article/google-sheets-auto-create).
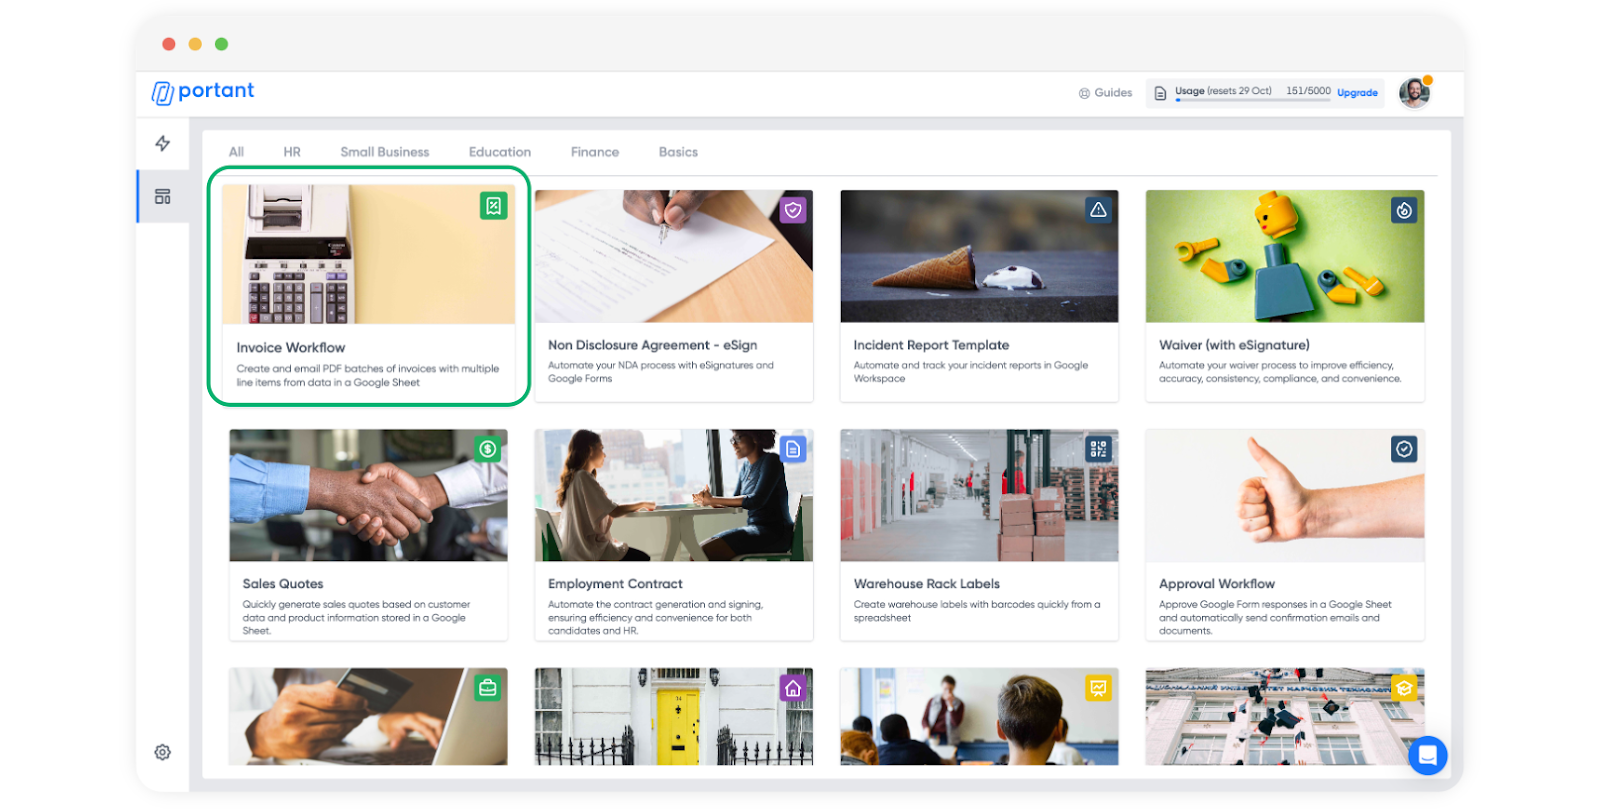
#### **How to automatically run a workflow directly from the template gallery**
Keep in mind that our template gallery offers a wide variety of workflow templates, accessible at this [**link**](https://app.portant.co/templates). We will provide you with a template and a source document that you can easily edit directly within Portant. Simply navigate to our template page and select the workflow of your choice. In this instance, we have opted for the Invoice Workflow template:
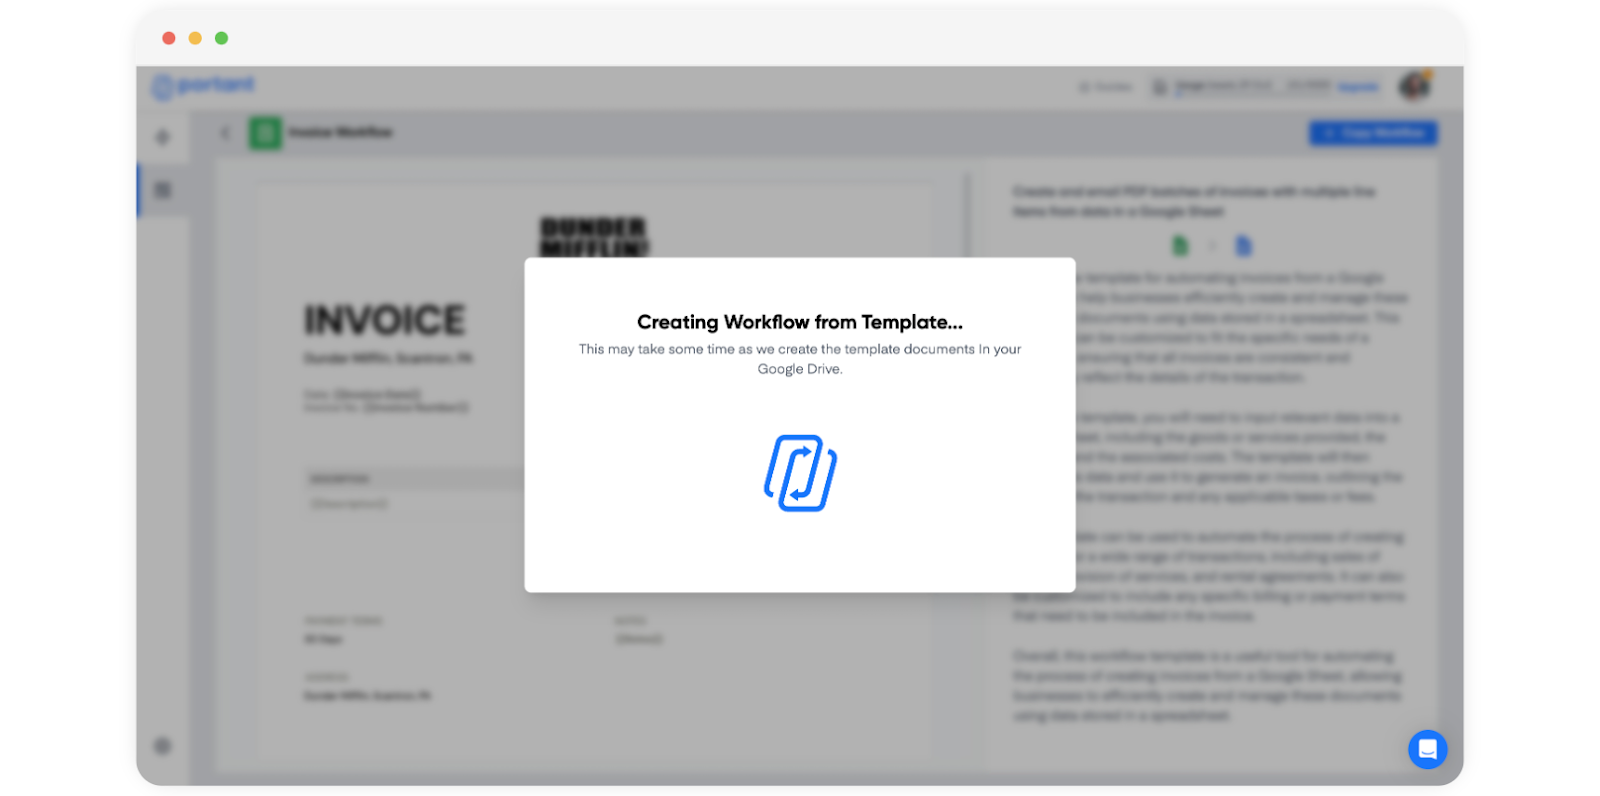
After selecting the workflow you want, click "Copy Workflow":
\
Portant now will create a copy of this workflow within the workflow gallery:
\
You now have all your workflow blocks already configured like this:
Subsequently, customize each block to align with your specific requirements, as exemplified earlier in this article.
#### **Feedback and feature suggestions**
We created Portant in 2021, and the feedback we have received since then has been very helpful and greatly appreciated. If you have any feedback, please feel free to send us an email at
---
# Agent Instructions: Querying This Documentation
If you need additional information that is not directly available in this page, you can query the documentation dynamically by asking a question.
Perform an HTTP GET request on the current page URL with the `ask` query parameter:
```
GET https://docs.portant.co/portant-docs/use-cases/invoices.md?ask=
```
The question should be specific, self-contained, and written in natural language.
The response will contain a direct answer to the question and relevant excerpts and sources from the documentation.
Use this mechanism when the answer is not explicitly present in the current page, you need clarification or additional context, or you want to retrieve related documentation sections.