Glide
Glide is a no-code platform for building apps. With Portant, your Glide app can generate documents and emails (waivers, invoices, summaries) whenever a user takes an action.
This page covers connecting Portant to Glide via a webhook action, building the document template, generating your first output, and writing the document link back to a Glide table.
Step 1: create a Portant workflow
If you don't have a Portant account yet, sign up for free.
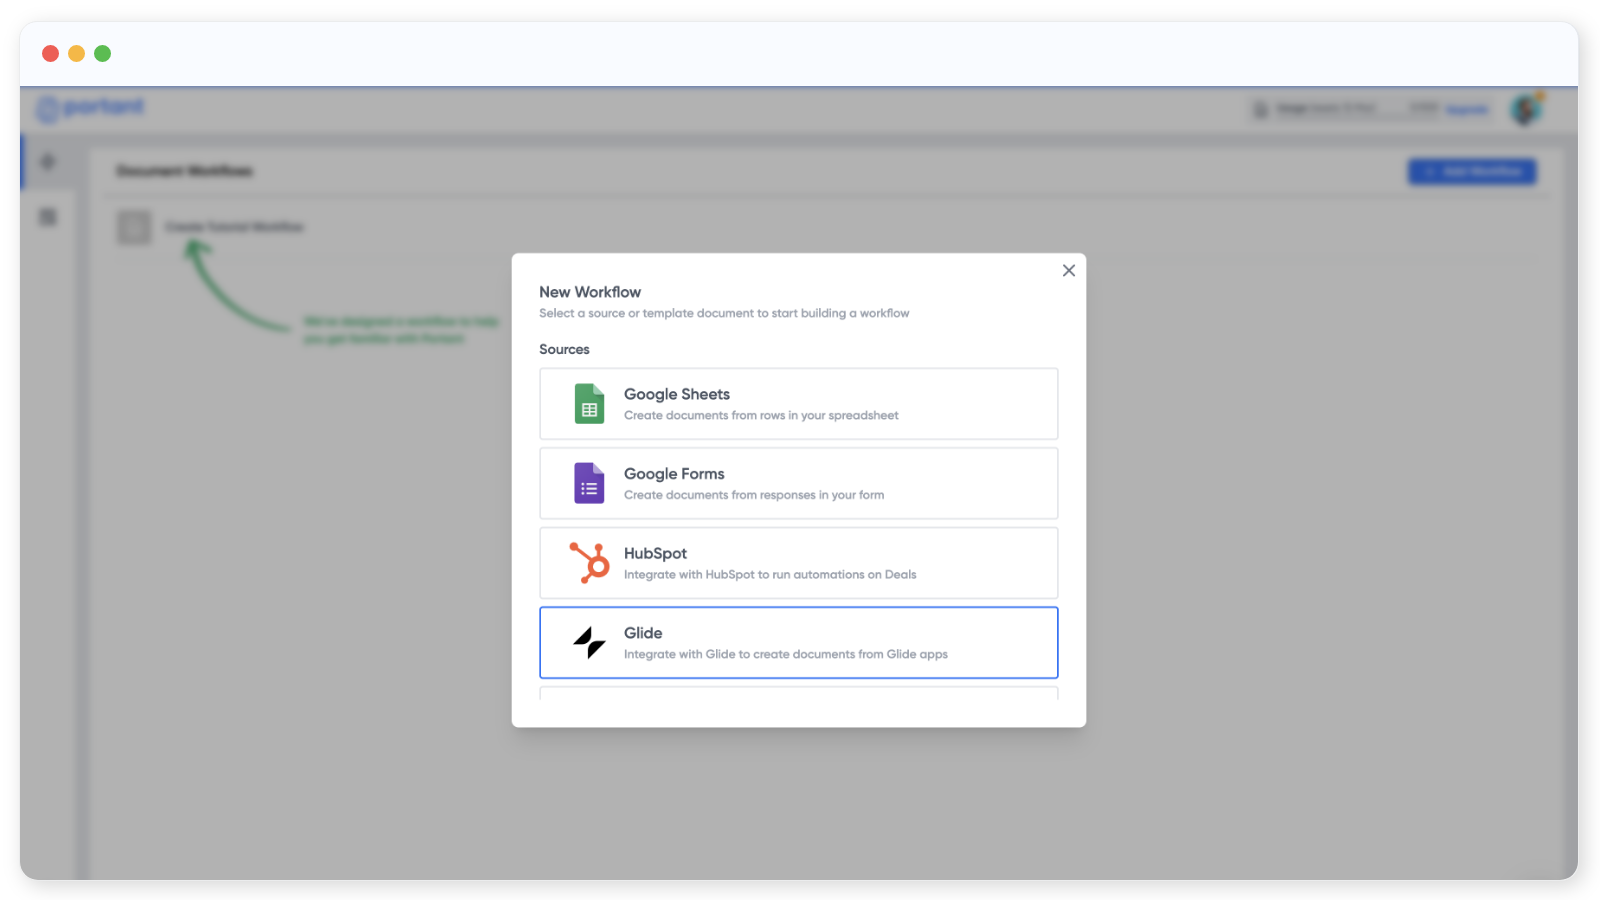
Click New Workflow in the top right.
Step 2: pick Glide as the source
Select Glide from the list of sources:
Step 3: connect Portant to Glide
Portant will show the steps to connect:
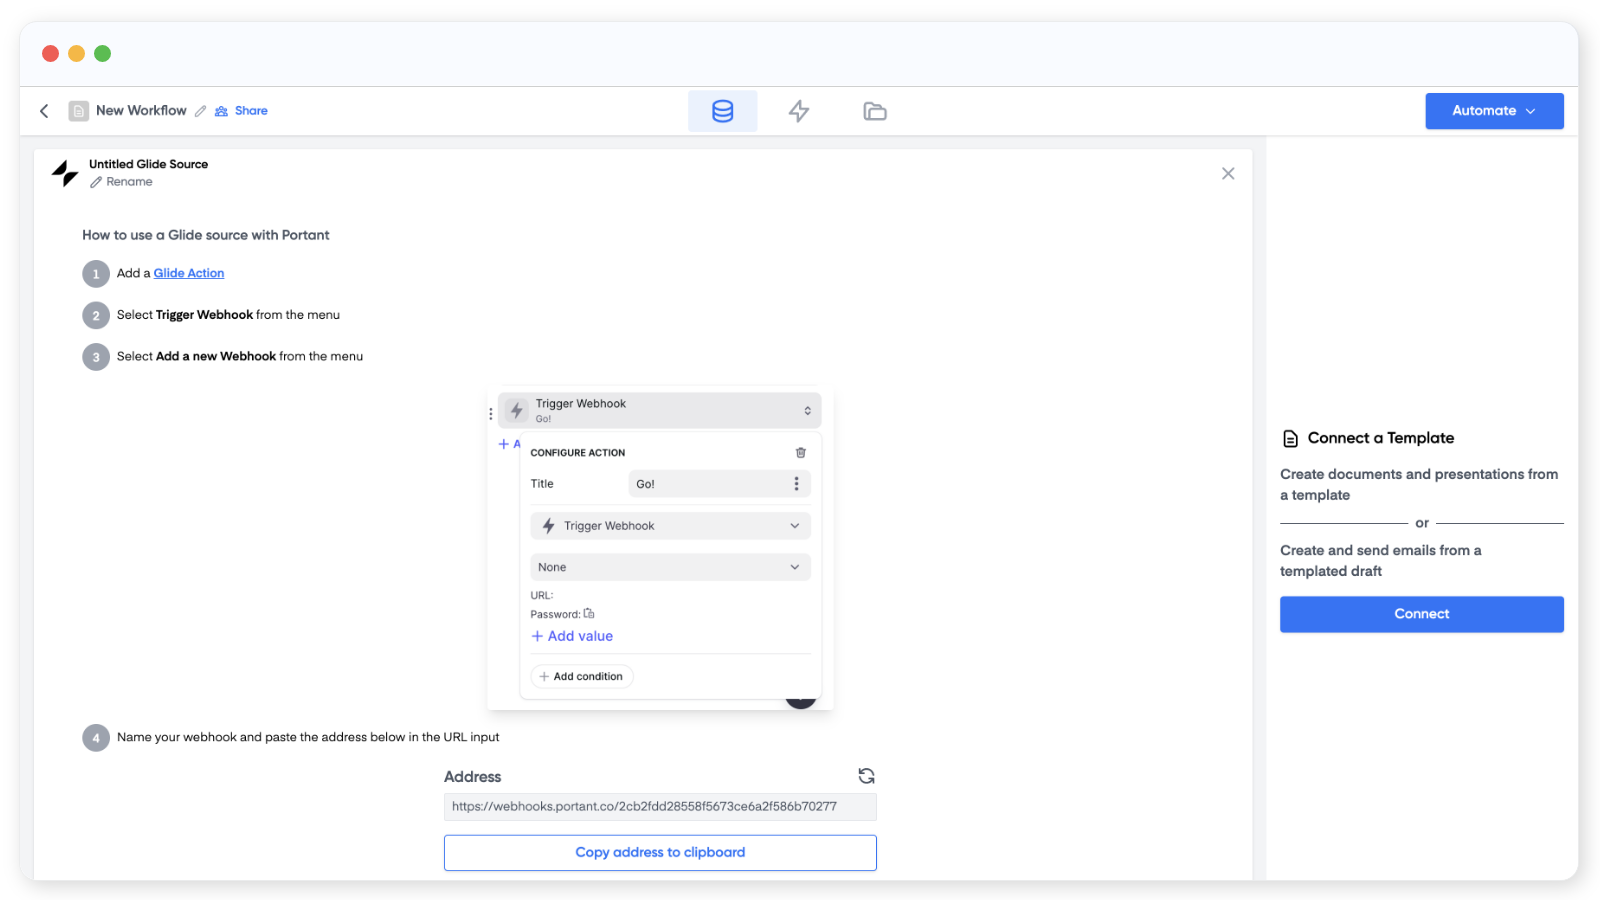
In your Glide app, add a Trigger Webhook action to a button or screen. In the action settings, click the webhook dropdown:
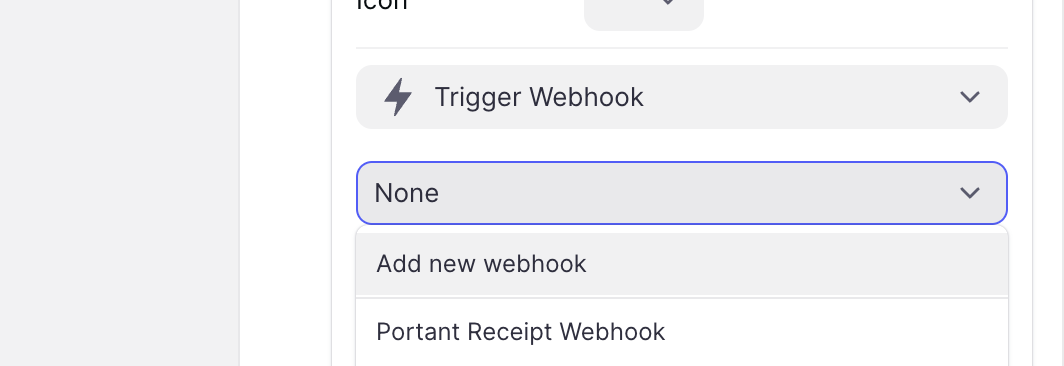
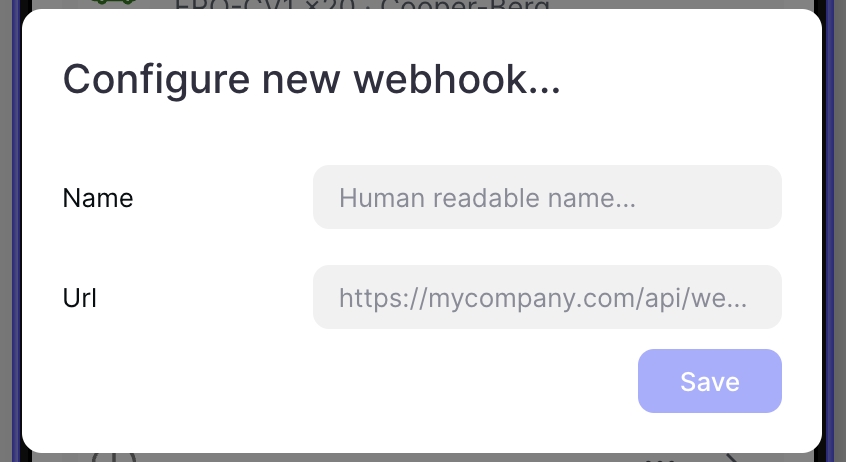
Choose Add new Webhook, name it, and paste in the webhook address shown in step 4 of the Portant Glide source block:
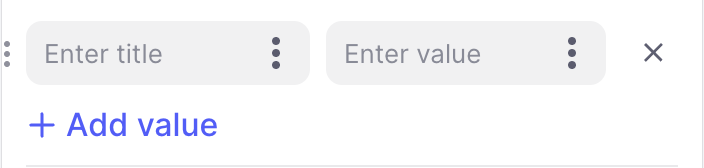
Add the values you want to send. The values you can choose depend on the screen the action lives on. Give each one a clear name so it's easy to use in Portant later:
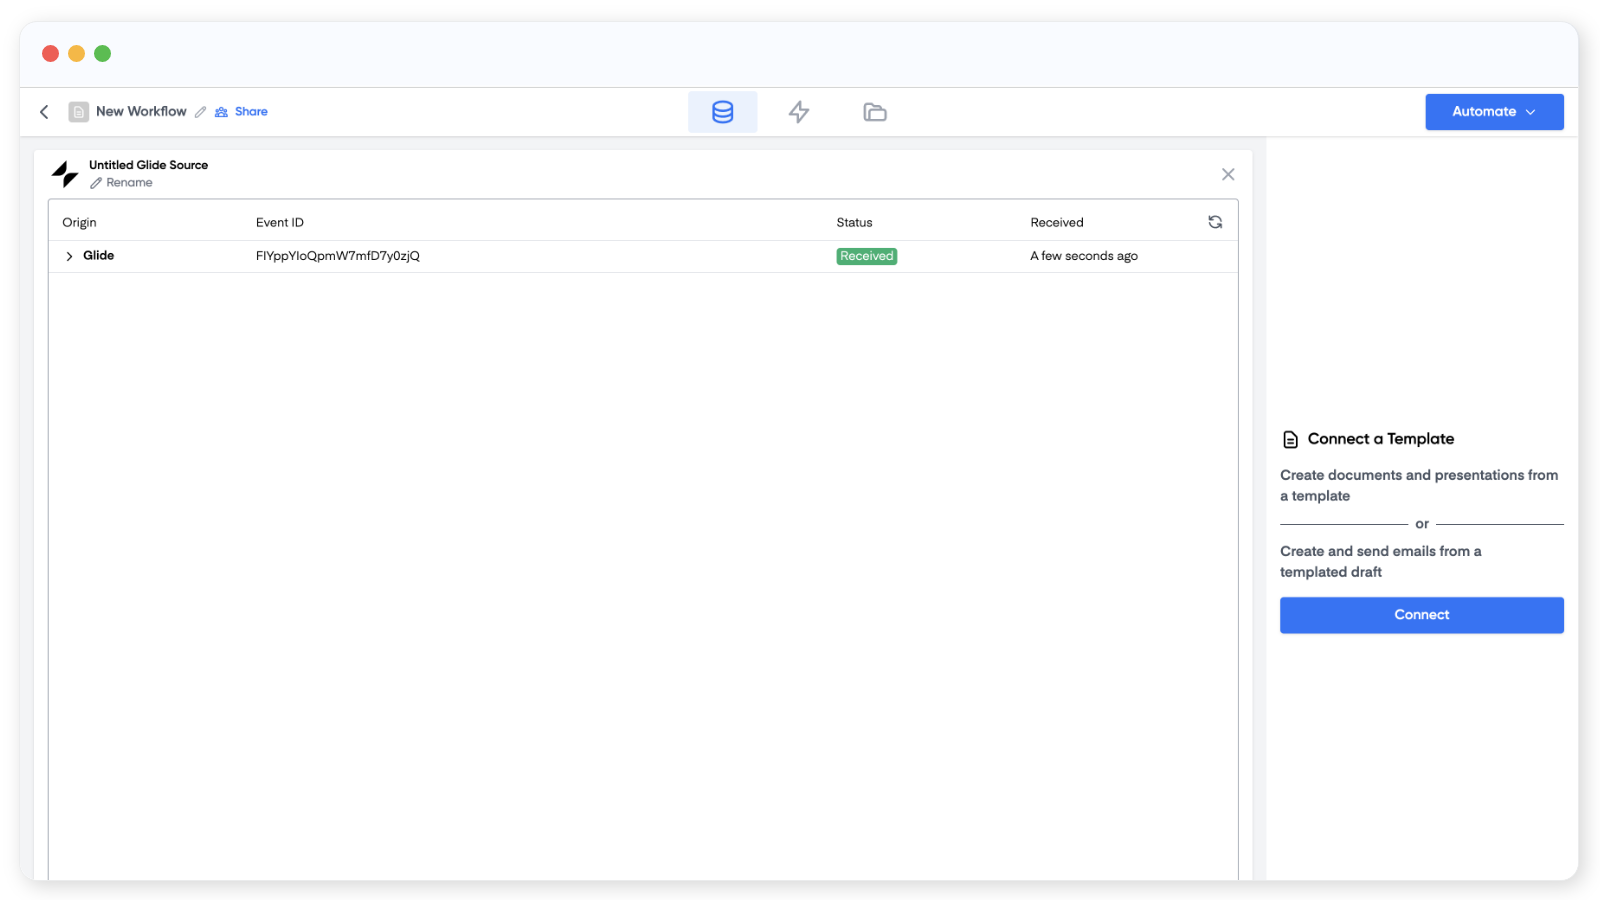
Trigger the action in Glide (for example, by tapping the button in the layout view). Once Portant receives the data, the source table appears:
You can rename the Glide source from the Glide block. Click "rename" under the title.
Step 4: build the document template
Click Connect in the right panel and pick a Google Doc, Slide or email template:
In the template, copy a Glide tag from the source table and paste it where you want the data to appear (Ctrl+V or Cmd+V):
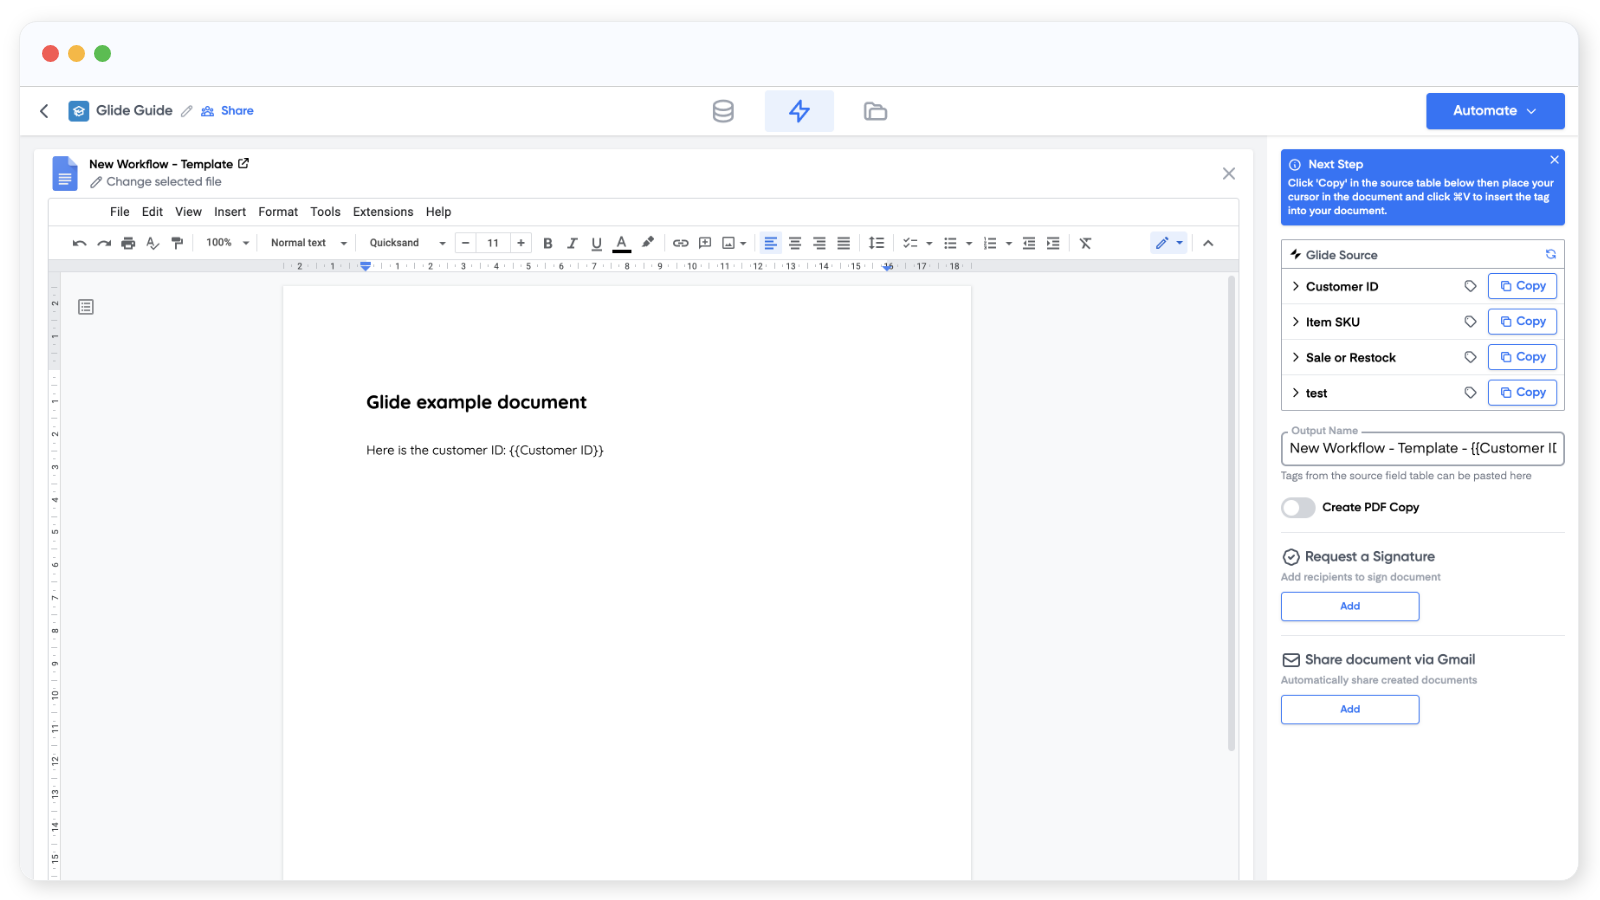
You can also customise the file name and turn on PDF output in the right panel.
PDFs on the Free plan include a Portant watermark in the footer. To remove it, upgrade to a paid plan.
Step 5: generate your first document
Once the template looks right, go back to Glide and trigger the action again. After a few seconds, the document will be generated.
That's the basic flow: any time the action runs in Glide, Portant creates a document.
Step 6: send document links back to Glide
The Glide API is only available on Team, Business and Enterprise apps.
To write the generated document link back into a Glide table, you need a column to write into and a Glide block in your Portant workflow.
In your Glide table, scroll to the end and add a new column:
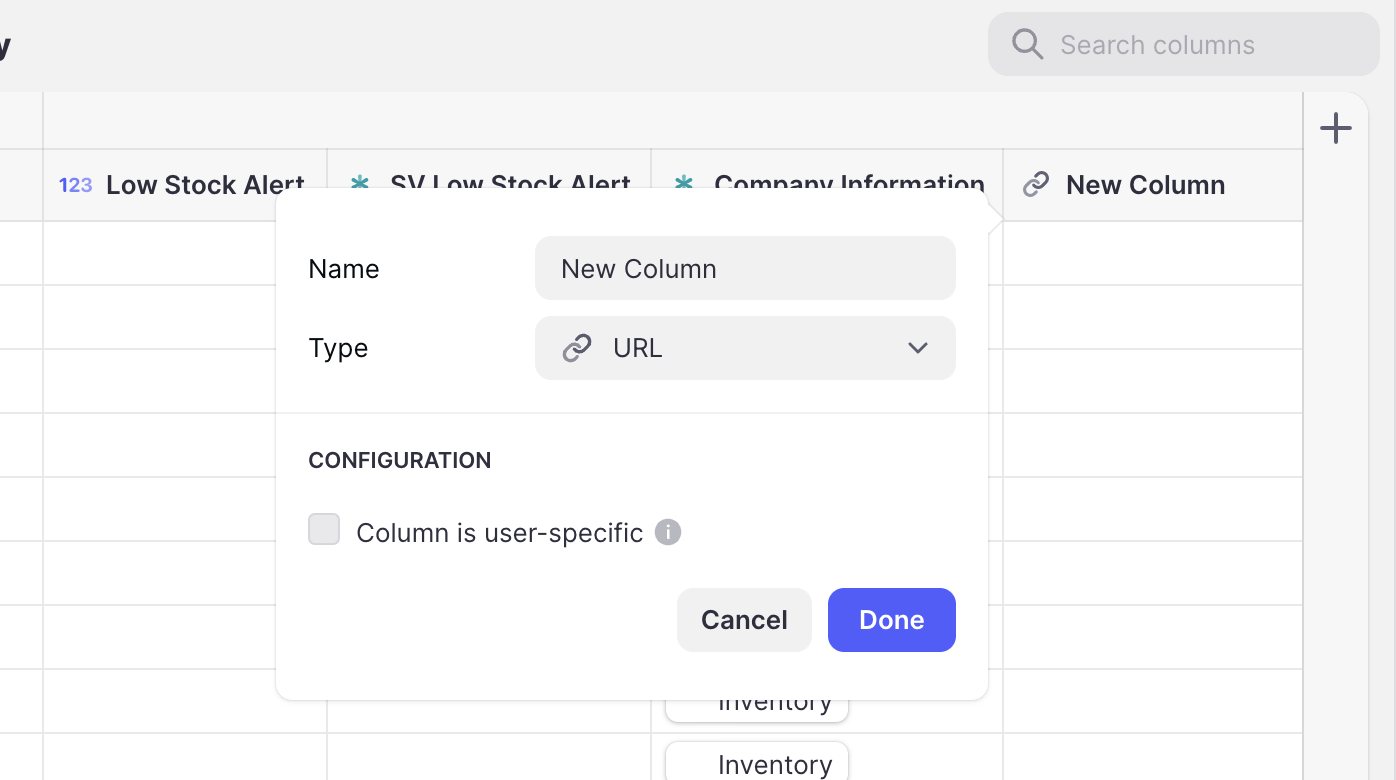
Name it something clear, set the type to URL, and click Done.
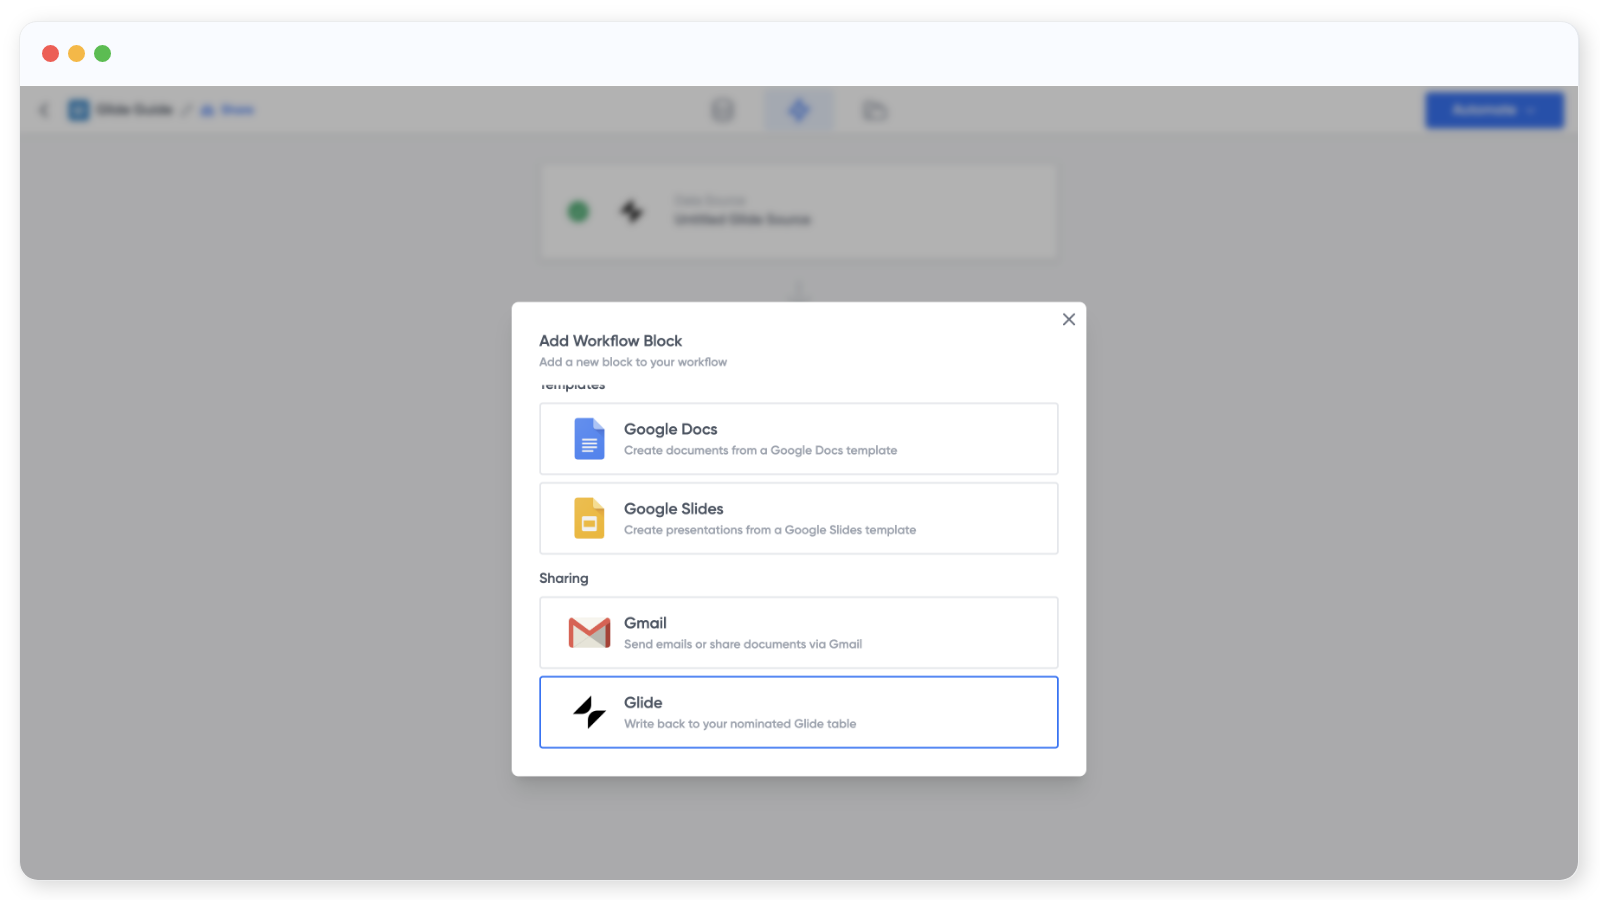
In Portant, add a new block and pick Glide under Sharing:
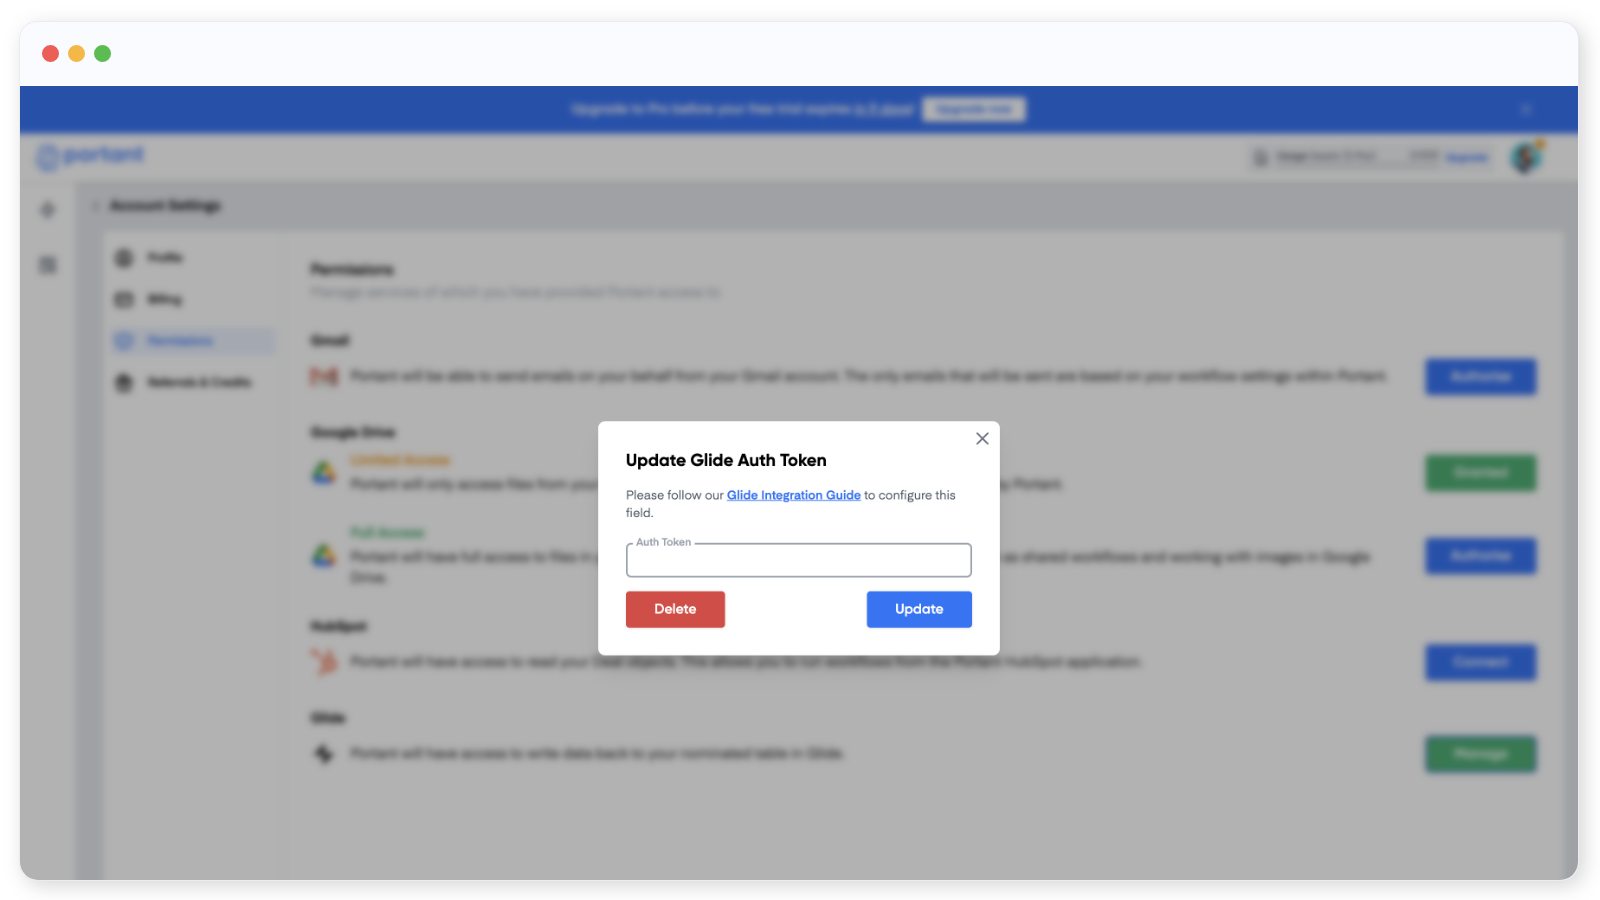
The first time, you'll need to connect the Glide API. Click the link at the bottom of the block:
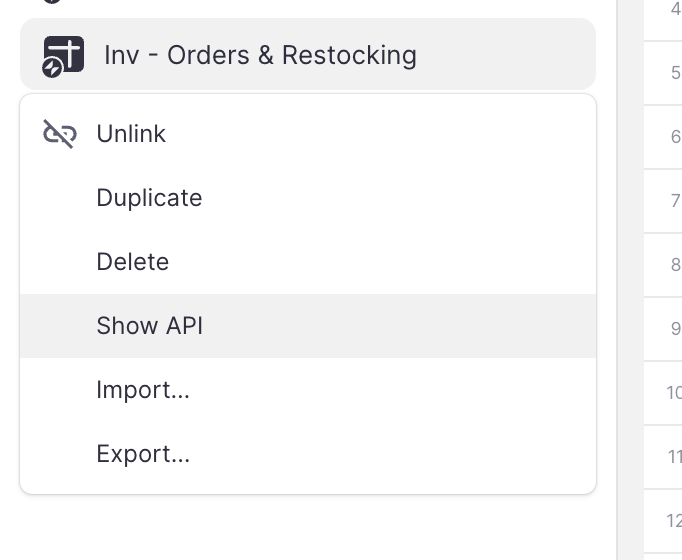
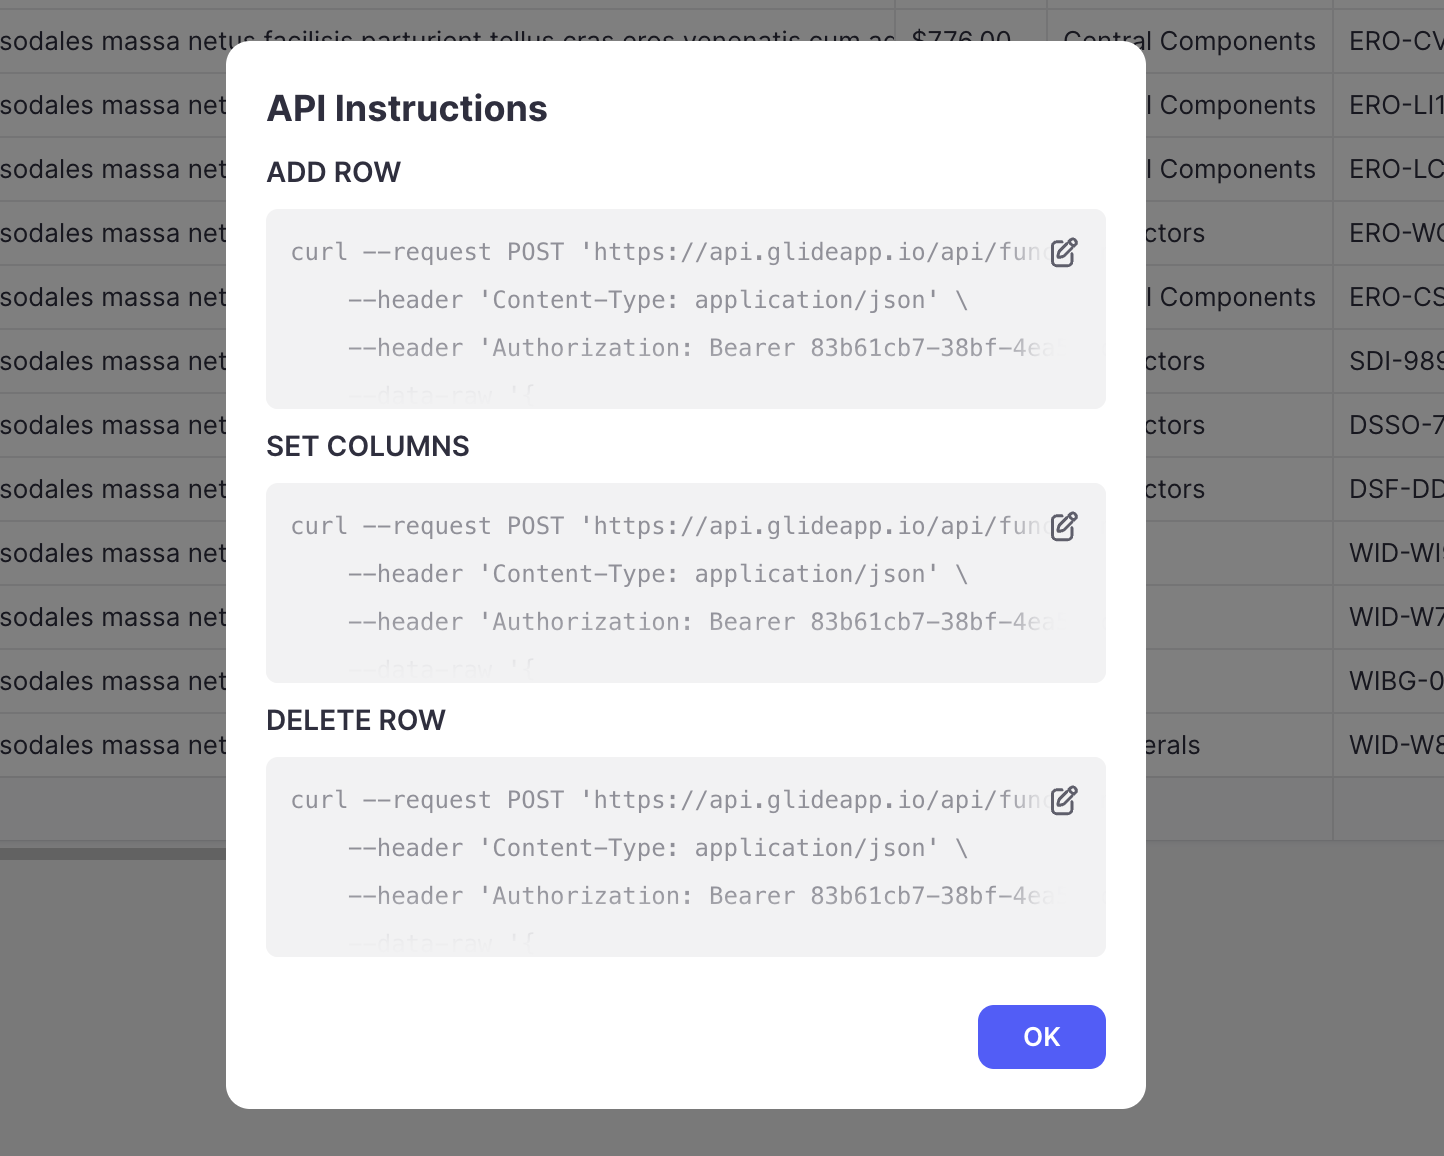
To find the API token, go back to Glide, open the Data Editor, right-click the table you want to write to, and click Show API:
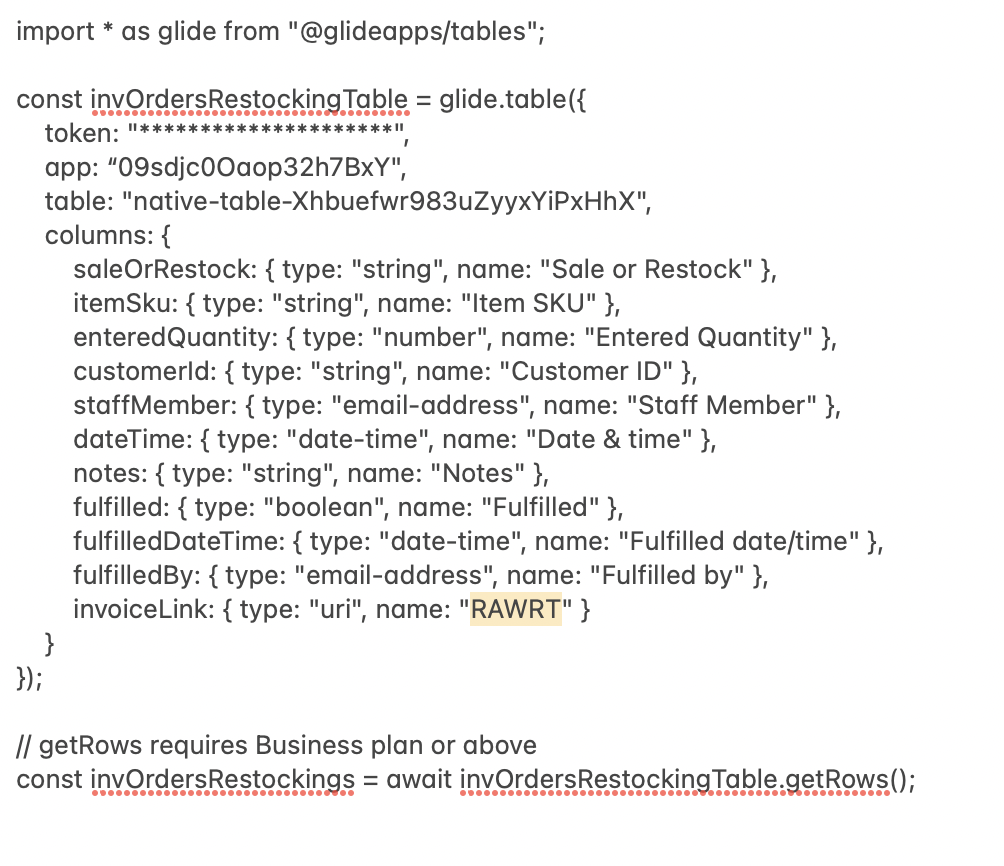
Copy one of the API instruction blocks:
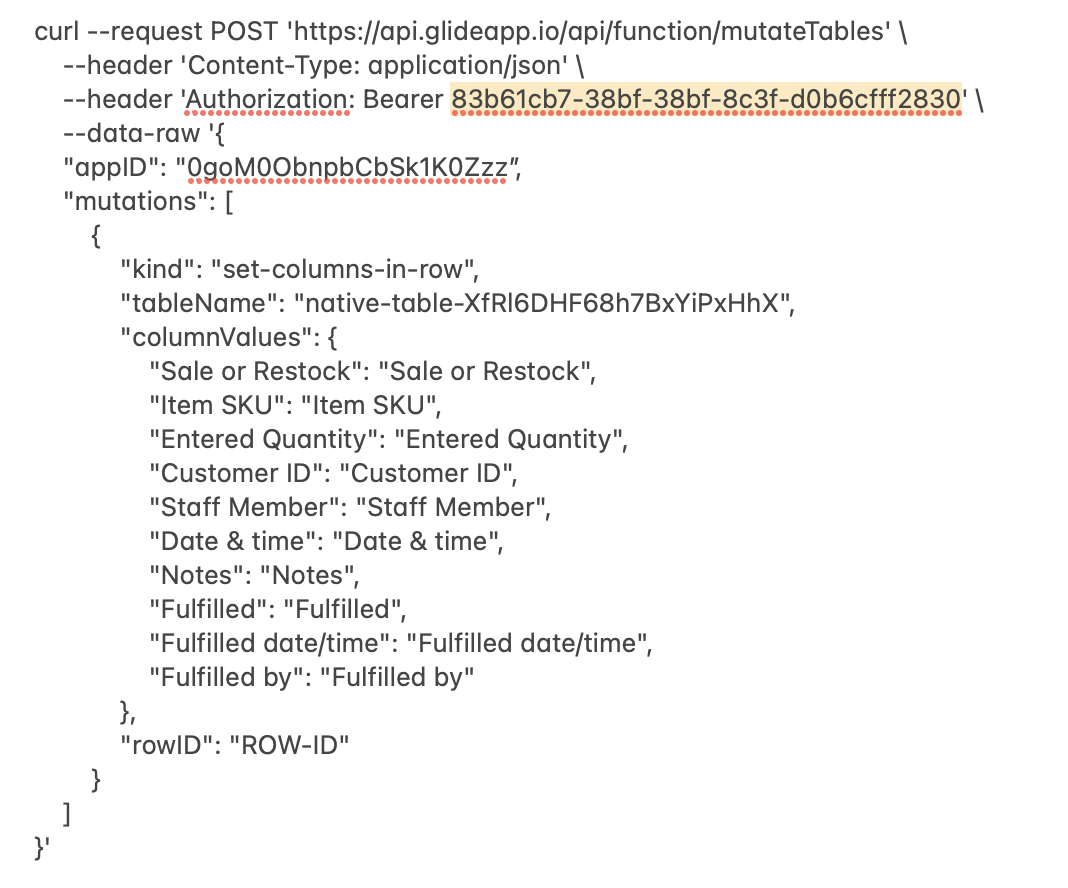
Paste it into a text editor and grab the token portion:
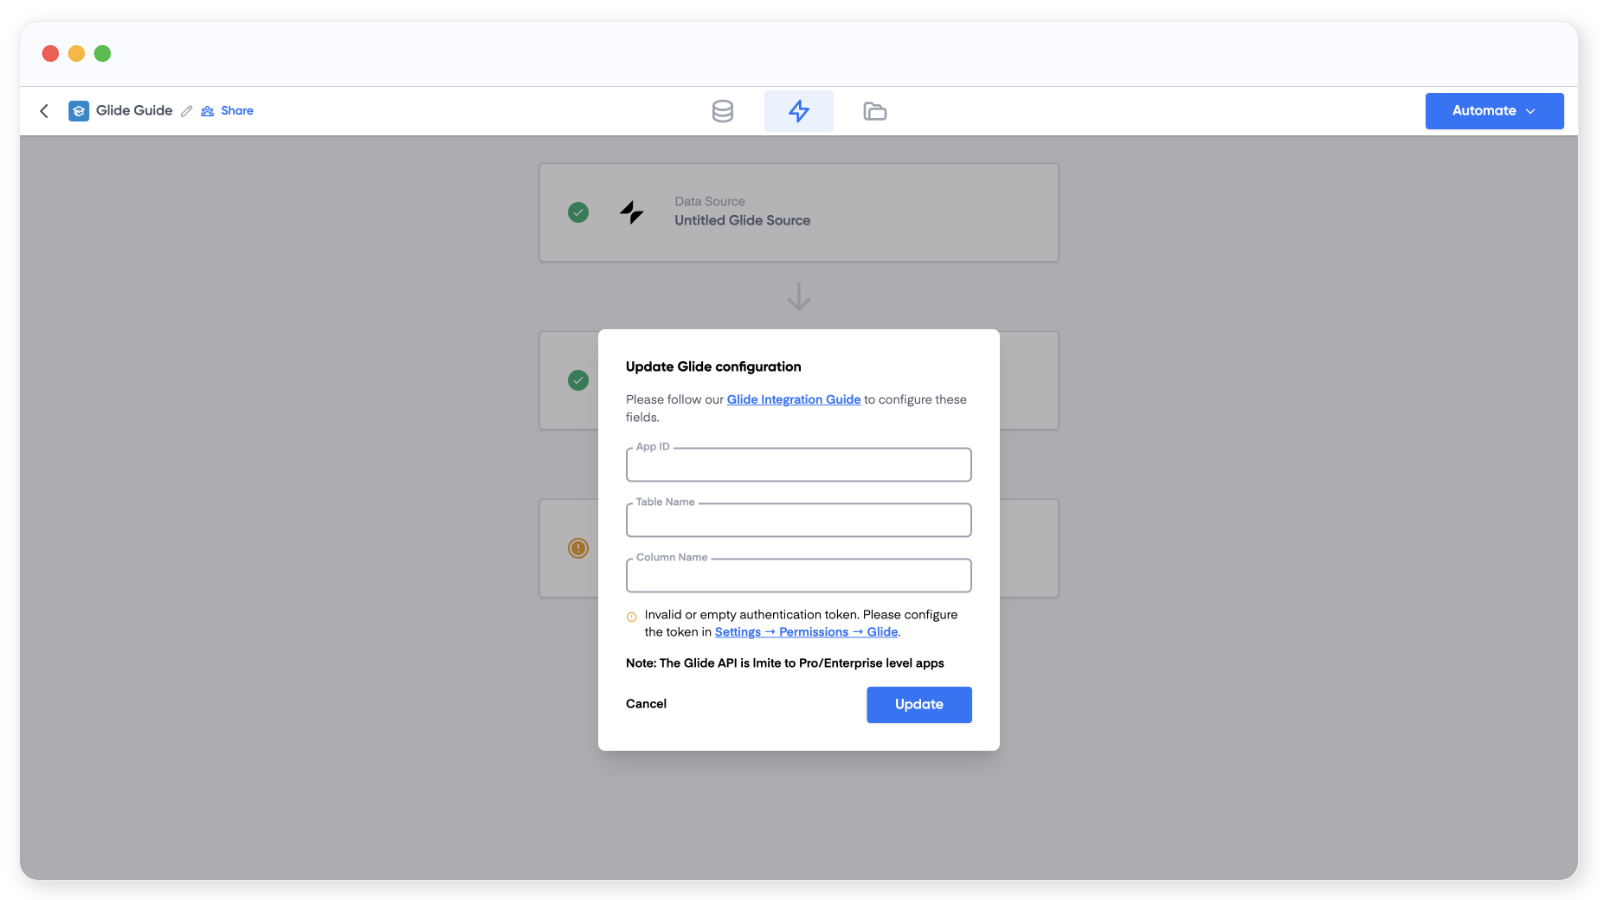
Paste the token into the Glide block in Portant and click Update:
The warning message will disappear and you can fill in the other values:
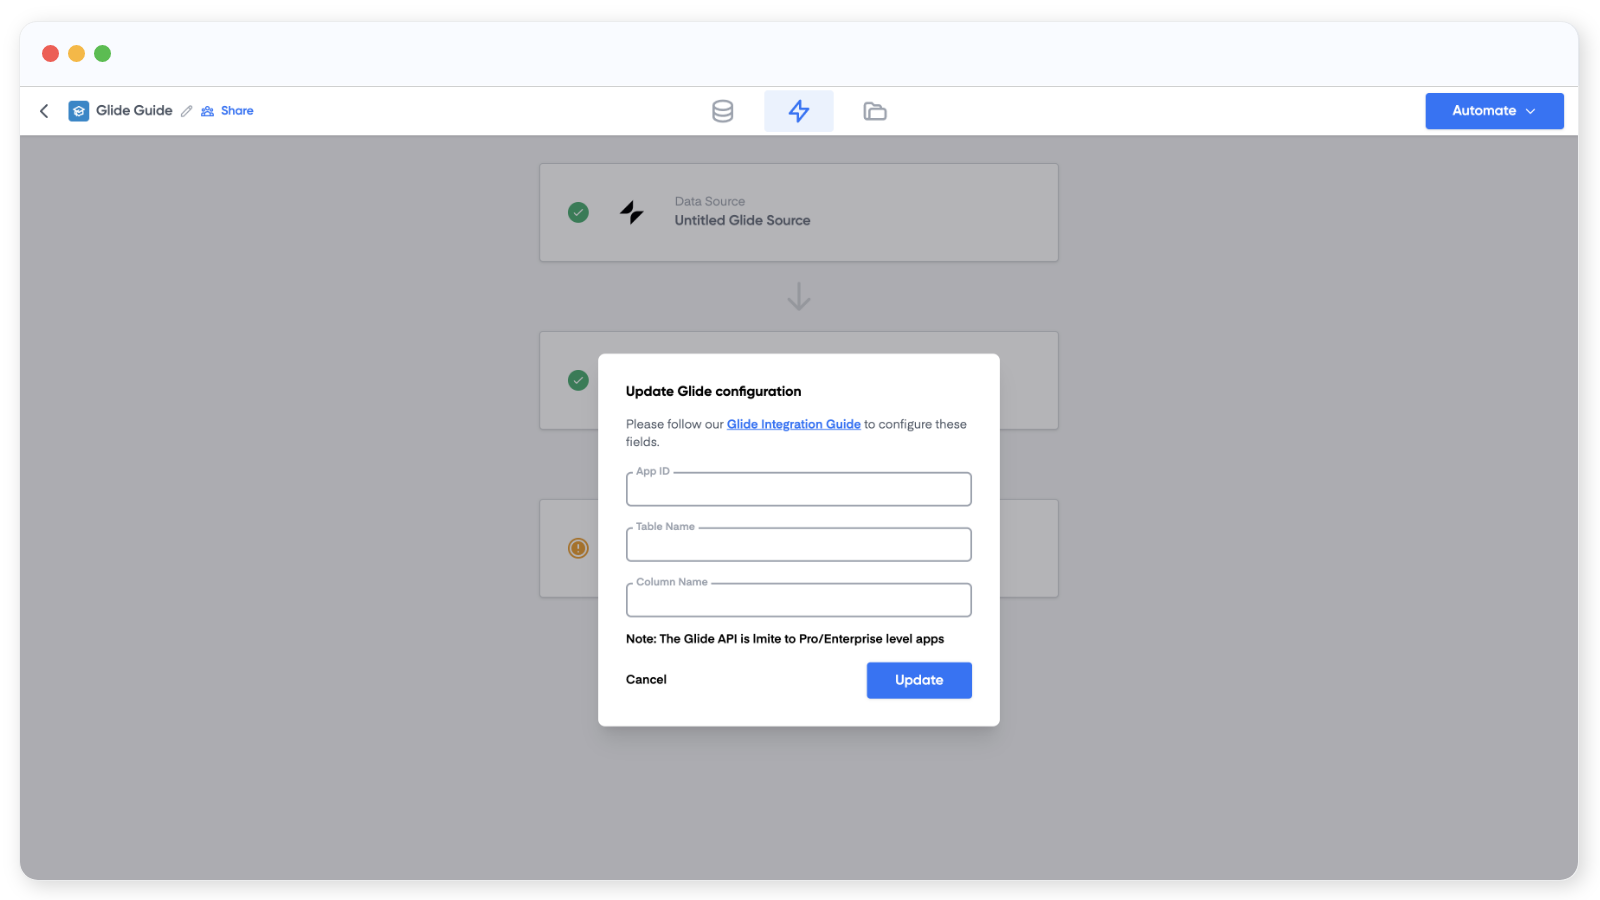
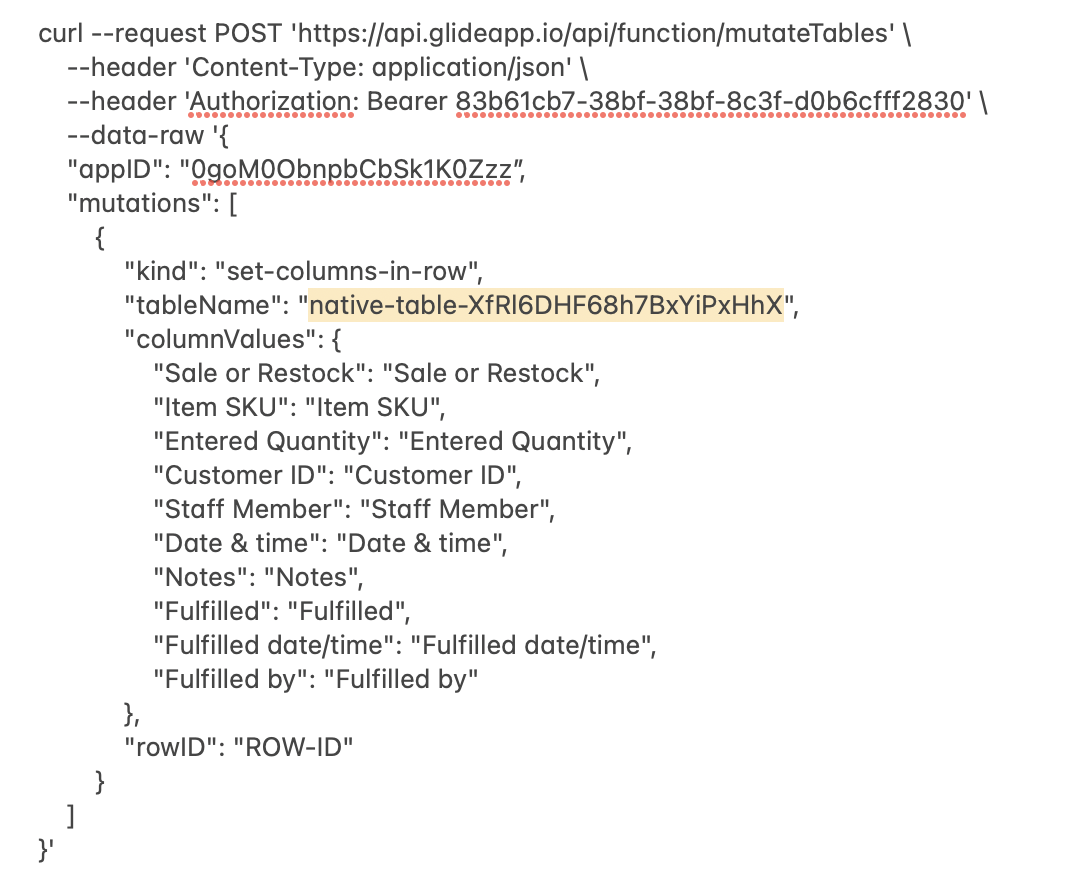
The App ID is in the same API instructions you copied earlier:
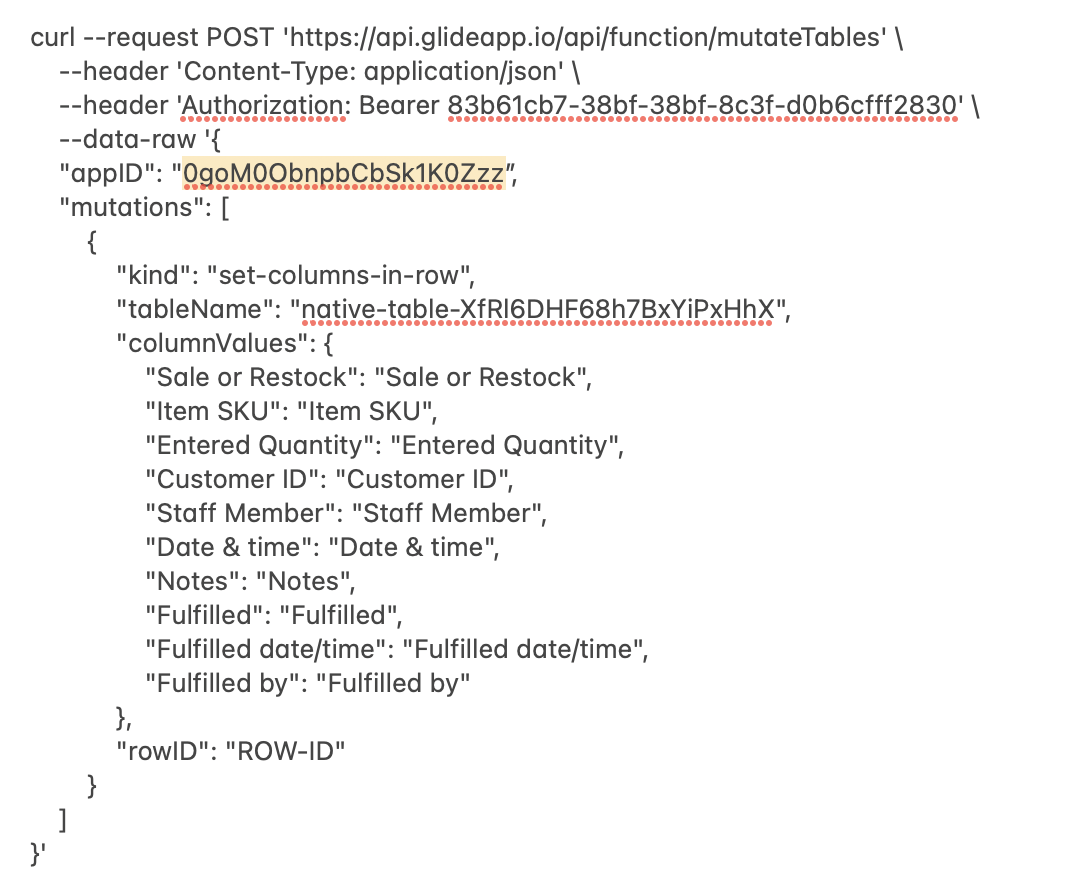
So is the Table Name:
Copy the column name from the Data Editor:
Paste it into the Column name field in Portant and click Update.
Finally, make sure your Glide webhook sends the Row ID as part of the payload, so Portant knows which row to write to:

The field name must be exactly Row ID, with no extra text or icons (so no "🔓 Row ID").
The field name must be exactly Row ID.
From now on, every time the workflow runs, the document link will be written into that column on the matching row.
Bonus: hide the action until the document exists
You can hide a Glide button until the document link column has a value. Add a condition to the action: Allow action when Invoice Link is not empty:
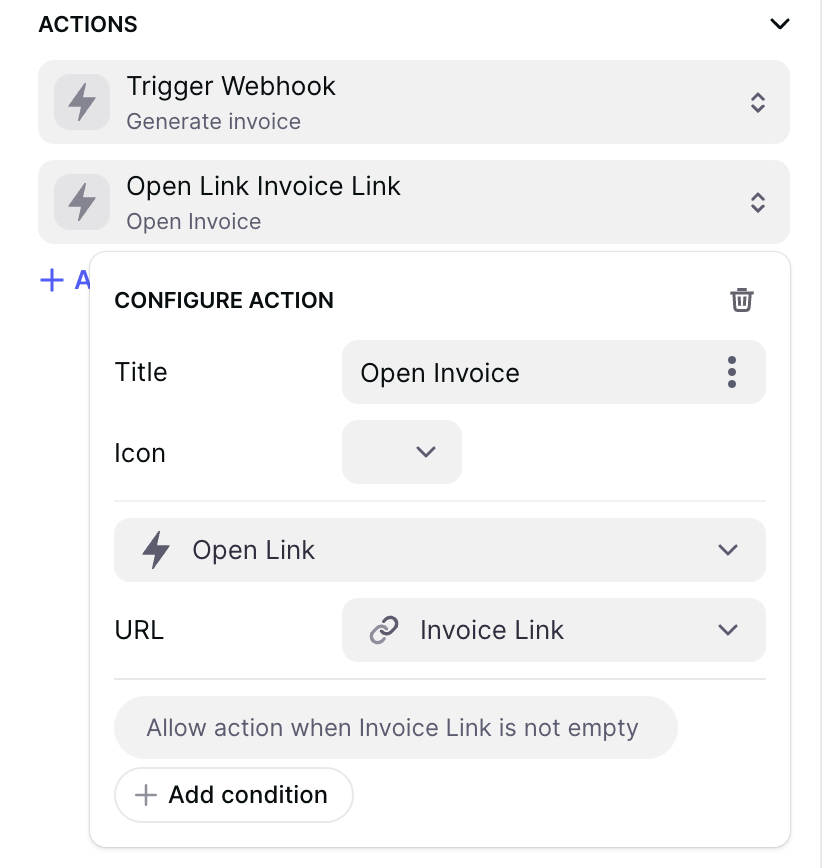
In this example, one button generates the invoice and another opens it. The "open" button only appears once the invoice has been created.