Create a document in HubSpot
Once your Portant workflow is set up with HubSpot as the source, you can generate a document directly from any HubSpot record in a few clicks. This guide walks through running your first one.
1. Open a HubSpot record
Open the deal, contact, company, ticket or custom object that your workflow is connected to. The Portant app card appears in the right-hand panel of the record.
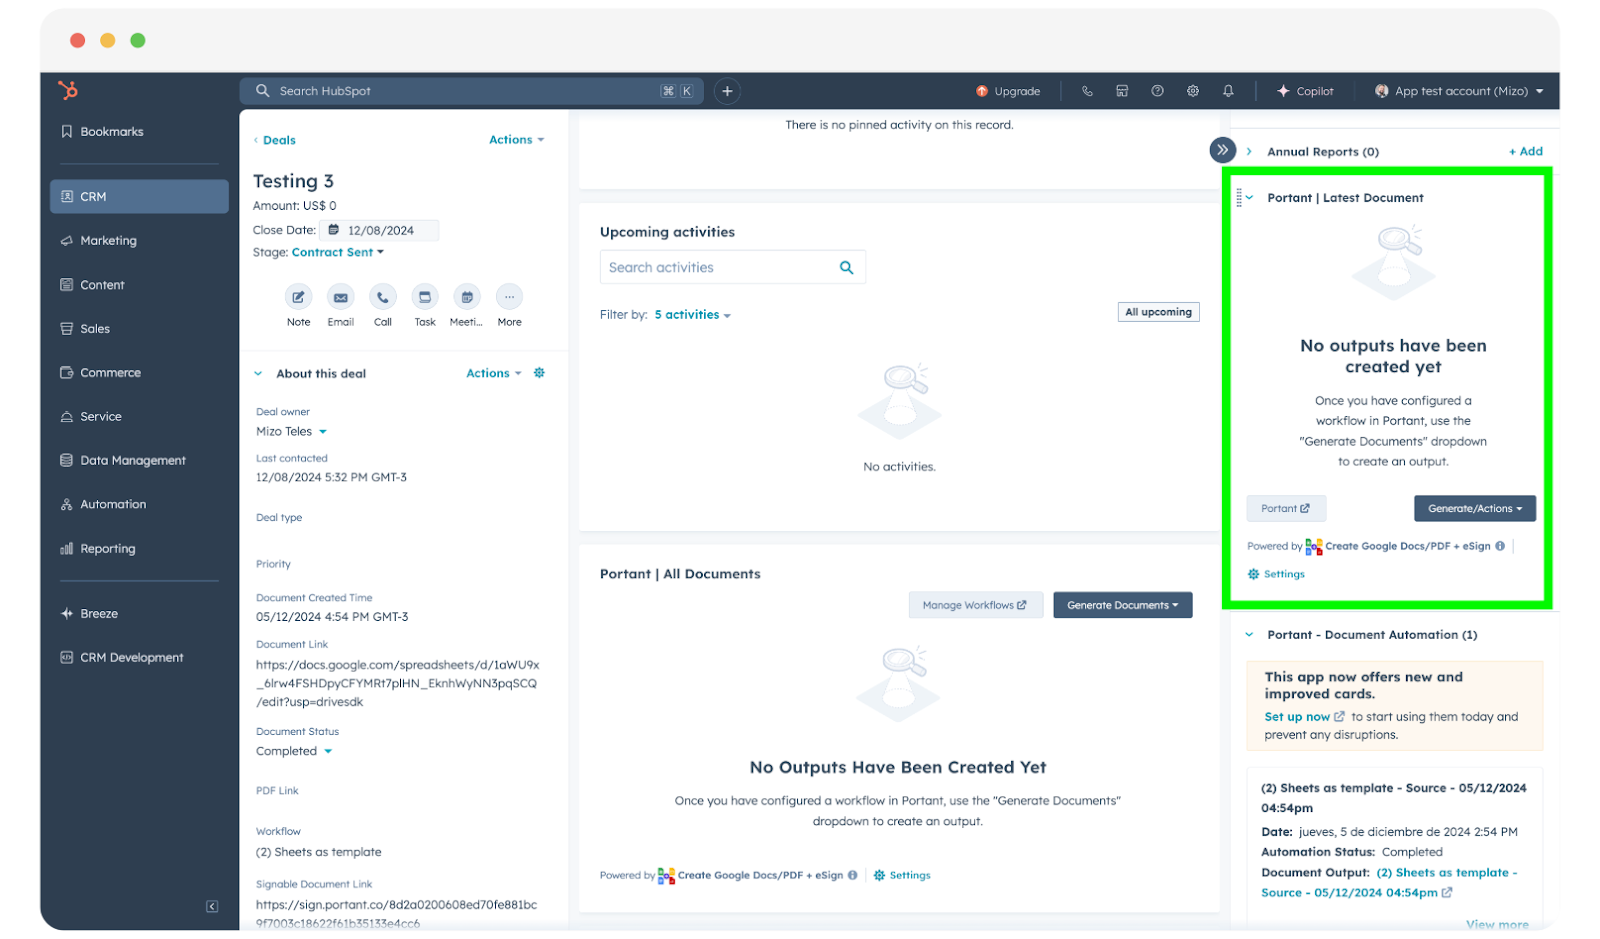
If you don't see the Portant app cards on your records, follow Add Portant app cards to HubSpot to add them.
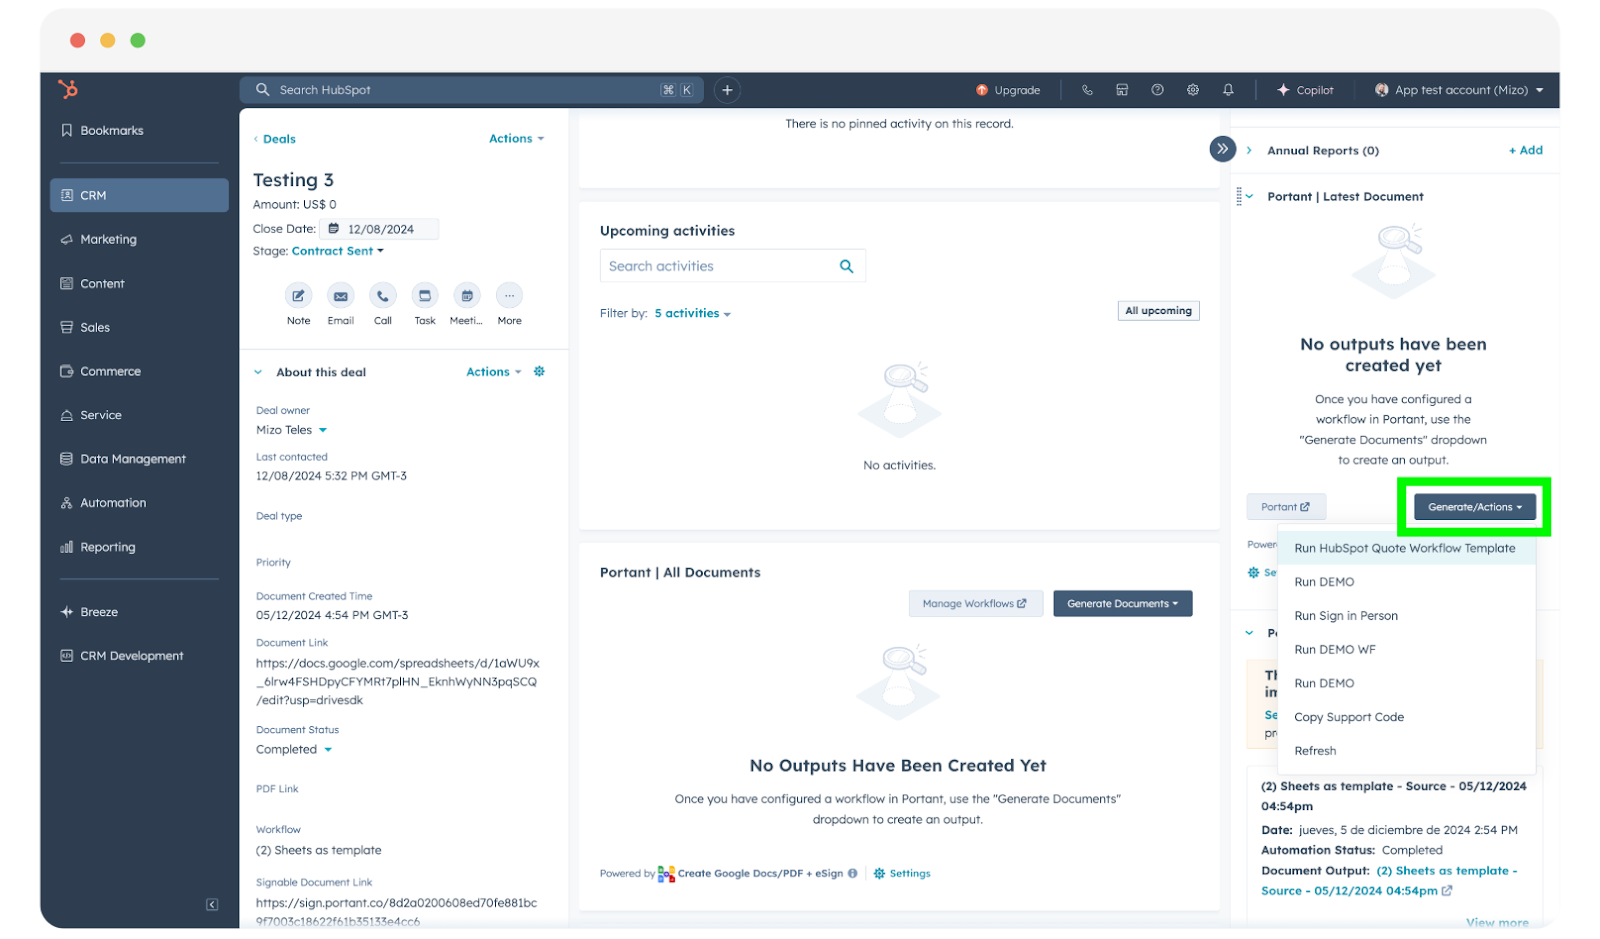
2. Pick a workflow and start the automation
Each Portant workflow is tied to one HubSpot object type (for example, deals or contacts). Only workflows that match the record you're on will appear in the action list.
To generate a document:
- Click Generate / Actions on the Portant card.
- Choose the workflow you want to run.
If your workflow doesn't show up, double-check you're on the right object type.
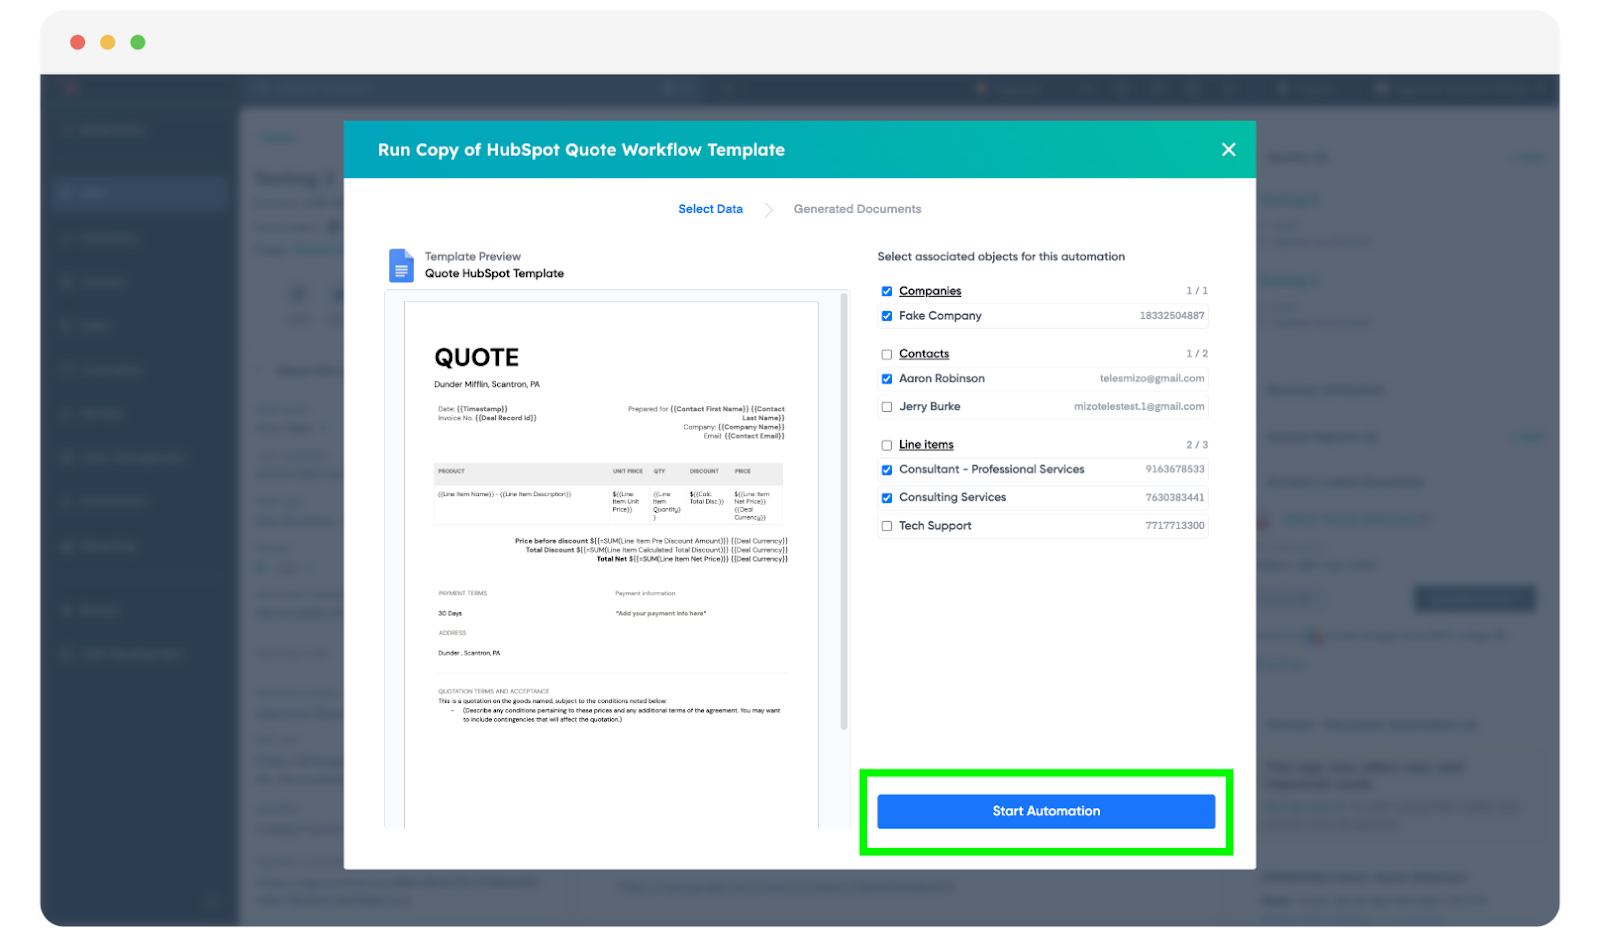
A modal opens where you can select or deselect any associated objects (for example, choosing which related contact to use). Once you're happy, click Start Automation.
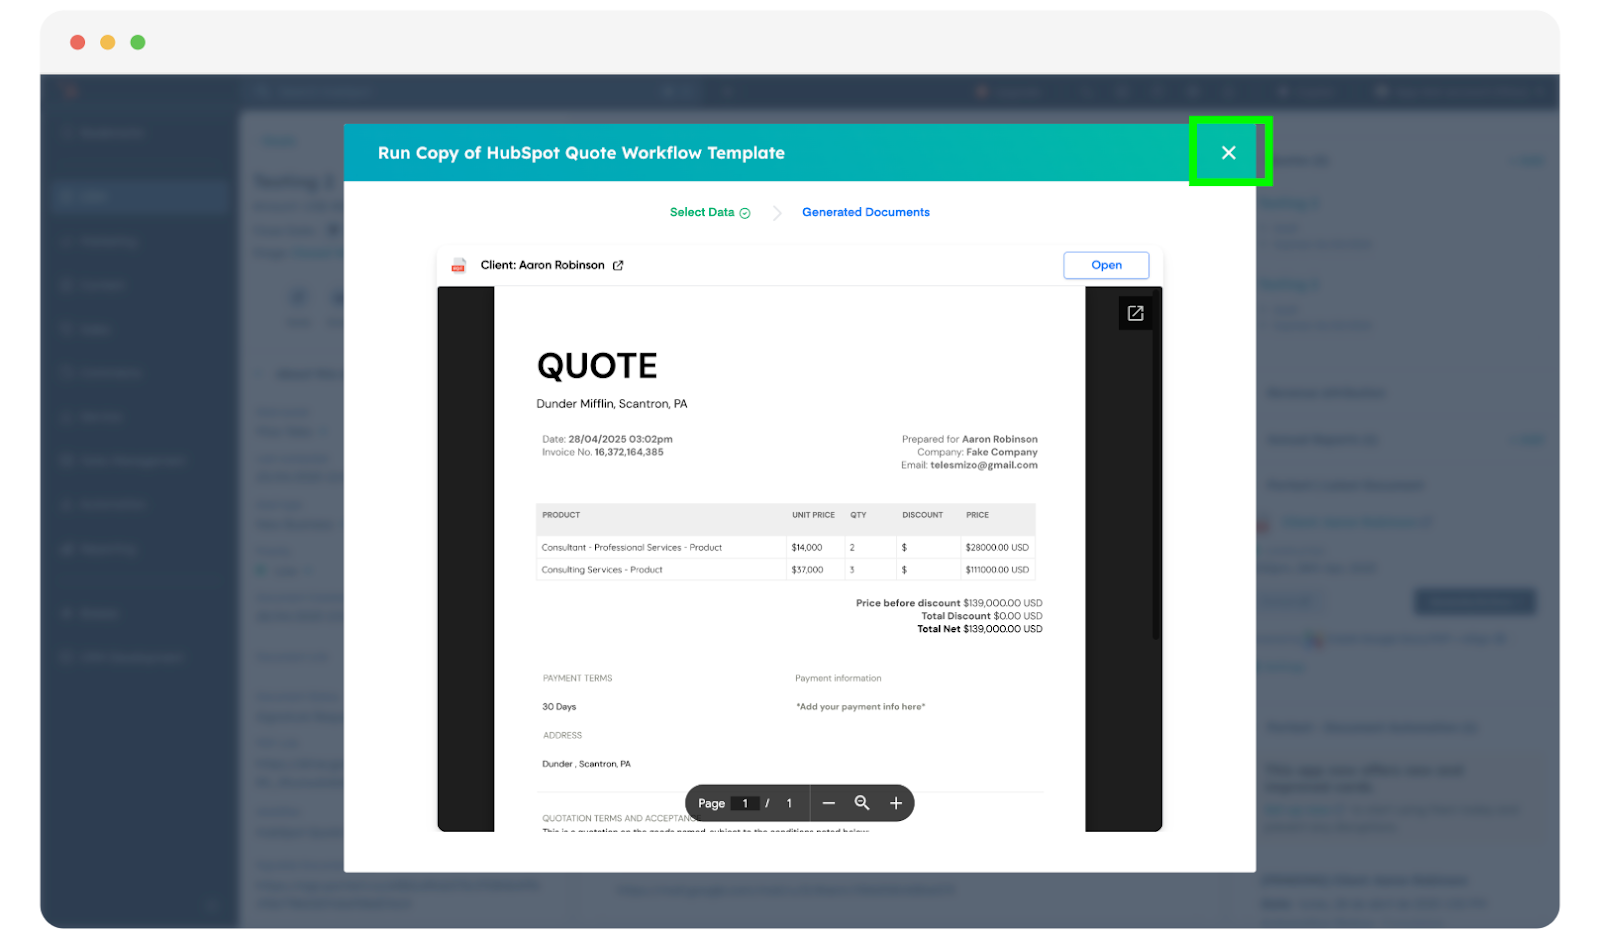
3. Generate and view your document
The document takes a few seconds to generate.
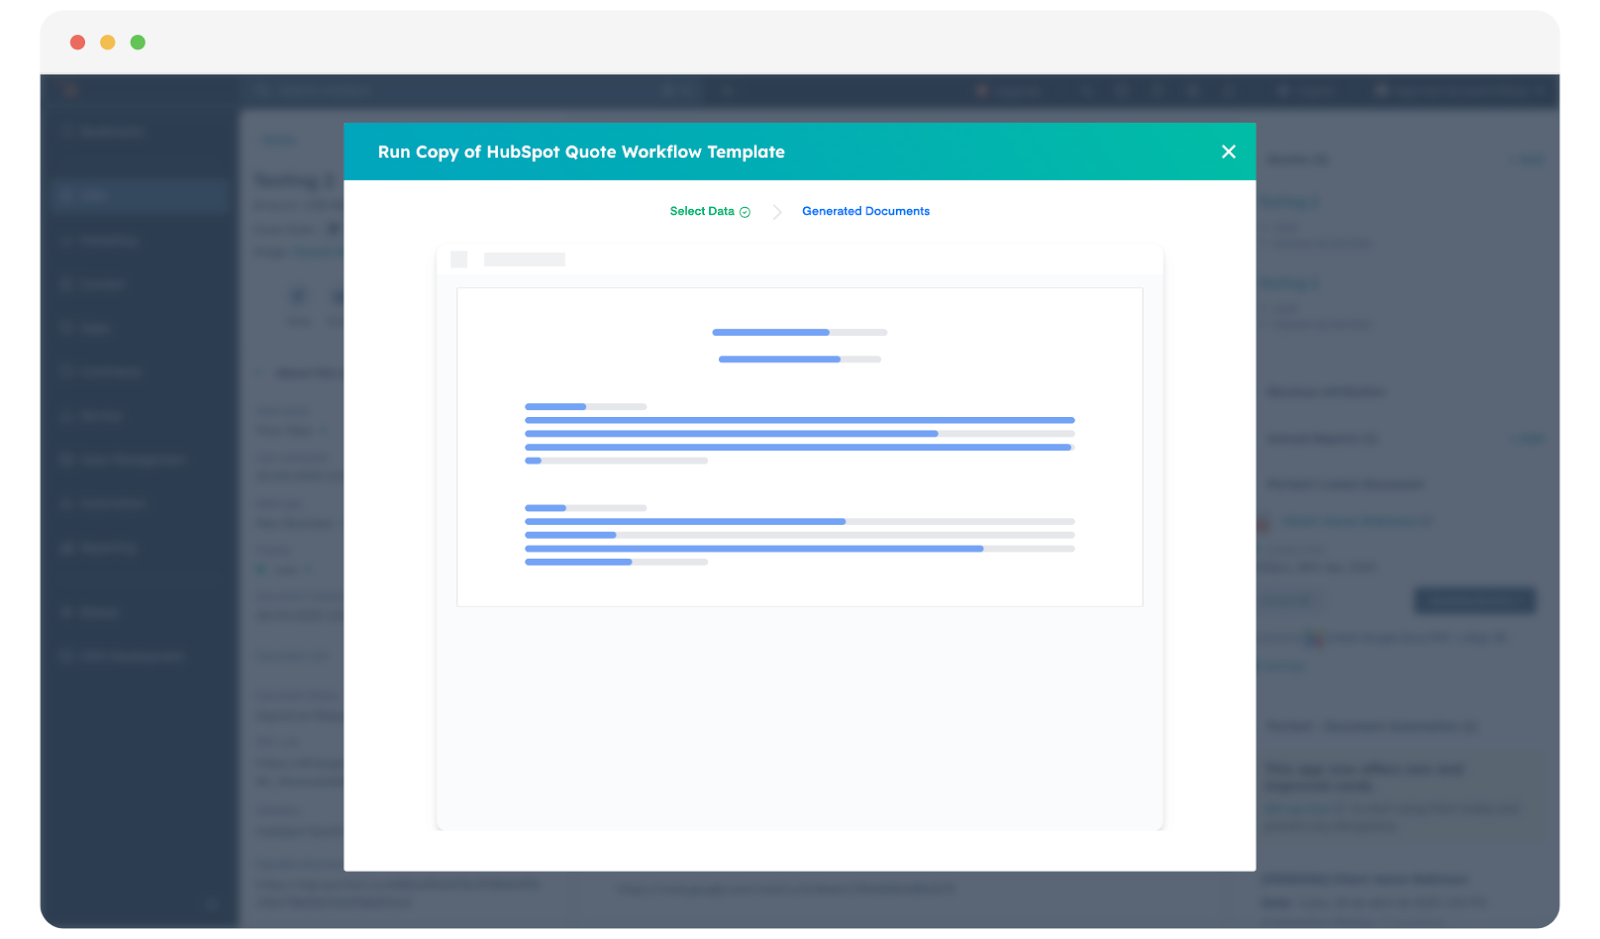
When it's ready, you'll see a preview in the modal. You can close the modal once you've checked it.
Refresh the HubSpot page and the document link will appear in the Portant app card.
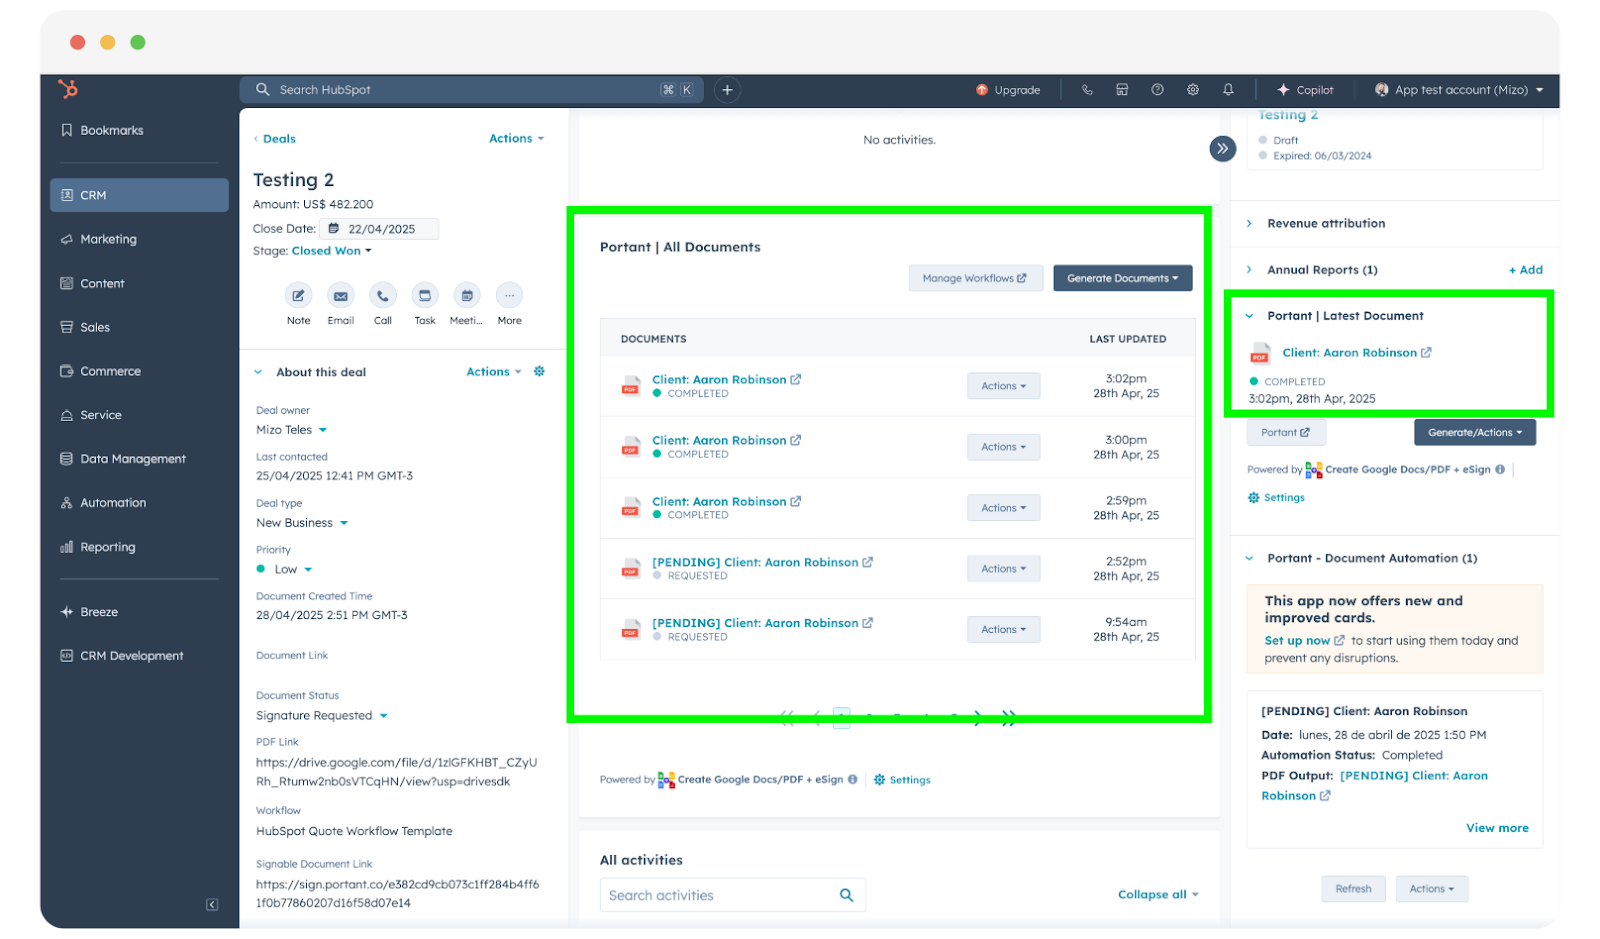
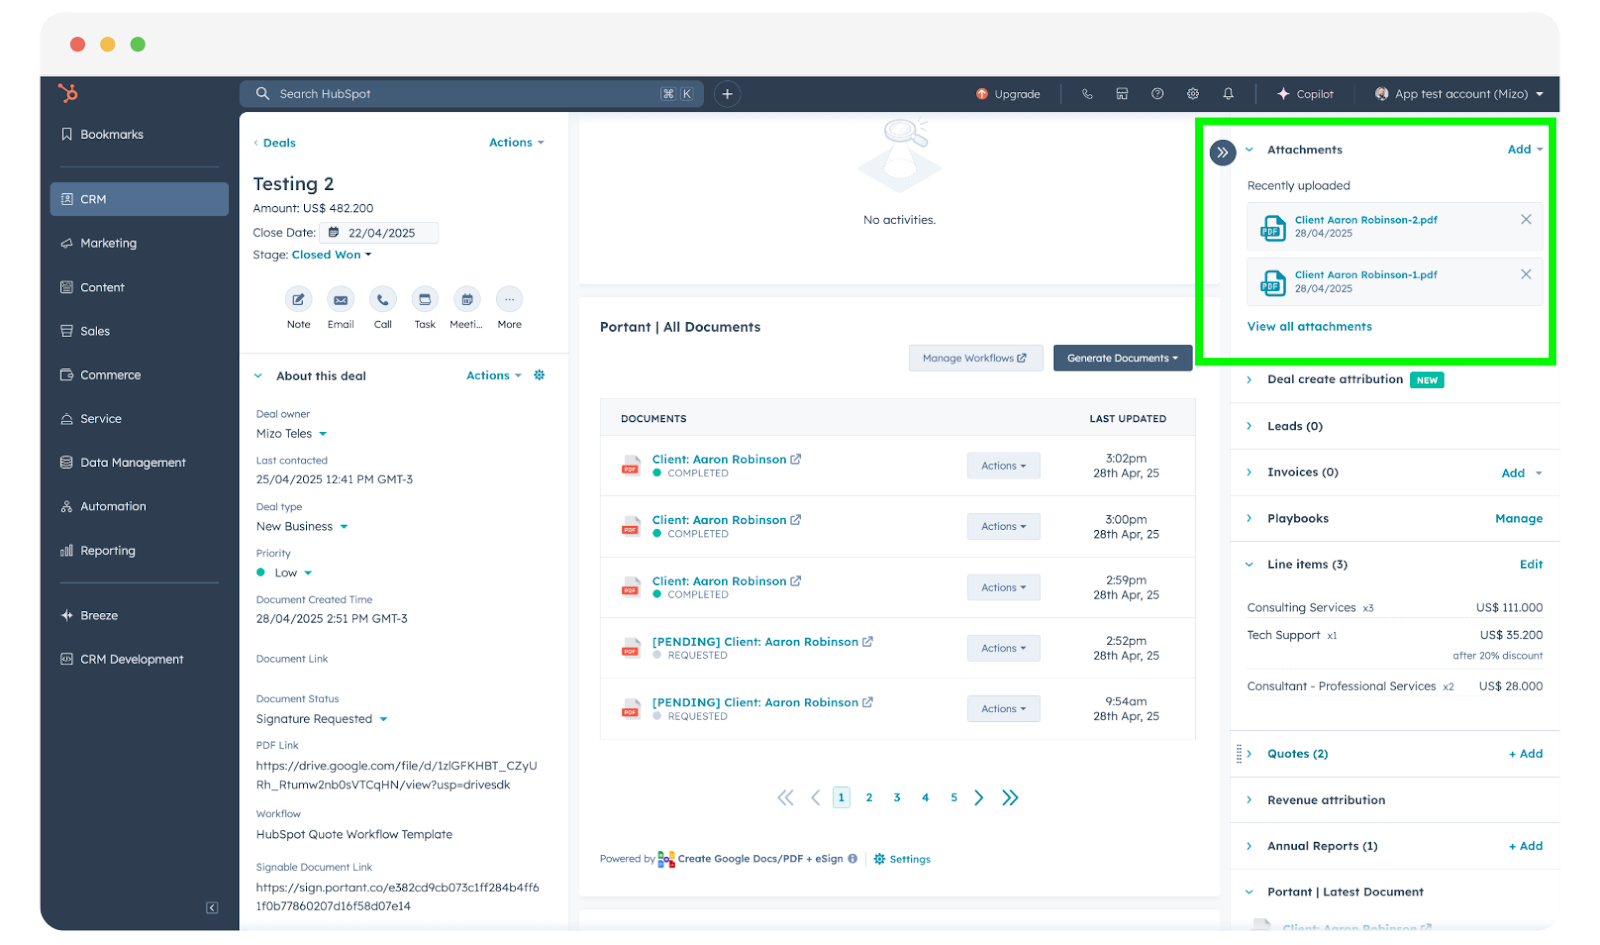
The document is also saved to a folder in your Google Drive. If you set it up that way in the workflow, the PDF version will be attached to the HubSpot record too.
For more places to find your documents, see How to view created documents in HubSpot.
4. Use Portant properties to drive HubSpot automations
Every time Portant generates a document, it saves details (link, status, workflow name, and more) to a set of custom HubSpot properties on the record. You can use those properties to trigger other HubSpot workflows.
For a worked example, see Trigger HubSpot workflows from Portant.