Data grouping with Google Sheets
If you need multiple rows from the same sheet to land inside one document (for example, line items on an invoice or purchase order), data grouping is the feature for you. You pick a column that identifies which rows belong together, and Portant inserts each matching row into a table in the document.
For the canonical guide, see line items > data grouping. This page covers the Google Sheets specific setup.
Set up your sheet
Your source sheet should have a column whose value is the same across rows that belong to the same document. For example, every line item on invoice INV-001 would share that invoice number:
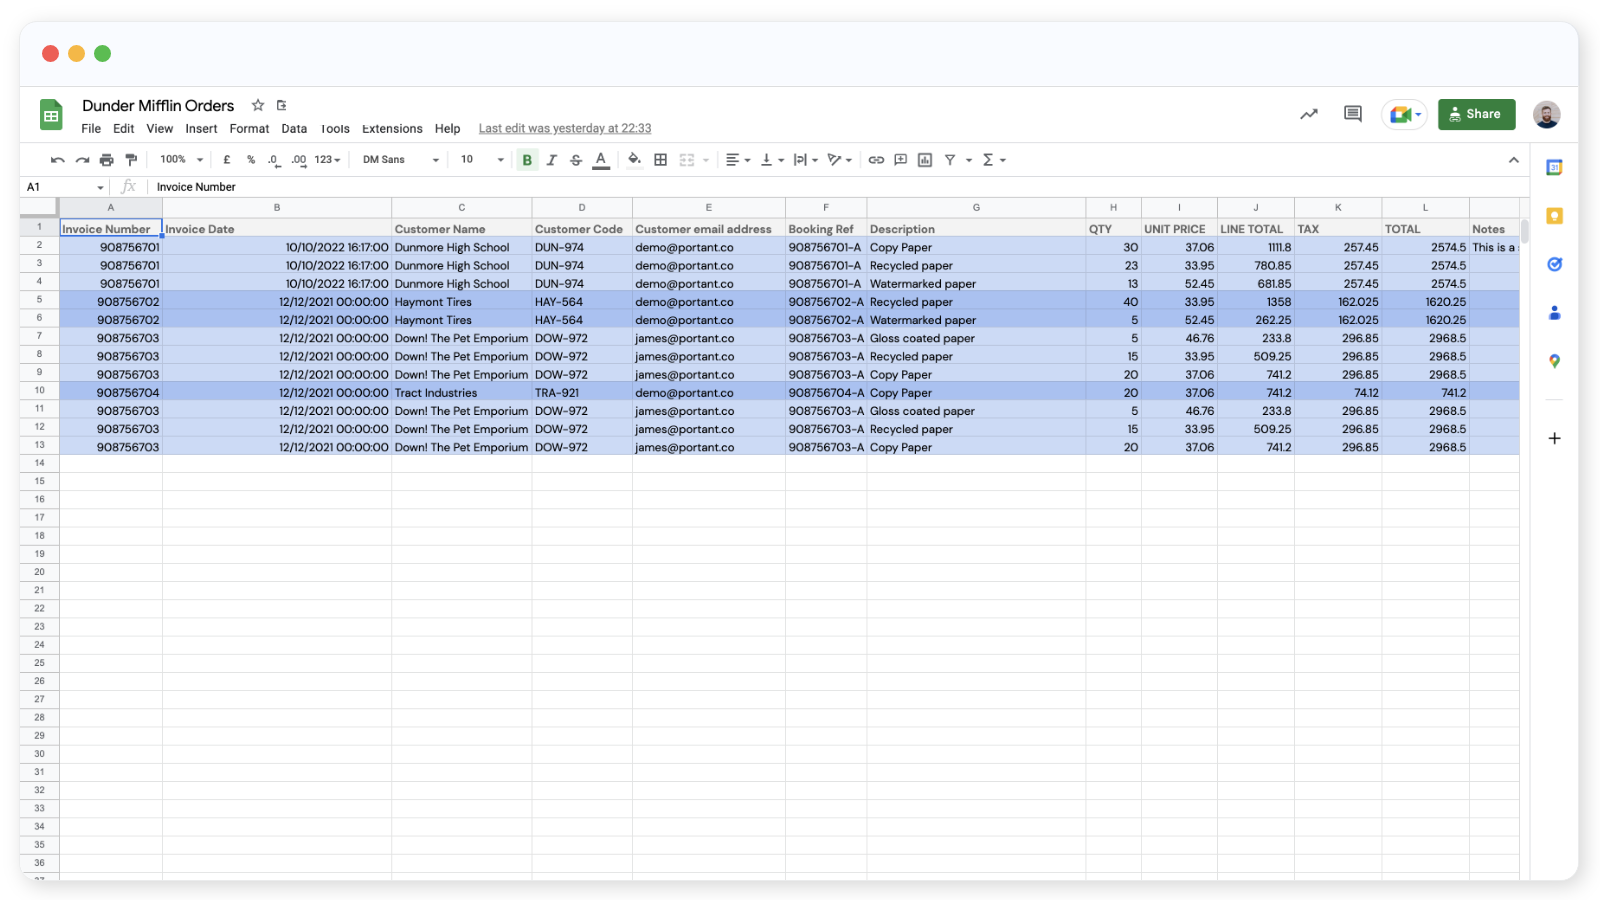
Step 1: pick the grouping column
Open the Google Sheets source block. Click the row in the source table for the column you want to group by, then choose the data grouping option. The column needs to be unique to each group (for example, don't have one column called Invoice Number and another called Invoice No. with the same data).
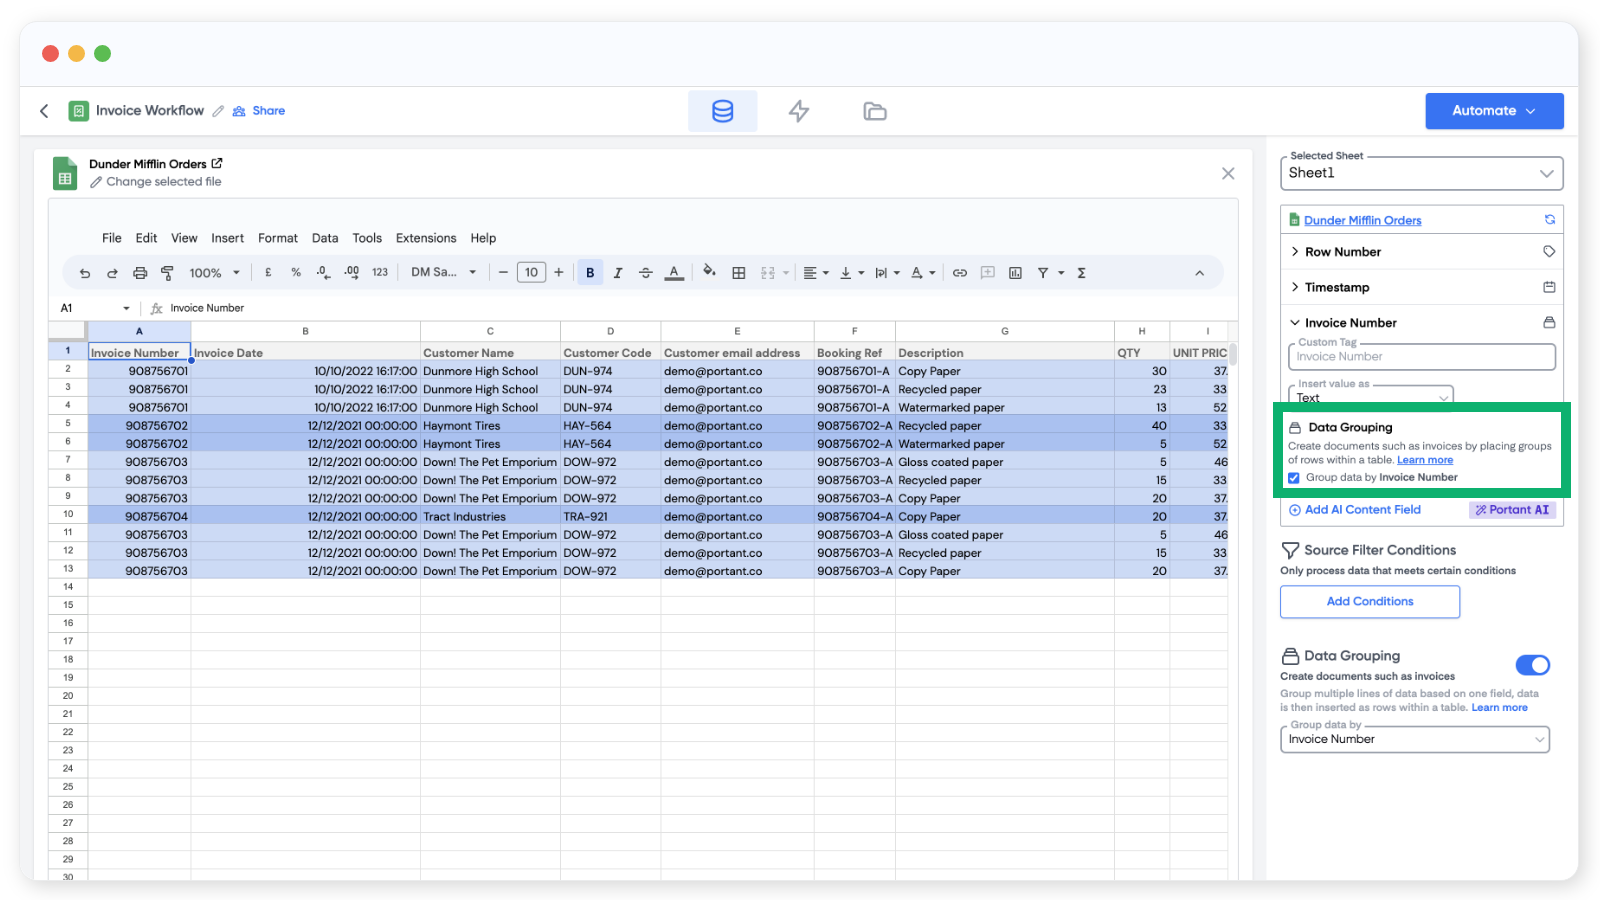
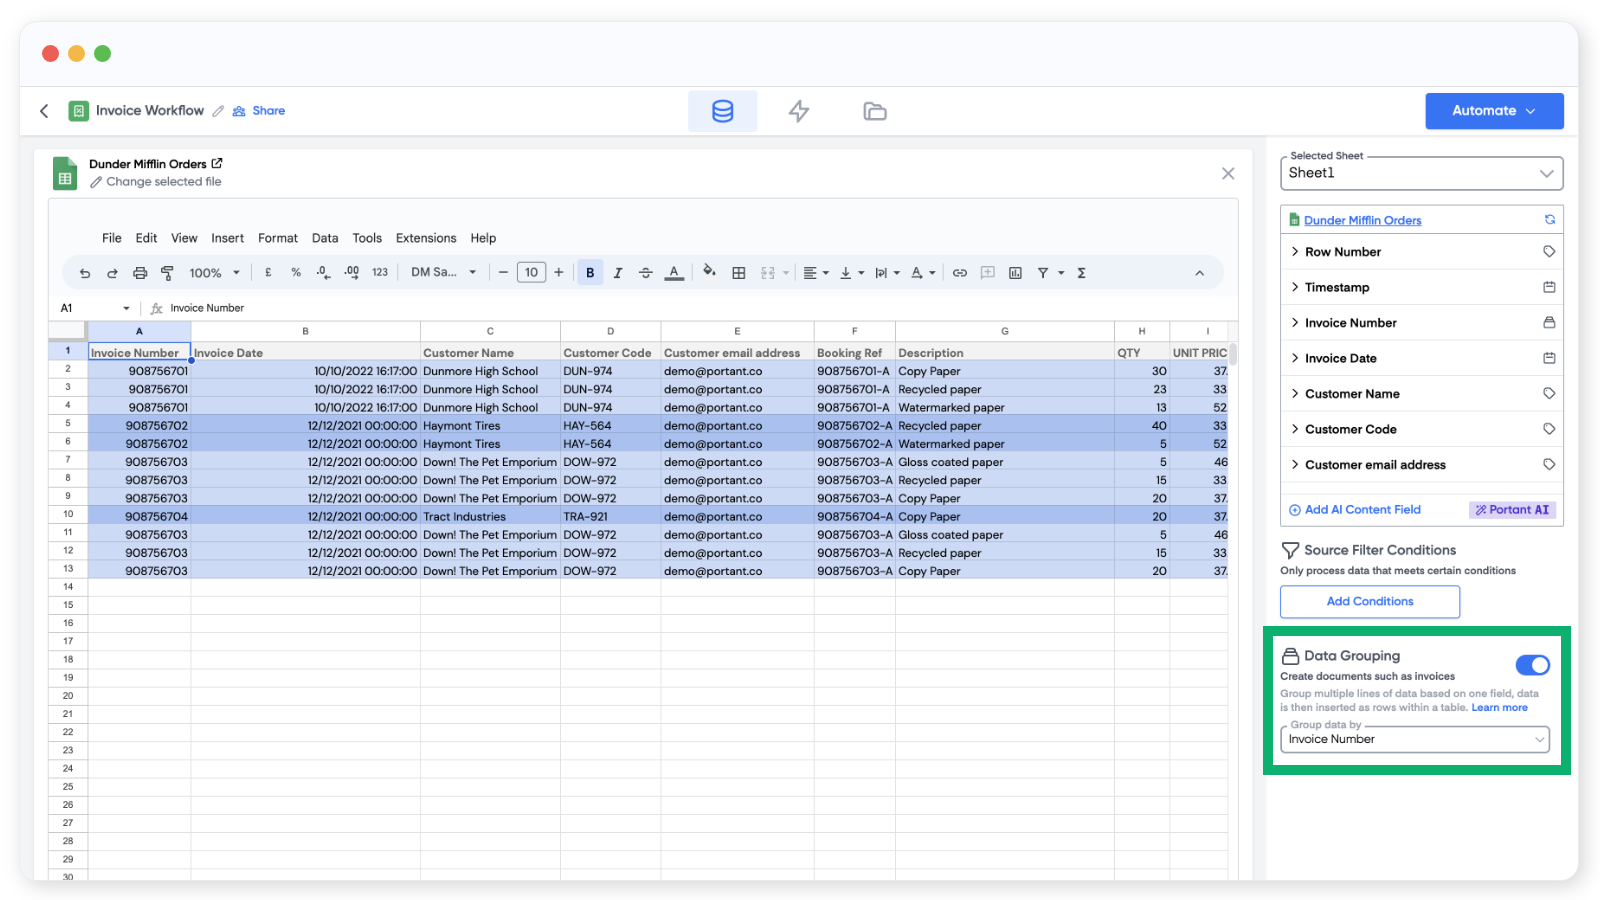
You can also set it from the column dropdown:
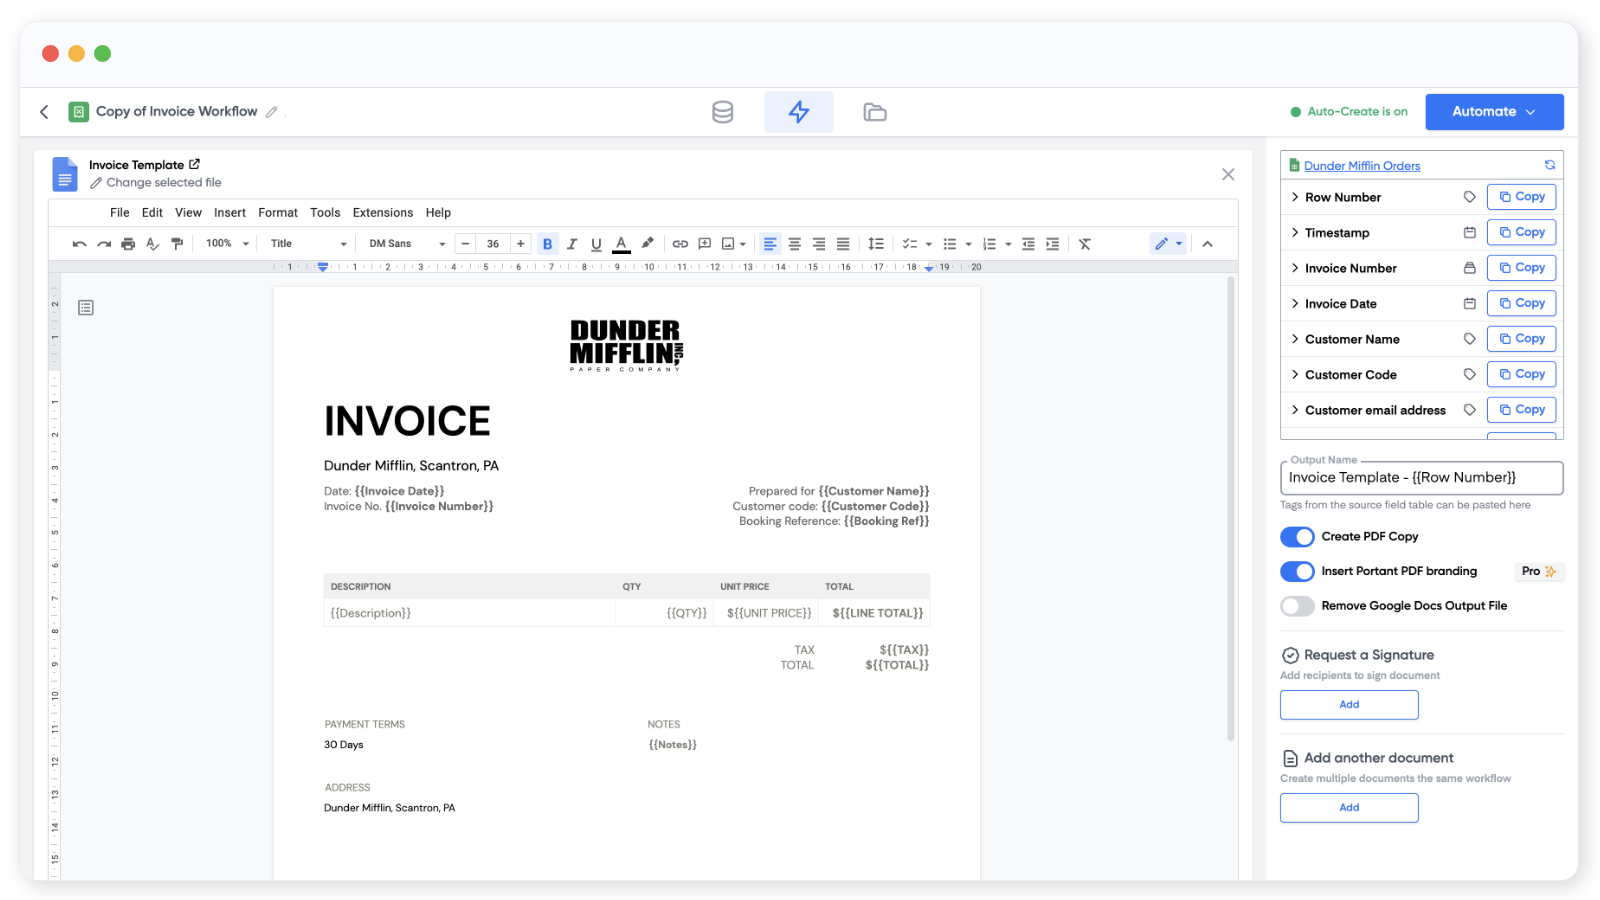
Step 2: add a table to the document
Open the document block and insert a table (Insert > Table). Add the tags for the grouped data into a single row of the table. Portant will repeat that row for every matching item.
You can also use data grouping with Google Slides templates.
Optional: add header and footer rows above and below the tag row. They'll appear once per group, with the repeating rows in between.
Step 3: run the workflow
Once the document settings are in place (file name, PDF, email, etc.), click Create Documents. Each invoice (or whatever you're building) will be created with a table that contains every matching row from the sheet.